Learning how to sew involves much more than just knowing how to operate a sewing machine. It also requires a solid understanding of the machine itself, including how to properly adjust its settings for different fabrics and projects. One of the most important—but often overlooked—skills is adjusting the thread tension.
If you’ve ever struggled with uneven stitches, broken threads, or fabric puckering, chances are the tension settings were not correct. Many beginners don’t realize that these problems often have an easy fix. With just a little knowledge and practice, you can ensure your machine runs smoothly and your sewing projects look professional. Below, we’ll walk you through exactly how to regulate sewing machine tension, step by step, and explain why it matters so much.
Understanding Sewing Machine Tension
Every sewing machine uses two threads to form stitches:
-
The upper thread – threaded through the needle.
-
The bobbin thread – coming from the spool inside the bobbin case.
For a stitch to be balanced, these two threads must interlock exactly in the middle of the fabric. When tension is correct, the seam looks neat on both sides, without loops, puckers, or gaps.
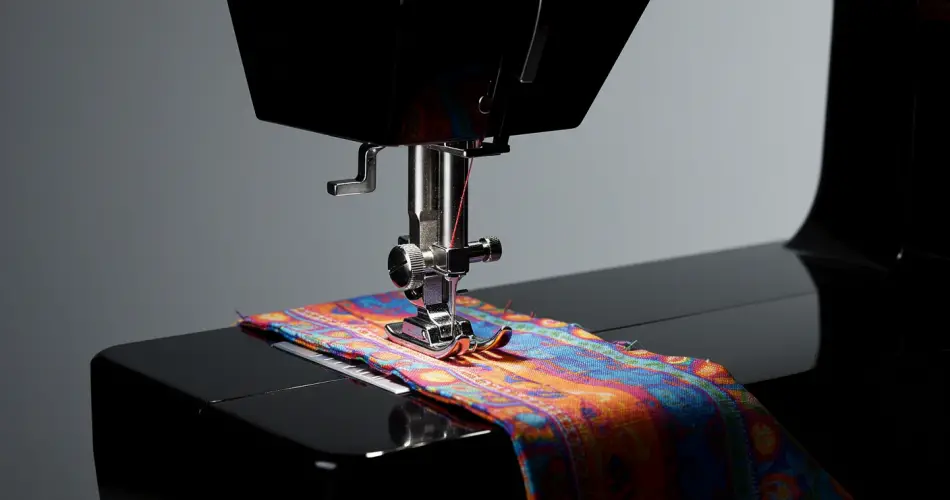
Tension is controlled by a tension mechanism, usually adjusted by a dial or knob located on the front of the machine above the needle area. While sewing machines differ in design, they all function on this same principle.
Most machines come pre-set from the factory, usually adjusted for medium-weight fabrics. However, when working with lightweight, delicate fabrics like silk or heavier materials like denim, you may need to make your own adjustments.
How to Adjust Sewing Machine Tension
Adjusting tension may sound complicated, but in practice, it is surprisingly simple. Here’s what you need to do:
-
Locate the Tension Dial
Look for the small numbered wheel or dial on the front of your sewing machine, positioned above the needle. This is the control for the upper thread tension. -
Test the Stitches
Start by sewing a few test stitches on a scrap piece of the same fabric you’ll be using. Examine both the top and underside of the stitch.-
If the bobbin thread is pulled up to the surface and visible, the upper thread tension is too tight.
-
If the top thread is visible on the underside, the upper thread tension is too loose.
-
-
Turn the Dial
-
To correct loose stitches (when threads meet too low), turn the dial to the right to increase upper thread tension.
-
To correct overly tight stitches (when threads meet too high), turn the dial to the left to loosen upper thread tension.
-
Make small adjustments, sew another test seam, and check again. Repeat until the threads meet neatly in the center of the fabric.
The Importance of Balanced Tension
Having the right tension doesn’t just improve the appearance of your stitches—it also affects the durability and overall quality of your sewing. Here are some common issues caused by incorrect tension:
-
Thread breakage: If the upper tension is too tight, the thread may snap frequently while sewing.
-
Loose or looping stitches: If the upper tension is too loose, stitches won’t hold the fabric securely, leading to messy seams.
-
Fabric puckering: Excess tension can cause fabric to gather or wrinkle.
-
Skipped stitches: Inconsistent tension may prevent the needle and bobbin threads from forming stitches properly.
In addition to tension settings, other issues like a dull needle, incorrect threading, using the wrong type of thread for your needle size, or a jammed thread take-up spring can also cause sewing difficulties. Always check these before making large adjustments.
Adjusting Bobbin Thread Tension
While most tension issues are resolved by adjusting the upper thread with the dial, sometimes the problem lies with the bobbin. This is less common but still worth knowing.
Inside the bobbin case is a small tension spring controlled by a single tiny screw. By tightening or loosening this screw slightly, you can adjust bobbin thread tension.
-
Turn the screw clockwise to increase tension.
-
Turn it counterclockwise to decrease tension.
However, this method should be used with caution. Adjusting the bobbin case screw is considered an advanced step and should only be done if absolutely necessary. In most cases, the upper thread dial adjustment is enough to solve the issue. Incorrectly adjusting the bobbin tension can create bigger problems and may require a professional technician to repair.
Tips for Perfect Tension Every Time
-
Always use the right needle and thread combination for your fabric. For example, heavy thread with a fine needle can cause breakage and uneven stitches.
-
Re-thread your machine carefully if you suspect improper threading. Even a small mistake in threading can affect tension.
-
Clean your machine regularly, especially around the tension disks and bobbin case, to prevent dust or lint buildup.
-
Test on a scrap piece of fabric before sewing your actual project. This helps you avoid ruining your garment or material with poor stitching.
-
Keep your machine manual handy—each model may have slight differences in recommended tension settings.
Final Thoughts
Mastering tension adjustments may seem intimidating at first, but once you understand the basics, it becomes second nature. The key is to remember that the goal is balance: the needle thread and the bobbin thread should meet perfectly in the middle of the fabric.
Start with the tension dial, make small adjustments, and test frequently until you achieve even stitches. Only in rare cases should you adjust the bobbin tension, and when in doubt, it’s better to consult a professional.
By learning how to regulate your sewing machine’s tension correctly, you’ll save yourself a lot of frustration, prevent damage to your fabric, and create beautifully sewn projects that look polished and professional.


