Many people believe that achieving a sparkling clean and fresh-smelling bathroom requires expensive, store-bought cleaning products. While these commercial cleaners often promise amazing results, they don’t always live up to expectations. Worse, they come with a hefty price tag and often contain harsh chemicals that can be harmful to both your health and the environment.
If you’re looking for a more effective, affordable, and eco-friendly way to clean your bathroom, consider making your own DIY cleaner. This homemade bathroom cleaner not only delivers a deep clean but also leaves your space with a delightful, fresh scent. With just a few simple ingredients, you can create a powerful cleaner that’s just as effective—if not more so—than the expensive chemical cleaners found on store shelves.
Why Make a DIY Bathroom Cleaner?
The bathroom is one of the most frequently used spaces in any home, making it a magnet for dirt, grime, and unpleasant odors. Regular cleaning is essential to keep your bathroom fresh and hygienic, but store-bought cleaners often contain harsh ingredients that can irritate your skin, eyes, and respiratory system. Additionally, they can be harmful to the environment when washed down the drain.
By making your own bathroom cleaner, you can avoid these harsh chemicals while still achieving a deep clean. Plus, DIY cleaners are budget-friendly and incredibly easy to make with ingredients you likely already have at home.
Ingredients for a DIY Bathroom Cleaner
To create this powerful and natural bathroom cleaner, you’ll need just a handful of common household ingredients:
- 2 tablespoons of baking soda: Baking soda is a mild abrasive that helps scrub away dirt and grime without scratching surfaces. It also has natural deodorizing properties that help eliminate odors.
- 2 teaspoons of salt: Salt adds extra scrubbing power, making it easier to remove stubborn stains and build-up on bathroom surfaces.
- 1 tablespoon of 3% hydrogen peroxide: Hydrogen peroxide is a natural disinfectant that helps kill bacteria and viruses. It also helps whiten surfaces, leaving your bathroom fixtures looking bright and clean.
- 1 tablespoon of liquid soap (such as Alba liquid gel soap): Liquid soap helps break down grease and grime, making it easier to clean surfaces. Any mild liquid soap can be used, but Alba liquid gel soap is gentle and effective.
You’ll also need a few basic tools to apply your DIY cleaner:
- A small bowl: For mixing the ingredients.
- A sponge: To scrub surfaces.
- Gloves: To protect your hands while cleaning.
- A microfiber cloth: To dry and polish the surfaces once cleaned.
How to Make and Use Your DIY Bathroom Cleaner
Follow these simple steps to create your own DIY bathroom cleaner and get your bathroom shining in no time:
1. Prepare the Cleaning Mixture
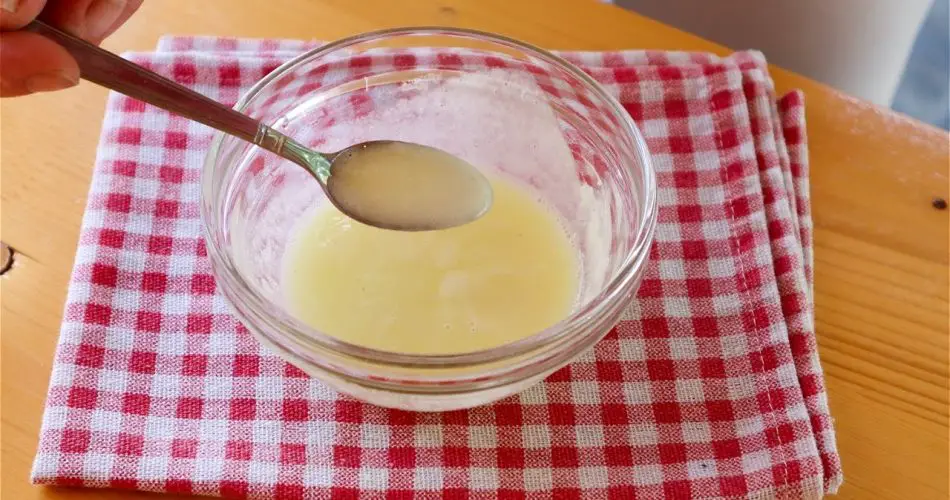
In a small bowl, combine the baking soda and salt, and stir the powders together until well mixed. Next, add the hydrogen peroxide and liquid soap. Stir the mixture until you have a smooth, lump-free paste. This paste is your homemade cleaning solution.
Note: This cleaning mixture cannot be stored for long periods, as the ingredients lose effectiveness over time. It’s best to make only as much as you need for a single cleaning session. If you don’t need a large amount, consider halving the ingredients to create a smaller batch.
2. Apply the Cleaner to Bathroom Surfaces
Once your cleaning paste is ready, it’s time to start cleaning! Apply a small amount of the cleaner to the surfaces you want to clean, such as sinks, faucets, toilets, and even shower stalls. Use your hands or a sponge to spread the paste evenly over the areas that need attention.
Allow the cleaner to sit for a few minutes. This resting time gives the ingredients time to break down grime and stains. For heavily soiled areas, such as around the faucet or in the shower, you may want to let the mixture sit for a bit longer.
3. Scrub the Surfaces
After allowing the cleaner to sit for a few minutes, take your sponge and scrub the surfaces where you applied the cleaner. The baking soda and salt will work as a mild abrasive to scrub away dirt, while the hydrogen peroxide disinfects and whitens. Be sure to scrub all areas thoroughly, including the crevices around faucets and the base of the toilet, where dirt can accumulate.
4. Rinse Thoroughly
Once you’ve scrubbed all the surfaces, rinse the area with clean water to remove any remaining cleaner. You can either use the sponge soaked in water or, if possible, rinse directly with running water from the sink or showerhead. Make sure to remove all residues of the cleaning solution to prevent any streaks or leftover soap.
5. Dry and Polish with a Microfiber Cloth
After rinsing, take a clean microfiber cloth and dry the surfaces. Microfiber cloths are ideal for drying because they leave a streak-free shine and help buff surfaces to a gleaming finish. Once dry, your bathroom will not only look clean but will also smell fresh and wonderful, thanks to the natural ingredients in your homemade cleaner.
The Benefits of a DIY Bathroom Cleaner
Making your own bathroom cleaner has several advantages:
- Cost-Effective: The ingredients for this DIY cleaner are inexpensive and can be found in most households, making it much more budget-friendly than commercial cleaning products.
- Eco-Friendly: By using natural ingredients, you’re reducing your environmental impact by avoiding harsh chemicals that can harm water systems and wildlife.
- Gentle Yet Effective: Despite being made from mild ingredients, this cleaner is powerful enough to tackle grime, dirt, and bacteria, leaving your bathroom spotless.
- Fresh Scent: The natural ingredients, particularly baking soda and hydrogen peroxide, leave behind a fresh, clean smell, unlike the artificial fragrances found in many store-bought cleaners.
Conclusion
There’s no need to spend a fortune on expensive, chemical-laden bathroom cleaners. With a few simple ingredients that you likely already have in your home, you can create a powerful DIY cleaner that leaves your bathroom shining and smelling wonderful. This easy-to-make, cost-effective solution not only gives you sparkling results but also provides a safer, more eco-friendly way to clean. Give it a try today, and enjoy a clean, fresh-smelling bathroom!