Bay leaves are a staple in kitchens around the world, valued for their earthy, aromatic flavor that enhances soups, stews, sauces, and marinades. Having a bay laurel (Laurus nobilis) plant at home means you’ll never run out of fresh or dried bay leaves, and growing it in portable pots makes it possible for gardeners with limited space to enjoy this versatile herb. Whether you live in an apartment, have a small patio, or simply want the flexibility of moving plants around, cultivating bay leaves in pots is both practical and rewarding.
Why Grow Bay Leaves in Pots?
The bay laurel tree is naturally slow-growing and evergreen, making it well-suited for container gardening. In the ground, it can eventually reach several meters in height, but when grown in pots, its size is naturally restricted, and pruning can keep it manageable. Growing in containers also allows you to move the plant indoors during colder months, since bay laurel thrives in warm, frost-free conditions. For culinary enthusiasts, having a portable bay plant ensures a steady supply of fresh leaves throughout the year.
Choosing the Right Container
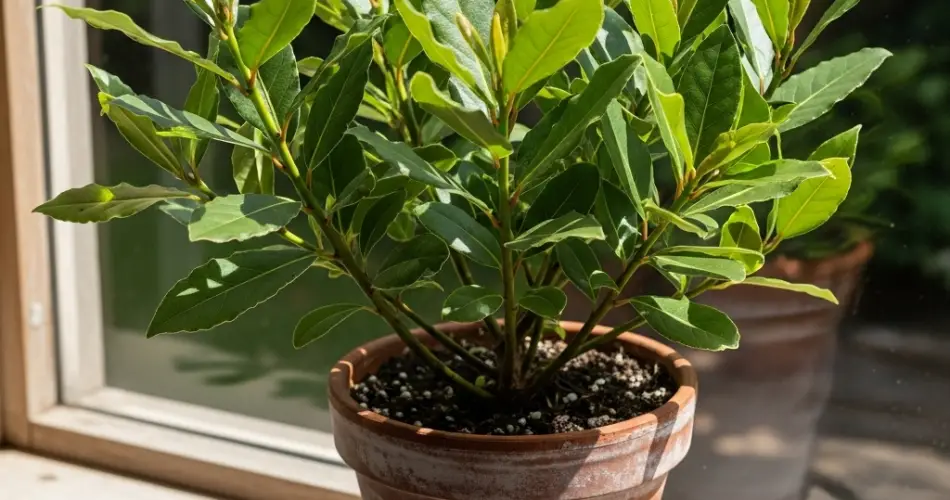
Bay laurel needs room for its roots to spread, so a pot with a depth and diameter of at least 12–16 inches is ideal for young plants. As the tree grows, you may need to repot into larger containers every few years. Choose a sturdy container made of terracotta, ceramic, or heavy-duty plastic, as bay laurels can live for many years and develop substantial root systems. Drainage holes are essential, as bay roots dislike soggy soil.
Portable pots are especially convenient because bay laurel benefits from seasonal adjustments—more sunlight during the summer and protection indoors during harsh winters. Adding wheels or a plant caddy to your container makes it easier to move around.
Soil and Planting
Bay laurel thrives in well-draining soil that retains some moisture but doesn’t become waterlogged. A mix of high-quality potting soil with added sand or perlite works well. Incorporating compost or aged manure at planting time provides a nutrient boost for steady growth.
Plant a young bay laurel sapling in the center of the pot and water thoroughly after planting. If starting from seed, be prepared for patience—germination is slow and can take months. For faster results, most gardeners prefer to purchase a young plant from a nursery.
Light and Temperature Needs
Bay laurel prefers full sun but will tolerate partial shade, especially in very hot climates. Aim for at least 6 hours of direct sunlight per day. If you live in a cooler region, consider placing your pots on a sunny patio or balcony during summer and moving them indoors near a bright window during winter.
Temperature is a critical factor for bay laurel. It thrives in warm climates and does not tolerate frost well. In regions with cold winters, growing in pots allows you to move the plant indoors to protect it. If indoors, keep the plant near a window where it can still receive plenty of light.
Watering and Fertilizing
Bay laurel prefers evenly moist soil but does not like being waterlogged. Water deeply and allow the top inch of soil to dry out between waterings. During hot summer months, more frequent watering may be needed, while in winter the plant requires less. Always adjust according to the season and environment.
Feeding your bay plant helps it stay lush and productive. Use a balanced liquid fertilizer every 4–6 weeks during the growing season. Organic compost tea is also a great option for keeping the leaves healthy and aromatic. Reduce or stop feeding in winter when the plant’s growth slows down.
Pruning and Maintenance
Pruning bay laurel helps keep it compact and encourages bushier growth. Trim back long shoots in spring or early summer, but avoid heavy pruning in winter. Regularly remove yellowing or damaged leaves to maintain the plant’s health.
Bay trees are often grown as ornamental plants shaped into topiaries, but for culinary use, the focus should be on encouraging fresh leafy growth. A light annual trim is usually all that’s needed for potted plants.
Repotting every 2–3 years refreshes the soil and prevents the roots from becoming pot-bound. When repotting, prune the roots slightly and move the plant into a container one size larger.
Harvesting Bay Leaves
Bay leaves can be harvested at any time of the year, but mature leaves have the strongest aroma and flavor. Pick older, dark green leaves rather than young, tender ones. To preserve the essential oils that give bay leaves their distinctive flavor, harvest in the morning once any dew has evaporated.
Fresh bay leaves can be used directly in cooking, but they are often dried for longer storage. To dry them, spread the leaves out in a single layer in a warm, shaded, well-ventilated place. Once completely dry, store them in an airtight container away from direct sunlight. Properly dried bay leaves retain their flavor for up to a year.
Common Problems and Solutions
Bay laurel is generally hardy, but it can be affected by pests like scale insects, aphids, or spider mites. Regularly check the undersides of leaves and treat infestations with insecticidal soap or neem oil. Root rot can occur if the soil remains waterlogged, so good drainage is essential.
Yellowing leaves may indicate overwatering or nutrient deficiencies, while dropping leaves can be a sign of sudden temperature changes or stress from being moved.
Conclusion
Growing culinary bay leaves in portable pots is a practical way to enjoy this aromatic herb year-round. With the right container, soil, and care, a single bay laurel plant can provide leaves for many years, enriching your cooking and adding beauty to your garden or home. Whether you keep it on a balcony, patio, or sunny windowsill, bay laurel is a long-lasting investment for any flavor lover who values fresh, homegrown herbs.


