Bay leaves are a fantastic addition to any kitchen, and cultivating them at home is surprisingly simple! If you’re just dipping your toes into the world of gardening, starting with an aromatic plant like bay laurel is a great choice.
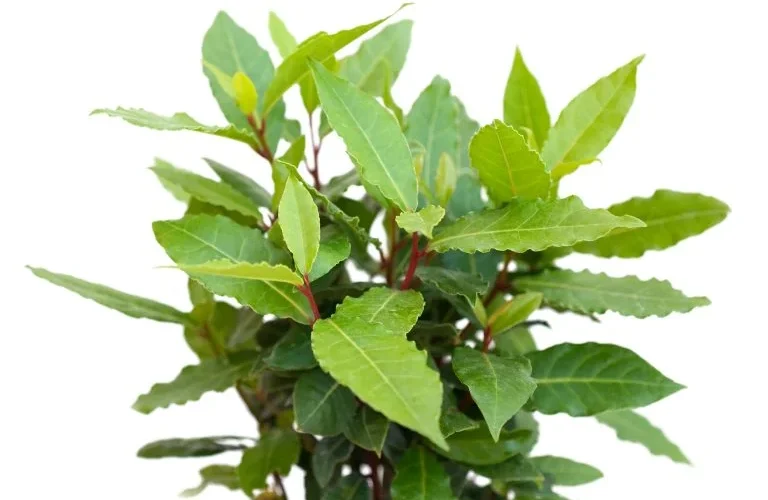
Bay laurel, belonging to the flowering Lauraceae family, is an evergreen with dark green, glossy, oval-shaped leaves. Primarily used to season dishes, it is native to the Mediterranean and ranks among the oldest trees. When grown in a garden, it can reach a height between 25 and 55 feet, but with regular pruning, it can be maintained between 2 and 8 feet. During spring, small clusters of yellow flowers appear, later transforming into tiny purple drupes containing a seed.
Apart from its culinary uses, bay laurel also serves as an excellent ornamental plant, especially during the Christmas season.
Now, let’s explore how to grow this wonderful plant successfully.
Cultivating Bay Laurel: Following the Right Method
To grow bay laurel, consider that it doesn’t appreciate exposure to cold temperatures and wind. Instead, it thrives in sunny areas and can be cultivated both in pots and gardens.
Growing bay laurel is not as challenging as it might seem; all it takes is following the right instructions and doing it with care.
Uses of Bay Laurel
Before diving into cultivation, let’s understand the advantages of having a bay laurel plant within easy reach.
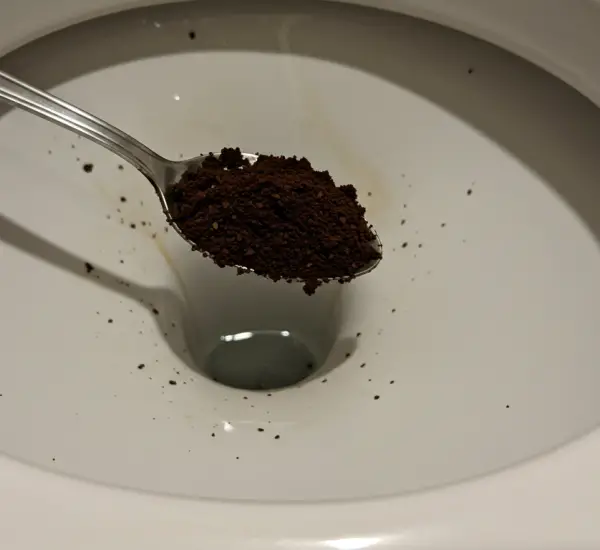
For example, bay leaves can produce a light green dye, while dried leaves can be placed in containers of cereals or rice to keep insects away. The bay laurel plant also has the ability to repel insects and moths from nearby plants. In the kitchen, bay leaves, along with wood, can be added to smokers and grills to impart a delightful flavor to food.
In the Kitchen
Staying within the culinary realm, bay leaves can be used in various dishes to season roasted vegetables, sauces, cereals, and soups. They can be used frozen, dried, and, of course, fresh.
Frozen and fresh leaves are perfect for flavoring vegetables and risottos. Dried leaves are suitable for enriching slow-cooked dishes.
Additionally, bay leaves can be harvested on any day of the year, but it’s worth noting that mature and large leaves will be more fragrant and flavorful. Their taste is significantly better during the summer months.
Diseases and Pests
Bay laurel is one of the least susceptible plants to pest invasions and diseases.
Excessive watering at the roots leading to too much humidity can cause leaf spot. To address this, ensure there is drainage material at the bottom of the container or pot. To enhance it, add extra-fine gravel or sand.
If the leaves turn yellow every year, it indicates growth, and the yellowing is caused by a nutrient deficiency. This can also occur in pots, damaging the roots due to excessive cold or waterlogged soil.
The best approach is to use a general-purpose fertilizer every 15 days to improve nutrient content. Afterward, prune the damaged wood in spring and ensure the plant has perfect drainage.
Growing and Caring for Bay Laurel
This plant should be planted during the spring in soil enriched with organic compost or manure, adding sand to aid drainage.
For growing in a pot, arrange drainage material first and then water moderately.
In winter, if the plant is in the garden, cover it with a sheet to protect it. If it’s in a pot, move it indoors to a cool and bright room.
Pruning Bay Laurel
To prune the plant, based on its size:
- For trees with slow growth, prune every 2 or 3 years.
- For shrubs, prune buds, leaves, shoots, and lower branches.
- In spring, remove dead and damaged branches and, of course, leaves.
Propagation by Cutting
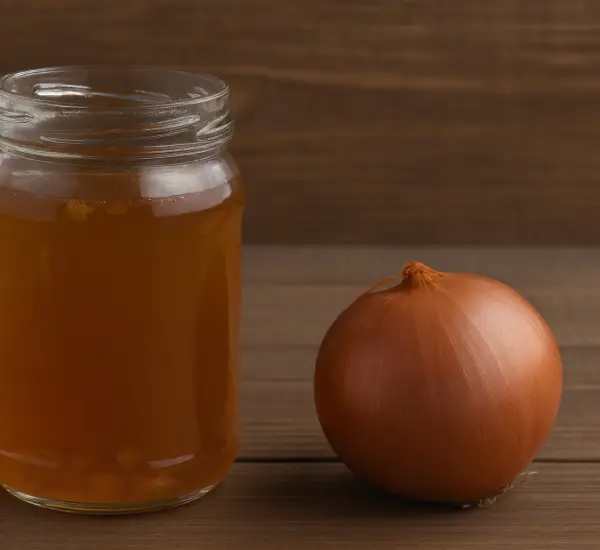
Bay laurel can be easily transplanted, and cuttings can be inserted directly into the soil. The best time for this task is spring during growth. Simply make an angled cut below the bud with sharp shears. Then, immerse the cut part in rooting hormone. Instead of rooting hormone, natural products like cinnamon, apple cider vinegar, and honey can be used.
Hedge Spacing
When deciding to plant hedges in the garden, they must be appropriately spaced. Hedges will become wide and tall, so, for optimal growth over the years, it’s best to place them 2 meters apart.
Repotting and Fertilization
If you decide to repot the soil, do it every 2–3 years. To do this, cut a third of the roots and remove the top 2 inches of soil. Afterward, it can be planted in new soil.
Fertilization should be done every 2 weeks from spring to August, and an all-purpose fertilizer suitable for any use can be used. If the plants are in the garden,