Growing your own food can be a rewarding experience, and beans and peas are two excellent crops for beginner gardeners. Both plants are fast-growing, highly productive, and simple to care for. Plus, they naturally enrich the soil by fixing nitrogen, making them a great addition to any garden, no matter how small. Even better, you can grow beans and peas together, saving space and boosting your harvest.
In this guide, we’ll show you step-by-step how to grow beans and peas together easily and successfully, whether you have a backyard garden, raised beds, or even large containers.
Why Grow Beans and Peas Together?
Beans and peas are both members of the legume family, meaning they have similar growing requirements and can happily share the same space. Growing them together offers several benefits:
-
Efficient use of space: Maximize small garden areas by growing two crops in the same plot.
-
Improved soil health: Both plants fix nitrogen in the soil, reducing the need for additional fertilizers.
-
Companion planting benefits: They support each other structurally and can help shade the soil to retain moisture.
-
Continuous harvest: Planting both gives you a longer picking season, as different varieties mature at different times.
Now, let’s walk through the simple steps to grow beans and peas together successfully.
Materials You Will Need
Gather these materials before you start:
-
Bean seeds (bush or pole variety)
-
Pea seeds (preferably sugar snap or snow peas)
-
Rich, well-draining soil
-
Compost or organic fertilizer
-
Trellis, stakes, or cages (especially for pole beans and climbing peas)
-
Watering can or hose
-
Mulch (optional, to retain moisture)
Both crops are easy to start from seed, so there’s no need for transplants unless you prefer them.
Step 1: Prepare the Planting Area
Choose a sunny spot that receives at least 6 to 8 hours of direct sunlight daily. Beans and peas thrive in full sun and need warm, well-drained soil.
Loosen the soil with a garden fork or trowel, and remove any weeds or debris. Mix in compost or well-rotted manure to improve soil fertility and drainage. If your soil is heavy or clayey, adding some sand can help create the loose texture that legumes prefer.
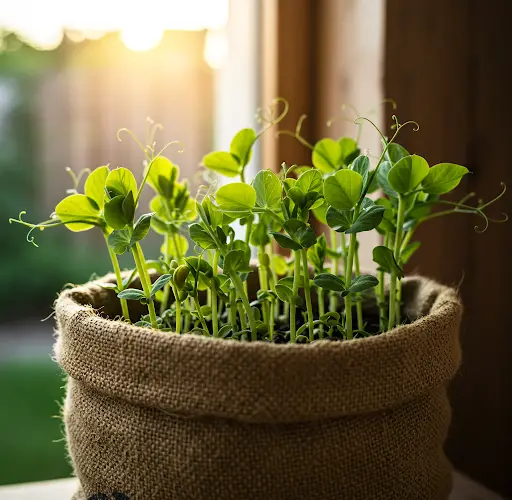
If you’re planting in containers, choose a large, deep pot with drainage holes and use a light potting mix enriched with compost.
Step 2: Set Up Supports
While bush varieties of beans and peas can grow without support, most gardeners find that using a trellis or stakes improves air circulation and makes harvesting easier. For climbing varieties like pole beans and vining peas, a sturdy trellis, bamboo teepee, or netting is essential.
Install your supports before planting to avoid disturbing young seedlings later.
Step 3: Plant the Seeds
Once the risk of frost has passed and the soil has warmed to at least 50°F (10°C), it’s time to plant your seeds.
-
Spacing: Plant pea seeds about 1 inch deep and 2 inches apart. Plant bean seeds about 1 to 1.5 inches deep and 3 to 4 inches apart.
-
Arrangement: For best results, alternate rows of beans and peas or mix them within the same row. This helps prevent overcrowding and ensures both crops have good access to light and air.
-
Watering: After planting, water the area gently but thoroughly to settle the soil around the seeds.
Seeds should germinate within 7 to 14 days, depending on temperature.
Step 4: Care for Your Plants
Beans and peas require similar care, making it easy to tend to them together.
Watering
Keep the soil consistently moist but not soggy. Water deeply once or twice a week, especially during dry spells. Avoid watering the foliage to prevent diseases.
Mulching
Applying mulch around the base of your plants can help retain moisture, suppress weeds, and regulate soil temperature. Use straw, shredded leaves, or untreated grass clippings.
Fertilizing
Because beans and peas fix their own nitrogen, they don’t need heavy fertilization. If desired, use a light dose of organic fertilizer high in phosphorus and potassium to promote flowering and pod production.
Training Vines
As your beans and peas grow, gently guide their vines to climb the trellis or support structure. This will keep the plants healthy and make harvesting easier.
Step 5: Harvesting Your Beans and Peas
Harvesting is one of the most exciting parts of growing your own food!
-
Peas: Pick sugar snap and snow peas when the pods are plump but still tender. Regular harvesting encourages the plant to produce more pods.
-
Beans: Harvest beans when the pods are firm and crisp, but before the seeds inside become too large. Pole beans usually produce a longer harvest than bush beans.
Use scissors or garden shears to avoid damaging the plants when harvesting.
Tips for a Successful Harvest
-
Plant successively: Sow a second batch of seeds a few weeks after the first planting for a continuous harvest.
-
Watch for pests: Beans and peas can attract aphids and beetles. Inspect your plants regularly and use natural pest control methods if needed.
-
Rotate crops: After harvesting, rotate legumes to a different part of the garden next season to prevent soil-borne diseases.
Final Thoughts
Growing beans and peas together is a smart, easy way to maximize your garden’s potential. Whether you’re using a backyard bed, raised planter, or large container, this method offers delicious results with minimal effort. With just a little care, you’ll enjoy a fresh, healthy harvest of two nutrient-packed vegetables—and the satisfaction of growing them yourself.
Happy gardening!


