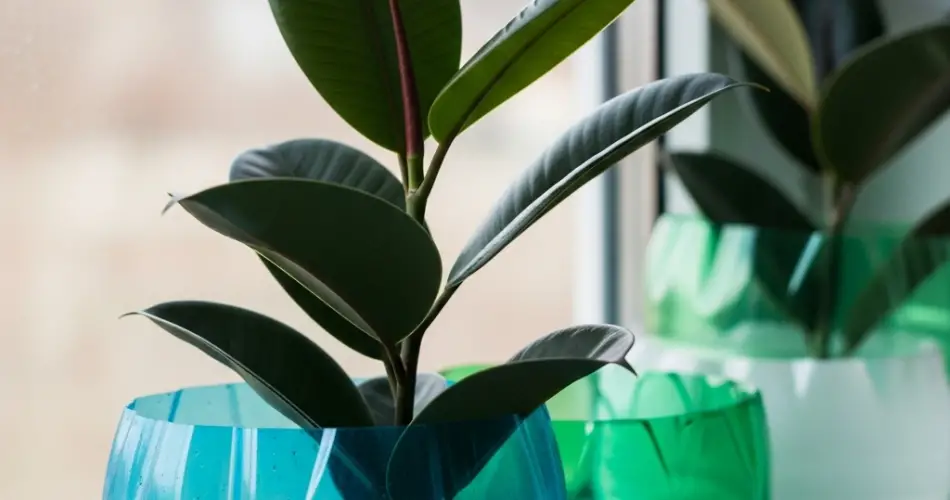
Rubber plants (Ficus elastica) are popular indoor houseplants known for their broad, glossy leaves and bold, upright growth. They’re low-maintenance, adaptable, and ideal for bringing greenery into any indoor space. If you’re looking for a sustainable way to start or expand your plant collection, consider growing a rubber plant in a recycled plastic bottle. This DIY project is simple, eco-friendly, and a perfect introduction to upcycled gardening.
Why Use Bottles to Grow Rubber Plants?
Recycled plastic bottles are lightweight, inexpensive, and easy to transform into functional plant containers. They’re ideal for propagating cuttings or growing small plants like young rubber plants. Using plastic bottles for gardening also reduces household waste and supports environmentally conscious living.
This method is especially useful for apartment dwellers or those with limited space. With the right care, a rubber plant started in a bottle can thrive and later be transferred to a larger container as it grows.
Materials Needed
To grow a rubber plant in a plastic bottle, you’ll need:
-
A clean plastic bottle (1.5 to 2-liter size)
-
Sharp scissors or utility knife
-
A drill or hot metal skewer (for drainage holes)
-
Potting soil (well-draining, rich in organic matter)
-
Small stones or pebbles (for drainage layer)
-
Activated charcoal (optional, for odor control)
-
A rubber plant cutting or small rooted plant
-
Water
Preparing the Bottle Planter
Start by thoroughly cleaning the plastic bottle to remove any residue. Remove the label for a cleaner look.
Cutting the Bottle
Cut the bottle horizontally, about one-third of the way down from the top. You can use the bottom part as the main planter. For a self-watering option, keep the top portion with the cap and invert it into the bottom half after adding a wick system.
Creating Drainage
Using a heated metal skewer or drill, poke several holes into the bottom of the bottle for drainage. If creating a self-watering planter, poke a hole in the cap and insert a cotton rope through it to act as a wick.
Assembling the Planter
Layering for Drainage
Place a layer of small pebbles or gravel at the bottom of the bottle to promote proper drainage. This helps prevent water from sitting at the base and causing root rot. You can also sprinkle a thin layer of activated charcoal above the pebbles to reduce odors and mold.
Adding Potting Mix
Rubber plants thrive in rich, well-draining soil. A mix of potting soil with perlite or sand works well. Fill the container with the soil mix, leaving a few inches at the top for the plant.
Planting the Rubber Plant
If you’re starting with a cutting, it should be at least 6 inches long and have a few healthy leaves. Dip the cut end into rooting hormone (optional) to encourage root development.
Make a hole in the center of the soil and place the cutting or small rooted plant into it. Press the soil gently around the stem to hold it upright.
Water lightly to moisten the soil, but avoid soaking it. Rubber plants are sensitive to overwatering, especially when grown in containers with limited drainage.
Ideal Growing Conditions
Rubber plants are relatively easy to care for but have specific preferences for light and moisture.
Light:
Place your bottle planter in a location with bright, indirect light. Rubber plants do best in filtered sunlight. Too much direct sun can burn the leaves, while too little light can lead to leggy growth.
Temperature and Humidity:
They prefer temperatures between 18°C to 27°C (65°F to 80°F). Avoid placing them near drafts, heaters, or air conditioners. Rubber plants enjoy moderate humidity, but they tolerate average indoor air well.
Watering and Maintenance
Check the soil regularly. Water only when the top inch of soil feels dry to the touch. If you’re using a self-watering bottle system, monitor the water level in the reservoir and refill as needed. Always ensure excess water can drain properly.
Dust the leaves occasionally with a damp cloth to keep them clean and allow for better photosynthesis.
Fertilizing
Feed your rubber plant monthly during the growing season (spring and summer) with a diluted liquid fertilizer. Avoid overfeeding, as this can lead to salt buildup in the soil. Skip fertilizing during the fall and winter months when the plant’s growth slows down.
Repotting and Long-Term Care
As your rubber plant grows, it may eventually outgrow its bottle planter. Signs include roots emerging from the drainage holes or slowed growth. When this happens, transfer the plant into a larger recycled container or a standard pot with good drainage.
Continue providing proper light, watering, and occasional feeding to keep the plant healthy and thriving.
Conclusion
Growing a rubber plant in a recycled bottle is a practical and eco-conscious way to enjoy indoor gardening. With just a few materials and some basic care, you can successfully propagate and raise a rubber plant while giving new life to a used plastic bottle. It’s a rewarding DIY project that adds beauty to your space while supporting sustainability.


