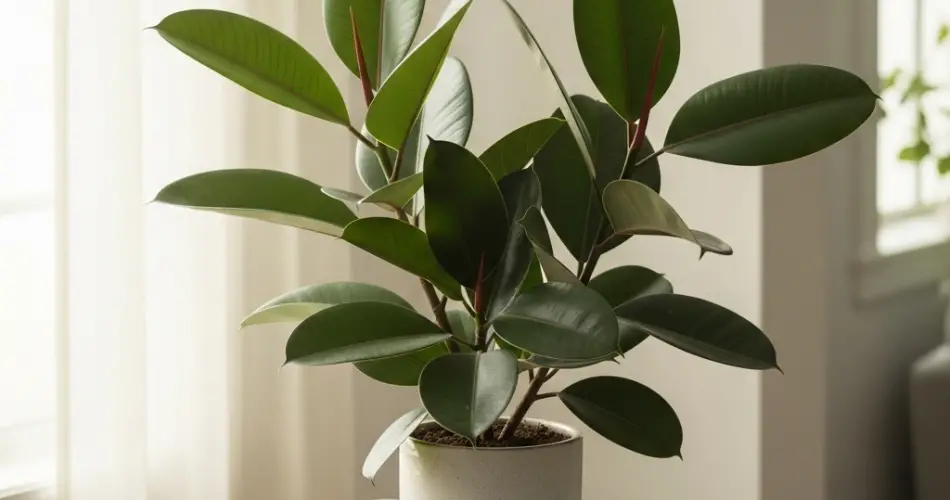
The rubber plant (Ficus elastica) has earned its place as a favorite among indoor plant enthusiasts for good reason. With its large, glossy leaves and upright growth habit, this tropical beauty adds bold, architectural flair to any room. Fortunately, growing a rubber plant in containers is easy and rewarding, even for beginners.
Whether you’re new to houseplants or looking to add another statement specimen to your indoor garden, this guide will show you how to successfully grow and care for a rubber plant in pots at home.
Why Rubber Plants Thrive in Containers
Rubber plants are naturally suited to container growing. In their native Southeast Asia, they can grow into towering trees, but in a pot, they remain a manageable size—typically reaching 3 to 8 feet tall indoors. Their adaptability, attractive foliage, and tolerance for indoor conditions make them ideal candidates for container living.
Selecting the Right Container
Choosing the right pot is essential for healthy root development and long-term success. Keep the following in mind:
-
Size: Start with a pot that’s about 1–2 inches wider in diameter than the root ball. As your plant grows, you’ll need to repot every 1–2 years into a slightly larger container.
-
Material: Terracotta pots are breathable and help prevent overwatering, but they dry out quickly. Plastic pots retain moisture longer and are lighter. Choose based on your watering habits and room conditions.
-
Drainage: Ensure your container has a drainage hole to prevent soggy soil, which rubber plants dislike.
Place a saucer or tray underneath to catch any excess water, especially if the pot will be kept on wooden or carpeted surfaces.
Ideal Potting Soil
Rubber plants prefer well-draining, aerated soil that retains some moisture but doesn’t stay soggy. You can use a high-quality indoor potting mix, or make your own blend using:
-
2 parts potting soil
-
1 part perlite or pumice
-
1 part coco coir or peat moss
This combination ensures proper drainage while still holding enough moisture to keep the roots happy.
Lighting Needs
Rubber plants thrive in bright, indirect light. Place your container near a window with filtered sunlight or in a spot that gets plenty of ambient daylight. A few feet away from an east- or south-facing window is often ideal.
Avoid harsh direct sun, which can scorch the leaves, especially on younger or variegated varieties. If the plant doesn’t receive enough light, growth may slow and lower leaves may drop.
Watering Guidelines
Watering is one of the most important aspects of rubber plant care. These plants prefer their soil to dry out slightly between waterings.
-
Check the top inch or two of soil: If it’s dry, it’s time to water.
-
Water thoroughly until it runs out of the bottom of the pot, then let the soil drain completely.
-
Avoid overwatering: Root rot is a common issue caused by consistently soggy soil.
During the growing season (spring and summer), your rubber plant will need more frequent watering. In the cooler months, reduce the frequency, as the plant goes into a slower growth phase.
Feeding Your Rubber Plant
To encourage lush foliage and steady growth, feed your plant monthly during the growing season with a balanced liquid houseplant fertilizer (such as 10-10-10). In fall and winter, you can skip feeding or reduce it to once every 6–8 weeks.
Be careful not to overfertilize—too much can damage the roots or cause leaf burn. Always follow the instructions on the fertilizer label.
Pruning and Maintenance
Rubber plants benefit from occasional pruning to control height, encourage branching, or remove any damaged or yellowing leaves.
-
Use clean, sharp scissors or pruners.
-
Wear gloves or wash your hands afterward—the milky sap can be irritating.
-
You can propagate healthy cuttings in water or soil to create new plants.
Wipe the leaves occasionally with a damp cloth to remove dust and enhance their natural shine. Clean leaves also photosynthesize more efficiently.
Repotting Tips
Rubber plants typically need to be repotted every 1–2 years. If roots start growing out of the drainage hole, the plant becomes top-heavy, or growth slows despite good care, it’s time to move to a slightly larger pot with fresh soil.
Choose a pot that is 2 inches wider than the current one and repot during the spring or early summer for best results.
Troubleshooting Common Issues
-
Leaf drop: Often due to inconsistent watering, drafts, or sudden changes in light. Keep the plant’s environment stable.
-
Yellowing leaves: May indicate overwatering. Allow the soil to dry more between waterings.
-
Brown edges: Can result from dry air. Increase humidity by misting the plant or using a humidity tray.
Final Thoughts
With its rich foliage and manageable care routine, the rubber plant is an excellent choice for indoor container gardening. It adds height, color, and a sense of life to interiors, whether placed in a minimalist corner or as a focal point in a leafy jungle of houseplants.
By choosing the right container, providing bright indirect light, and keeping a consistent watering schedule, you can enjoy the striking beauty of the rubber plant for years to come. With minimal effort, this tropical favorite will reward you with stunning, glossy foliage that instantly elevates any indoor space.


