Cherry tomatoes are one of the easiest and most rewarding crops to grow at home, especially in containers. With their fast-growing habit, sweet flavor, and compact size, they’re ideal for urban gardens, balconies, patios, or even a sunny kitchen window.
The best part? You don’t need seeds from a garden center. You can grow thriving tomato plants using cherry tomatoes purchased right from the supermarket. It’s fast, simple, and cost-effective. In just a few weeks, you could be watching dozens—or even hundreds—of tiny green tomatoes forming on your potted plants.
Here’s a step-by-step guide to germinating and planting cherry tomato plants from store-bought tomatoes.
Why Grow Cherry Tomatoes from Supermarket Tomatoes?
Supermarket cherry tomatoes are often ripe, juicy, and packed with viable seeds. If they haven’t been chemically treated or genetically modified to be sterile, the seeds inside can easily sprout under the right conditions.
Benefits of this method:
-
It’s completely free—no seed packets required.
-
You can repurpose leftover tomatoes or those that are overripe.
-
You get multiple plants from just a few fruits.
-
It’s a great way to start gardening with minimal space or tools.
What You’ll Need
To get started, gather the following:
-
Ripe cherry tomatoes (store-bought or leftover)
-
A knife and spoon
-
A small container or plate
-
Good-quality potting soil
-
Pots or containers with drainage holes
-
A spray bottle or watering can
-
Optional: organic compost or natural fertilizer
Step 1: Extract the Seeds
Slice a cherry tomato in half and use a spoon or your fingers to scoop out the seeds along with the surrounding gel. Place the seeds on a paper towel or plate. Rinse gently if desired, but it’s not absolutely necessary—the gel won’t stop germination.
Let the seeds air dry for a few hours. This isn’t essential but can make handling easier.
Step 2: Sow Directly in Pots
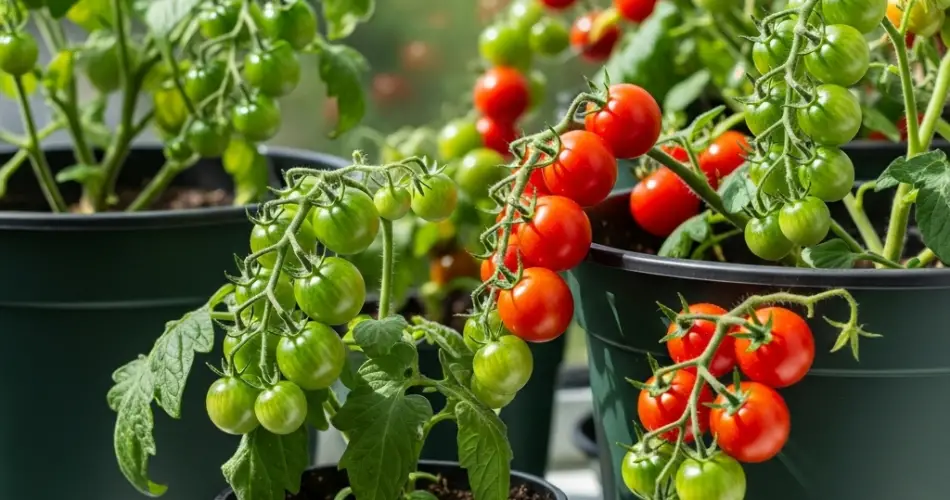
Unlike many vegetables, cherry tomatoes can be grown entirely in containers from start to finish. Choose a pot at least 20–30 cm (8–12 inches) deep with good drainage. Fill it with a light, fertile potting mix.
You can either:
-
Sprinkle the seeds evenly over the surface and cover with a thin layer of soil (about 0.5 cm or 1/4 inch), or
-
Bury a whole slice of tomato just under the soil and let nature take its course. This method works surprisingly well and saves time.
Water gently using a spray bottle or watering can.
Step 3: Keep the Soil Moist and Warm
Cherry tomato seeds germinate quickly in warm, moist conditions. Place your pot in a sunny window, on a balcony, or anywhere it gets 6–8 hours of light per day. Ideal temperatures are between 20–25°C (68–77°F).
Within 5 to 10 days, you’ll see small seedlings begin to emerge. Keep the soil evenly moist but not soggy. Avoid direct midday sun for young seedlings until they develop stronger leaves.
Step 4: Thin and Transplant the Seedlings
Once the seedlings grow their first set of true leaves (the second set to emerge), it’s time to thin them out. Use scissors to snip the weaker seedlings at the base, leaving the healthiest 1–3 plants per container.
Alternatively, gently lift individual seedlings and transplant them into their own pots.
Tip: Bury the seedlings deeper than they were growing initially—tomatoes develop roots along their buried stems, resulting in sturdier plants.
Step 5: Care and Maintenance
To ensure strong, fruiting plants, follow these simple tips:
-
Sunlight: Provide at least 6–8 hours of sun daily.
-
Watering: Water when the top 2–3 cm (1 inch) of soil is dry. Avoid overwatering.
-
Feeding: Once the plants are 20–30 cm tall, begin feeding them every 10–15 days with compost tea or a balanced organic fertilizer.
-
Support: Use small stakes or cages to support the growing stems.
-
Pruning: Pinch off the small shoots (suckers) that grow in the leaf axils to direct energy into fruit production.
Step 6: Harvest and Enjoy
Within 60 to 80 days, your plants should start producing flowers, followed by tiny green fruits. As they ripen, the tomatoes will turn a bright red, orange, or yellow—depending on the variety.
Harvest when fully colored and slightly firm. Regular picking encourages more fruit to develop.
Growing in Urban Spaces
This method is ideal for:
-
Balconies
-
Rooftop gardens
-
Window boxes
-
Kitchen herb corners
-
Small patios
Because cherry tomatoes grow upward rather than outward, they’re perfect for small vertical gardens or hanging baskets too.
Conclusion
With just a few store-bought cherry tomatoes and a bit of soil, you can create a flourishing mini garden that yields fresh, flavorful tomatoes for months. It’s a fun, simple project for beginners, kids, or anyone looking to grow food in limited space.
Start today—your next tomato harvest might already be sitting in your kitchen.


