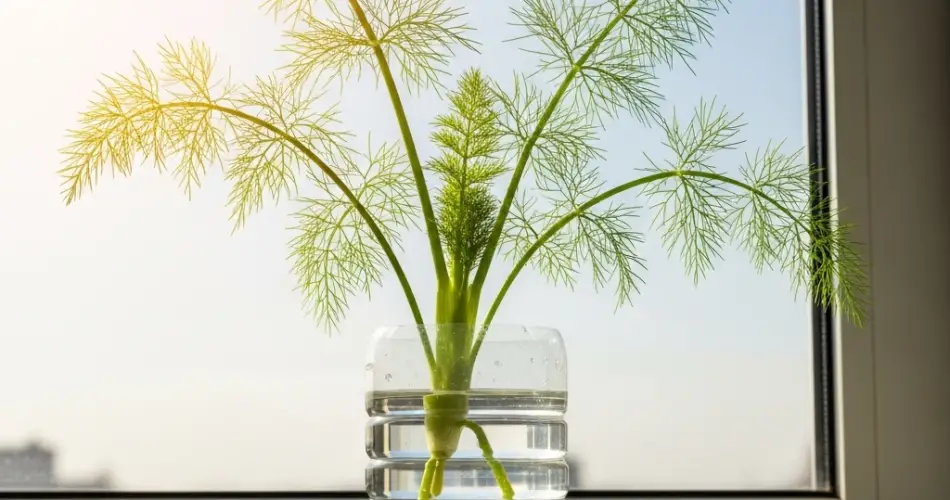
Fennel, with its crunchy bulbs and fragrant fronds, is a fantastic herb and vegetable to grow at home. Known for its sweet, anise-like flavor, fennel adds flavor to soups, salads, roasts, and teas. If you’re short on garden space but still want to enjoy this versatile plant, try growing fennel in recycled plastic bottle planters. This sustainable method transforms used bottles into compact growing containers that are ideal for patios, balconies, or small home gardens.
With the right technique and care, your bottle-grown fennel can thrive and produce bulbs that are crisp, flavorful, and ready to harvest.
Why Bottle Planters Work for Fennel
Plastic bottles provide an easy-to-manage space for growing herbs and vegetables vertically or in tight areas. Fennel is particularly well-suited to this method for several reasons:
-
Moderate root depth: While fennel does develop a bulb, it doesn’t require deep soil.
-
Vertical growth habit: The upright leaves and stems make fennel ideal for vertical arrangements.
-
Lightweight foliage: This reduces the risk of the plant toppling or bending the container.
Repurposing bottles into planters is also eco-friendly, cutting down on waste and reducing the need for store-bought pots.
Materials Needed
To start your bottle planter fennel garden, gather the following:
-
Clean plastic bottles (1.5 to 2 liters)
-
Sharp scissors or knife
-
Potting mix (well-draining and rich in organic matter)
-
Fennel seeds or young seedlings
-
Compost or organic fertilizer
-
A tool to poke drainage holes (like a heated nail or awl)
-
Twine or wire (if mounting vertically)
Step 1: Create Your Bottle Planters
Cut the bottle horizontally about two-thirds of the way up. The bottom portion will serve as the main planter. Make small drainage holes in the base to allow excess water to escape.
If you want to grow fennel vertically on a wall or fence, cut a planting window on the side of the bottle and poke two holes near the top to string wire or rope for hanging. Be sure to space the planters out to give each plant enough sunlight and airflow.
Step 2: Prepare the Soil
Fennel thrives in loose, fertile soil with good drainage. A potting mix blended with compost, coconut coir, and a handful of sand or perlite works well. Add slow-release organic fertilizer or worm castings to improve nutrition. Avoid compact or heavy soil, which can hinder bulb development.
Fill your bottle planter with this mix, leaving about an inch of space at the top for watering.
Step 3: Planting Fennel
You can grow fennel from seeds or use starter plants. If starting from seed:
-
Sow 2–3 seeds in the center of the soil, about ¼ inch deep.
-
Water gently to moisten the soil.
-
Thin to the strongest seedling once they sprout.
If using seedlings:
-
Carefully transplant them into the soil, ensuring the base of the plant is at soil level.
-
Gently firm the soil around the roots.
Water immediately after planting.
Step 4: Find the Right Spot
Fennel loves full sunlight. Place your bottle planters in an area that gets at least 6 hours of sun per day. South- or west-facing walls, windowsills, or railings work well.
If growing indoors, use a bright windowsill or supplement with a grow light to ensure the plants get enough energy to produce bulbs.
Step 5: Watering and Fertilizing
Bottle planters can dry out quickly, especially in warm climates. Keep the soil consistently moist but not soggy. Water when the top inch of soil feels dry to the touch.
Feed the plants every two to three weeks with a diluted organic liquid fertilizer. Too much nitrogen can lead to more leaf growth and less bulb formation, so use a balanced formula.
Step 6: Support and Maintenance
While fennel foliage is light, the bulb can add weight to the base of the plant. If needed, tie the plant gently to a stick or trellis to keep it upright, especially in windy areas.
Remove any yellowing or dead leaves to keep the plant healthy. Keep an eye out for pests like aphids or whiteflies. If they appear, rinse them off with water or use an organic insecticidal soap.
Step 7: Harvesting Your Fennel
Fennel bulbs are ready to harvest when they reach about the size of a tennis ball, usually 80–100 days after sowing. Cut the bulb at the soil line, leaving the roots in the bottle. The plant may regrow foliage from the root base for a second harvest of leaves.
You can also snip off the feathery fronds any time to use in cooking or garnish. If left to flower, fennel produces seeds that can be collected for seasoning or future planting.
Final Tips
-
Grow only one fennel plant per bottle to avoid crowding.
-
Avoid transplanting fennel once it’s established; the plant dislikes root disturbance.
-
Refresh your potting mix between plantings to maintain soil health.
Conclusion
Growing fennel in recycled bottle planters is a clever and eco-conscious solution for gardeners with limited space. With just a few tools and some sunlight, you can cultivate fresh, flavorful fennel right at home. Whether you’re harvesting crisp bulbs, delicate fronds, or aromatic seeds, this method ensures you get the most out of your vertical herb garden.


