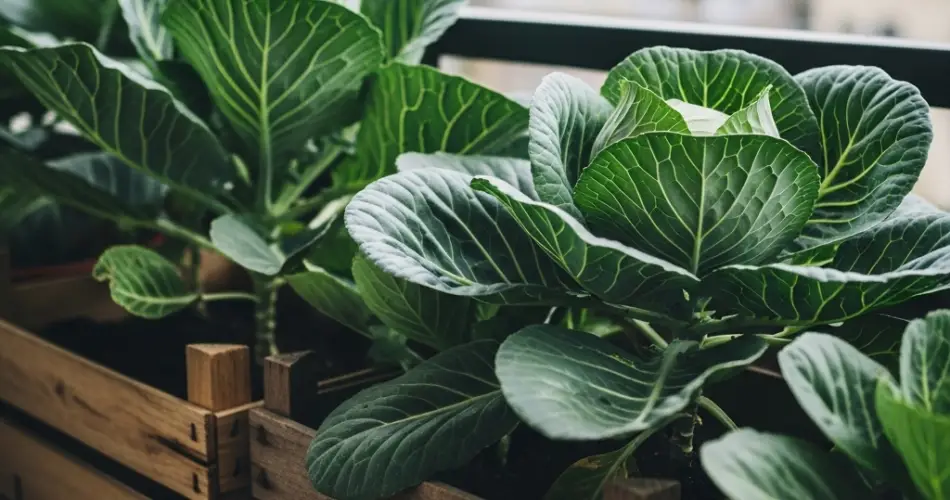
If you love growing your own vegetables but lack garden space, growing compact cabbage in crates on your balcony is a rewarding and practical solution. These leafy, nutrient-packed vegetables don’t need a full garden bed to thrive. With the right setup, you can grow crisp, tightly wrapped cabbage heads in crates even in the smallest outdoor spaces.
Crate gardening offers excellent drainage, portability, and control, making it ideal for growing compact crops like cabbage. With a bit of sunlight, quality soil, and proper care, you can harvest your own fresh cabbage just steps away from your kitchen.
Why Grow Cabbage in Crates?
Growing cabbage in crates on a balcony combines efficiency with productivity. Here’s why it works so well:
-
Great drainage – Crates prevent waterlogged roots, a common issue for cabbage
-
Space-saving – Perfect for urban gardeners with limited room
-
Easy to move – Crates can be relocated to maximize sun exposure
-
Custom depth – Enough room for roots to develop and heads to form
-
Control over soil quality – You manage what goes in, avoiding soil-borne diseases
-
Harvest convenience – No digging required—just cut and enjoy
Cabbage is a cool-weather crop, so this method is ideal for early spring or fall growing, though some heat-tolerant varieties also work in summer with enough shade.
Best Cabbage Varieties for Containers
When growing cabbage in crates, opt for compact or early-maturing varieties that don’t require excessive space to form heads.
Top picks include:
-
Golden Acre – A small, round, early-maturing variety ideal for containers
-
Caraflex – Cone-shaped, tender, and space-efficient
-
Gonzales – Mini cabbages perfect for individual servings
-
Pixie – Specifically bred for small-space growing
-
Savoy Express – Crinkled leaves and mild flavor, does well in tight quarters
Choose disease-resistant varieties for easier maintenance and reliable results.
What You’ll Need
Before planting, prepare the following:
-
A sturdy crate at least 10–12 inches deep and wide
-
Landscape fabric or newspaper to line the crate
-
Loose, fertile potting mix enriched with compost
-
Cabbage seeds or seedlings
-
Watering can or hose with a gentle spray
-
Organic vegetable fertilizer
-
Sunny location with at least 5–6 hours of sunlight per day
Crates with proper drainage are essential to prevent root rot and soggy soil.
Step 1: Prepare the Crate
Line your crate with landscape fabric or several layers of newspaper. This holds soil in while still allowing for drainage.
Place the crate in a spot that gets full sun, ideally morning sun and some afternoon shade to prevent overheating in warmer months.
Fill the crate with high-quality potting mix. Mix in compost or a slow-release organic fertilizer to give plants a strong start.
Step 2: Planting Cabbage
If using seeds, sow them directly into the crate about ¼ inch deep and thin them later once the seedlings reach 3–4 inches tall. Space them 10–12 inches apart for compact varieties.
If using seedlings, transplant them carefully into the soil at the same depth they were growing in their nursery container. Water well after planting.
Spacing is crucial—crowded plants can’t form proper heads and may attract pests due to poor airflow.
Step 3: Watering and Feeding
Cabbage prefers consistently moist soil but not soggy conditions. Water when the top inch of soil begins to dry. Crates tend to dry out faster than garden beds, so check daily during hot or windy weather.
Feed your cabbage plants every 2–3 weeks with a balanced organic fertilizer or compost tea, especially during the early leaf development stage.
Step 4: Pest and Disease Management
Cabbage can attract pests like aphids, cabbage loopers, and slugs. Keep an eye out for holes in the leaves or small insects.
Use neem oil spray or insecticidal soap to control infestations. For slugs, a barrier of crushed eggshells or diatomaceous earth can help.
Good airflow and regular monitoring will reduce the risk of diseases such as powdery mildew or black rot.
Step 5: Maintenance and Care
Remove yellowing or damaged leaves regularly to promote airflow and reduce disease risk.
If your plants are top-heavy or at risk of tipping in windy conditions, stake them gently to keep them upright.
Mulch the surface with dried leaves or straw to retain moisture and regulate soil temperature, especially during temperature swings.
Step 6: Harvesting Your Cabbage
Depending on the variety, cabbage is usually ready to harvest 65–85 days after planting. When the heads feel firm and full, use a sharp knife to cut them at the base, leaving outer leaves behind if you want to encourage a second, smaller head to form.
Avoid leaving mature heads on the plant too long, as they may split or become tough.
Step 7: Refresh and Replant
After harvesting, remove spent roots and refresh the soil with compost before planting another crop. Rotate crops by following cabbage with leafy greens or root vegetables to maintain soil health.
Crates can be reused season after season with minimal preparation—just be sure to clean them between crops to prevent disease buildup.
Final Thoughts
Growing compact cabbage heads in balcony crates is an easy, space-saving way to enjoy fresh, homegrown vegetables—even if you don’t have a garden. With just a few containers, some good soil, and regular care, you’ll be rewarded with crisp, flavorful cabbage that’s perfect for salads, stir-fries, and slaws.
This method is beginner-friendly and adaptable, making it a smart choice for anyone interested in container gardening or self-sufficient living in the city.


