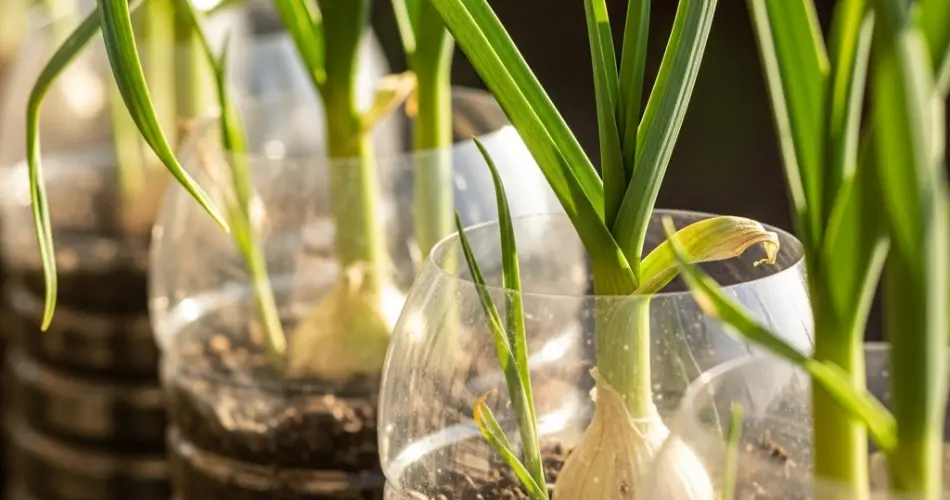
If you’re looking for a sustainable, space-saving way to grow garlic at home, plastic bottle gardening is a brilliant solution. Whether you live in a small apartment or simply want to make better use of available vertical space, growing garlic in bottles offers a low-cost, eco-friendly approach that delivers fresh, flavorful results. With a few basic materials and a sunny spot, you can grow your own garlic without the need for a traditional garden bed.
Why Use Plastic Bottles for Garlic?
Plastic bottles are often discarded after a single use, but they can be repurposed into productive mini gardens. Growing garlic in bottles supports recycling and reduces plastic waste while making it possible to cultivate herbs and vegetables in compact spaces.
Garlic is an ideal candidate for bottle gardening. It has a simple structure, doesn’t require deep soil, and grows well in containers. Plus, garlic offers dual benefits: you can harvest both the tender green shoots and the full bulbs, depending on how long you allow them to grow.
What You’ll Need
To get started with your eco-friendly garlic garden, gather the following materials:
-
1.5L or 2L plastic bottles (clear or lightly tinted)
-
Healthy garlic cloves (preferably sprouted or organic)
-
Nutrient-rich potting soil or compost mix
-
A sharp knife or scissors
-
A nail or screwdriver (for drainage holes)
-
String, wire, or hooks (for hanging setup)
-
A small trowel or spoon
-
Watering can or spray bottle
Choose garlic cloves that are plump and firm. Sprouted cloves (with small green shoots already emerging) tend to grow faster and more reliably.
Preparing the Bottle Planter
There are two main ways to prepare your plastic bottles: for hanging vertically or standing upright. Either way, drainage and planting holes are key.
-
Wash the bottle thoroughly and remove any labels.
-
Cut planting holes: Along one side of the bottle, cut circular or oval holes about 2 inches in diameter. These will hold the garlic cloves. Space them about 2–3 inches apart vertically.
-
Poke drainage holes in the bottom using a hot nail or screwdriver. Proper drainage is essential to prevent root rot.
-
Create a base layer of small stones or gravel inside the bottle to help with water flow.
-
Fill the bottle with potting mix, pausing to insert a garlic clove in each side hole as you layer upward. Ensure the clove is oriented with the pointed side facing up and the base covered in soil.
Setting Up Your Garlic Garden
For vertical setups, suspend the bottle using string or wire, securing it to a sunny window, balcony railing, or wall-mounted frame. If using upright bottles, you can place them on a shelf or ledge with the planting holes facing outward.
Make sure your garlic bottles receive at least 5–6 hours of sunlight each day. A south-facing wall or window works best. In lower-light environments, supplement with an indoor grow light.
Watering and Feeding
Water the soil whenever the top inch feels dry to the touch. Garlic prefers evenly moist conditions but will rot in soggy soil, so drainage is crucial. A spray bottle is helpful for watering without disturbing the soil too much in small openings.
Feed your garlic every 2–3 weeks with a diluted organic liquid fertilizer or compost tea. This will support healthy foliage growth and eventually strong bulb development.
Caring for Garlic in Bottles
Garlic is relatively pest-resistant, especially when grown off the ground in vertical containers. However, it’s still a good idea to check regularly for signs of aphids or fungal spots. Remove any yellow or damaged leaves to keep the plant healthy.
If growing indoors, make sure the room has good airflow. You can rotate the bottles every few days so all sides get equal sun exposure.
Harvesting Garlic
Garlic can be harvested in two ways:
1. Garlic Greens (Shoots):
After about 3–4 weeks, you can begin cutting the green shoots for cooking. Use clean scissors and only trim a few inches from each plant to allow continued growth.
2. Garlic Bulbs:
To harvest full garlic bulbs, allow the plants to grow for 6–8 months. The lower leaves will turn yellow and dry out as the bulbs mature. Once this happens, gently remove the plant from the bottle, shake off the excess soil, and let the bulbs cure in a dry, shaded area for two to three weeks.
Reuse and Rotate
After harvesting, clean out your bottle garden and refresh the soil with compost. You can plant more garlic cloves, or rotate with other compact vegetables like green onions, lettuce, or spinach.
This continuous cycle of planting and replanting keeps your small garden productive while extending the lifespan of your container setup.
Growing garlic in plastic bottles is a creative and sustainable way to enjoy fresh herbs and vegetables at home. It reduces plastic waste, saves space, and provides a rewarding harvest right from your wall, balcony, or window. With minimal effort and a little patience, you can enjoy eco-friendly garlic gardening with nothing more than a few bottles and some sunny space.


