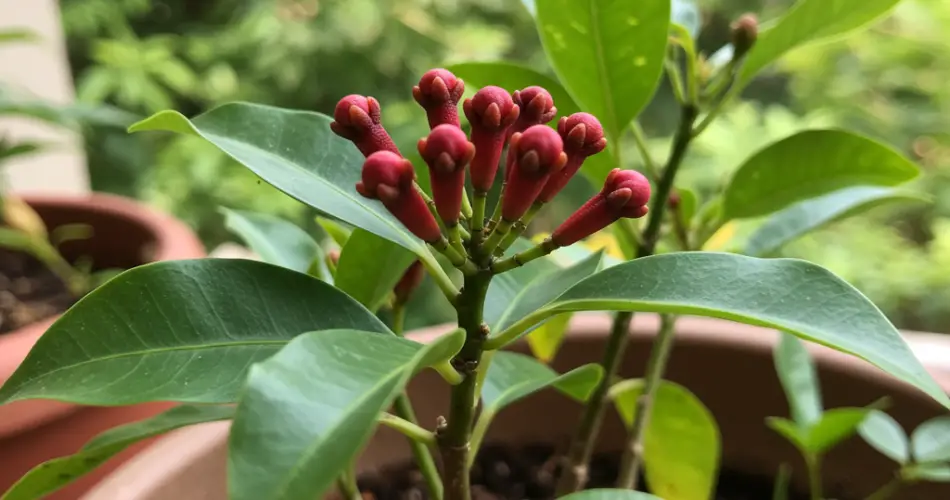
Cloves are one of the most aromatic and valuable spices in the world. Their distinctive scent and rich flavor make them an essential ingredient in cooking, baking, and even natural medicine. Known for their antibacterial, anti-inflammatory, and digestive properties, cloves come from the dried flower buds of the Syzygium aromaticum tree, native to Indonesia. While most people buy them dried from stores, you might be surprised to learn that it’s entirely possible to grow your own cloves at home. Though it requires patience, the process is deeply rewarding. Here’s a detailed step-by-step guide to help you grow clove plants from seeds and enjoy your very own supply of this exotic spice.
Step 1: Obtain Fresh Clove Seeds
The most important part of growing cloves starts with obtaining viable seeds. Clove seeds are not the same as the dried spice you find in your kitchen; those buds are no longer fertile. You’ll need to purchase fresh clove seeds from a reputable nursery, garden center, or trusted online seller. Always make sure the seeds are recent and have not dried out, as old seeds lose their ability to germinate. Ideally, choose seeds that are still slightly moist and plump for the best results.
If you live in a tropical or subtropical region, you can also collect seeds from a mature clove tree if one is available nearby. Remember, cloves grow best in warm, humid climates similar to their native environment in the Spice Islands.
Step 2: Prepare the Planting Medium
Clove seeds need a light, well-draining soil mix to germinate successfully. The ideal substrate should be rich in organic matter but airy enough to allow proper root development. A good mix includes two parts potting soil, one part sand or perlite, and one part compost or coconut fiber.
Before planting, moisten the soil lightly—just enough to make it damp but not soggy. Poor drainage can cause the seeds to rot before they even sprout. Fill small pots or seed trays with this mix, pressing it gently to remove air pockets.
Step 3: Plant the Seeds
Now it’s time to sow your clove seeds. Place them on the surface of the soil and gently press them down so they’re slightly embedded but not completely covered. Clove seeds need light to germinate, so burying them too deep may prevent sprouting.
Space the seeds about 5–7 cm apart if you’re using a tray. If you’re planting in individual pots, one seed per pot is ideal. After sowing, mist the surface with a spray bottle to keep the soil moist without overwatering.
Step 4: Provide the Right Light and Temperature
Clove seeds thrive in bright, indirect light and warm conditions. Place your pots or trays in a well-lit area—such as near a window with filtered sunlight—or under a grow light if natural light is limited. Avoid exposing the seeds to harsh, direct sunlight, as it can dry out the soil too quickly and harm the seedlings.
The ideal temperature for germination is between 25°C and 30°C (77°F to 86°F). If you live in a cooler region, you can cover the pots with plastic wrap or a humidity dome to retain warmth and moisture, creating a mini greenhouse effect.
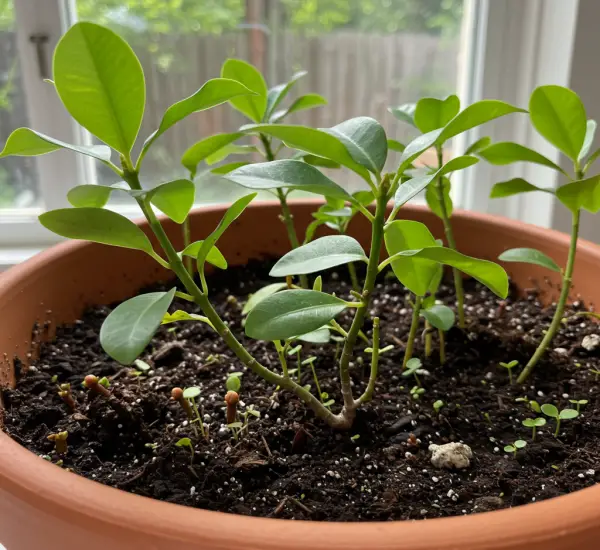
Step 5: Water and Care During Germination
Consistency is key when it comes to watering. The soil should remain evenly moist but never waterlogged. Check the moisture level daily by touching the surface of the soil; if it feels dry, mist it lightly.
Clove seeds are slow to germinate. You can expect to see the first shoots appear within 3 to 6 weeks. Once the seedlings emerge, remove any covering and allow more airflow around the plants to prevent mold or fungal issues.
As the young plants grow, continue watering regularly and feed them with a mild, diluted liquid fertilizer once a month to encourage healthy root and leaf development.
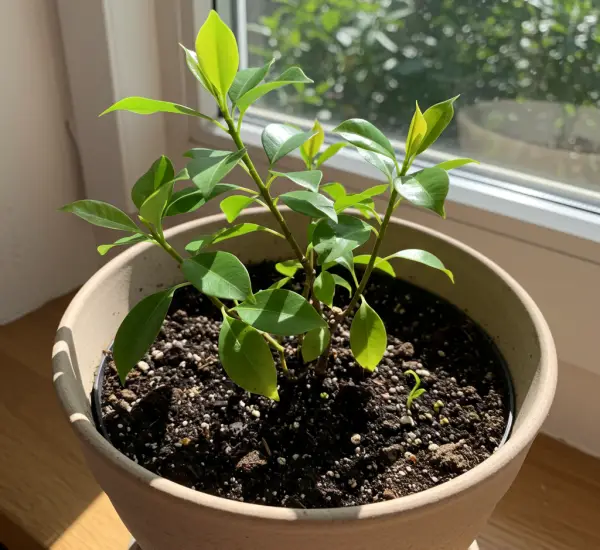
Step 6: Transplanting and Long-Term Care
When the seedlings reach about 10–15 cm in height and have developed several leaves, they are ready to be transplanted into larger pots or directly into the ground. Choose a sunny location that offers partial shade during the hottest part of the day.
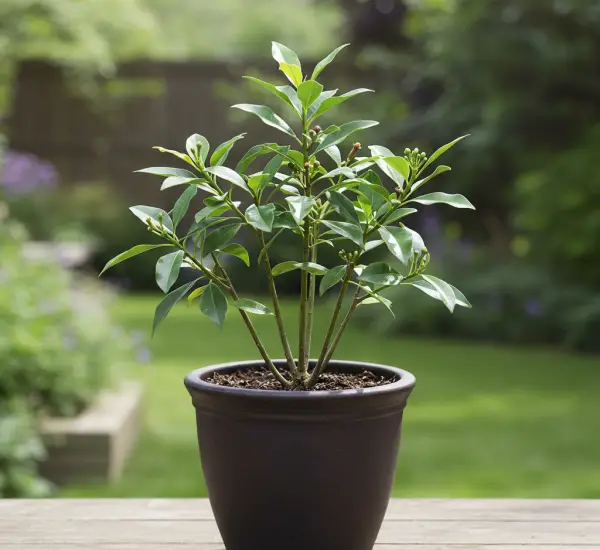
Clove trees prefer rich, well-drained, and slightly acidic soil. Mix compost or aged manure into the planting site to boost fertility. If you’re growing them in pots, make sure the containers have drainage holes to avoid root rot.
Clove trees are slow-growing and can take several years to mature and produce flowers. However, with consistent care—watering during dry periods, occasional pruning, and light fertilization—you’ll be rewarded with a beautiful evergreen tree that not only enhances your garden but also provides aromatic cloves for years to come.
Final Thoughts
Growing cloves at home from seeds is a slow but fulfilling process. It teaches patience and care, and the reward—a fresh supply of your own hand-grown spice—is worth every effort. By following these steps, maintaining proper humidity, warmth, and light, you can successfully nurture clove trees that will one day produce the fragrant buds used in cuisines and remedies around the world.
So, the next time you add a pinch of clove to your tea or dish, imagine harvesting it from your own homegrown tree—proof that even the most exotic spices can thrive right in your garden.