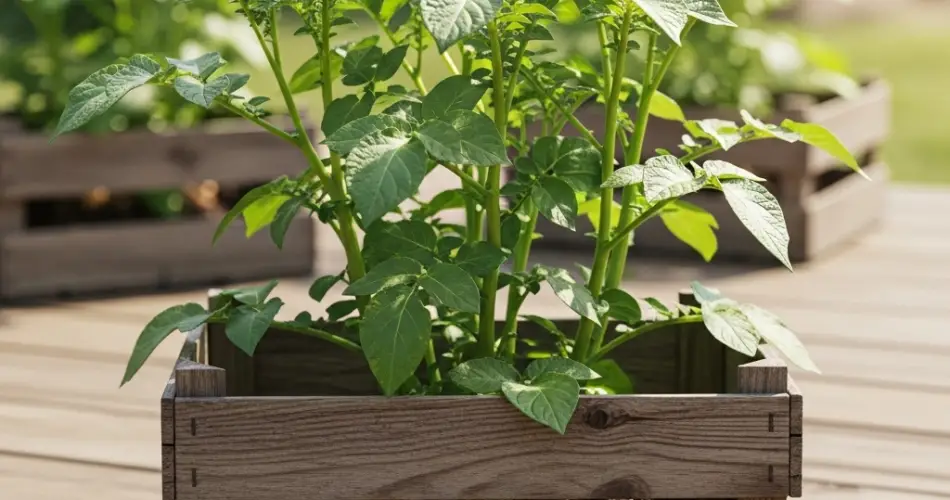
Growing your own potatoes doesn’t have to be a back-breaking task that demands a large garden plot. With the crate method, you can cultivate a delicious harvest in a compact, controlled space—perfect for small yards, patios, or even balconies. This approach is simple, efficient, and rewarding, allowing you to enjoy fresh potatoes straight from your backyard to your kitchen.
Why Choose the Crate Method?
The crate-growing method solves many of the challenges traditional potato gardeners face. Instead of dealing with heavy soil, weeds, and deep digging, you can grow potatoes in a portable, manageable container. Crates allow you to:
-
Control soil quality and composition.
-
Ensure proper drainage and aeration.
-
Easily harvest potatoes without damaging them.
-
Move the container if sunlight or weather conditions change.
This method is ideal for urban gardeners, beginners, or anyone who wants a low-maintenance way to produce fresh spuds at home.
Selecting the Right Crates
Choose sturdy wooden crates or plastic produce bins with good ventilation. Wooden fruit or vegetable crates are often inexpensive and easy to find. The crate should be at least 14–16 inches deep to give potato tubers enough room to develop.
If your crate doesn’t have gaps at the bottom, drill several drainage holes to prevent waterlogging. For extra convenience, line the inside with breathable landscape fabric or burlap to keep the soil contained while allowing water to drain freely.
Preparing the Soil Mix
Potatoes need loose, fertile soil that won’t compact as they grow. A good mix includes:
-
50% quality garden soil
-
30% compost for nutrients
-
20% coarse sand or perlite for drainage
This blend encourages strong root growth and healthy tuber formation. Avoid clay-heavy soil, which can retain too much water and lead to rot.
Getting Your Seed Potatoes Ready
Purchase certified seed potatoes from a reputable supplier. Unlike store-bought potatoes, seed potatoes are disease-free and ideal for planting.
A few days before planting, cut large seed potatoes into chunks about the size of a golf ball, making sure each piece has at least two “eyes” or sprouting points. Let the cut pieces air-dry for 24–48 hours to form a protective skin that reduces the risk of rotting once planted.
Planting Your Potatoes in Crates
-
Fill the crate with 6 inches of your prepared soil mix.
-
Place seed potato pieces cut-side down with the eyes facing upward, spacing them 8–10 inches apart.
-
Cover with 3–4 inches of soil.
As your potato plants grow, keep adding soil or mulch around the stems to cover new growth—a process called “hilling.” Continue until the soil reaches the top of the crate. This encourages more tubers to develop along the stem.
Sunlight and Watering Needs
Potatoes need at least 6–8 hours of direct sunlight daily. Position your crate where it can receive full sun for most of the day.
Water regularly to keep the soil evenly moist, but avoid waterlogging. In hot weather, container soil can dry quickly, so check moisture levels daily. Water deeply so the moisture reaches the developing tubers.
Feeding Your Potato Plants
Balanced nutrition is key to a healthy potato harvest. Use a low-nitrogen fertilizer or organic options like bone meal and compost tea. High nitrogen levels produce lush foliage at the expense of tuber growth. Feed your plants every 4–6 weeks during the growing season.
Managing Pests and Diseases
Crates naturally reduce some soil-borne diseases by allowing you to start with fresh soil each season. However, you should still keep an eye out for pests like Colorado potato beetles and aphids. Hand-pick beetles and consider using organic pest control sprays if needed.
To prevent disease buildup, avoid planting potatoes in the same soil two years in a row. Rotate with crops such as beans, lettuce, or herbs.
Harvesting Your Potatoes
Your potatoes are ready to harvest when the plants have flowered and the leaves begin to yellow and wilt. For early “new potatoes,” you can gently dig around the plants 2–3 weeks after flowering to collect small, tender tubers.
For the full harvest, wait until the foliage has completely died back. Then, simply tip the crate over onto a tarp or soft surface and sift through the soil to collect your potatoes.
Storing Your Harvest
After harvesting, brush off excess soil but don’t wash the potatoes right away. Let them air-dry in a cool, shaded place for a few days to cure the skins, which helps them store longer. Store cured potatoes in a dark, well-ventilated area at around 45–50°F.
Final Thoughts
The crate method makes growing potatoes straightforward, space-saving, and productive. With a few basic supplies, regular care, and patience, you can enjoy the satisfaction of cooking with your own freshly dug potatoes. From planting in spring to serving them on your table, this method takes you from crate to kitchen with minimal effort and maximum flavor.


