Garlic is one of the easiest and most rewarding crops to grow at home—even without a garden bed. With just a few pots and some patience, you can grow your own fresh, flavorful garlic from individual cloves. Whether you’re short on outdoor space or want to control growing conditions more closely, container-grown garlic offers a simple solution for homegrown flavor.
From planting to harvest, this guide will walk you through growing garlic successfully in pots.
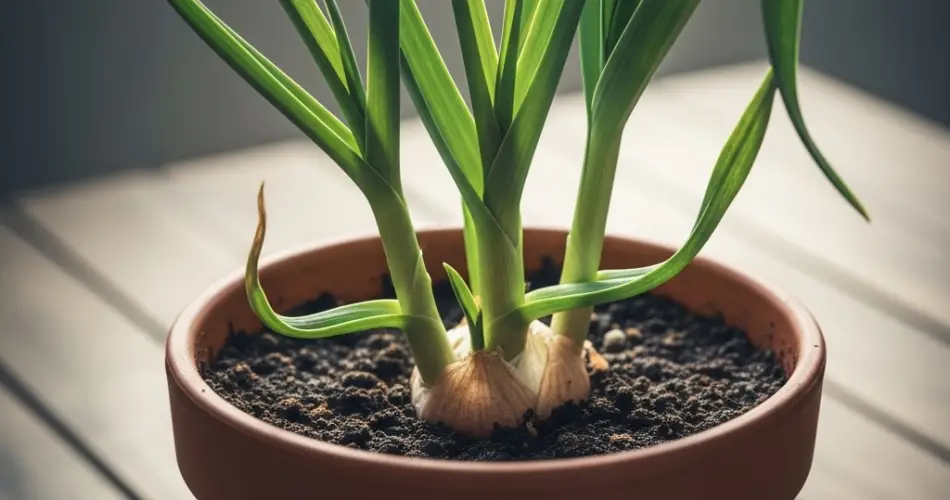
Why Grow Garlic in Pots?
Garlic adapts well to container growing, making it perfect for balconies, patios, or sunny windowsills. Growing in pots offers several benefits:
-
Space-saving: No need for a garden; even a small corner gets the job done.
-
Mobility: You can move containers to follow the sun or protect them from frost and rain.
-
Soil control: Garlic prefers loose, well-drained soil—easier to achieve in pots.
-
Pest management: Containers reduce the risk of soil-borne pests and diseases.
While garlic takes several months to mature, it’s a low-maintenance crop that requires minimal care once planted.
Choosing Garlic for Planting
Garlic is typically grown from cloves, not seeds. You can use cloves from store-bought garlic, but for the best results, choose organic or seed garlic from garden centers or online suppliers. Non-organic garlic from the grocery store may be treated with sprout inhibitors.
There are two main types of garlic:
-
Hardneck garlic: Produces flower stalks (called scapes) and larger cloves. Best for colder climates.
-
Softneck garlic: Lacks scapes and stores longer. Ideal for milder climates and often found in supermarkets.
Either type can be grown in pots, though hardneck garlic may need deeper containers due to its larger size.
Best Containers for Garlic
Choose a container that is at least 8–10 inches deep with good drainage. Garlic needs room for roots to grow and for bulbs to expand underground. You can plant multiple cloves in a wide container—just space them at least 4–6 inches apart.
Terracotta pots, fabric grow bags, plastic planters, and even recycled buckets work well. Just make sure the container has drainage holes to prevent waterlogging.
Soil Requirements
Garlic thrives in loose, fertile, and well-draining soil. Use a high-quality potting mix blended with compost or well-rotted manure. Avoid heavy clay soils that can restrict bulb development or cause rot.
Garlic prefers slightly acidic to neutral pH levels (6.0 to 7.0). To improve drainage and aeration, you can mix in some perlite or coarse sand.
Before planting, mix a slow-release organic fertilizer into the soil to give the cloves a nutrient boost during early growth.
Planting Garlic in Pots
Garlic is usually planted in the fall for a summer harvest, but in mild climates, it can be planted in early spring.
Here’s how to plant:
-
Separate cloves from the garlic bulb, keeping the papery skin intact.
-
Plant cloves upright (pointy end up) about 2 inches deep.
-
Space cloves 4–6 inches apart.
-
Cover with soil, gently press down, and water thoroughly.
Place the pot in a sunny spot—garlic needs 6–8 hours of sunlight daily.
Watering and Care
Garlic requires consistent moisture during its early growth, especially while roots and shoots are forming. Water when the top inch of soil feels dry, but avoid overwatering—garlic dislikes soggy conditions.
Reduce watering as the bulbs mature, especially as the leaves begin to yellow. Too much water at this stage can lead to rotting or small, split bulbs.
Feeding with a diluted liquid fertilizer every few weeks during spring supports healthy leaf and bulb development. Choose a balanced or nitrogen-rich organic fertilizer.
Garlic Scapes: An Edible Bonus
If you’re growing hardneck garlic, you’ll notice a central stalk curling upward in late spring—this is the garlic scape. Snip it off when it begins to curl. Removing scapes helps the plant focus energy on bulb formation, and the scapes themselves are delicious in stir-fries, pestos, or soups.
Harvesting Garlic
Garlic is ready to harvest when the lower leaves turn brown, and only the upper leaves remain green—typically 7–9 months after planting.
To harvest:
-
Stop watering about a week before harvest to allow the bulbs to dry slightly.
-
Gently loosen the soil and lift the bulbs out—avoid pulling by the stem.
-
Brush off excess soil and let the bulbs cure in a dry, shaded, well-ventilated area for 2–3 weeks.
Once the skins are dry and papery, trim the roots and stems. Store garlic in a cool, dark, and dry place. Properly cured bulbs can last several months.
Final Tips for Success
-
Don’t plant cloves that are soft or damaged—they won’t sprout properly.
-
Rotate pots if sunlight is uneven across the day.
-
Watch for pests like onion maggots or fungal issues; proper drainage helps prevent these problems.
-
Save your largest cloves from the harvest to plant next season for even bigger bulbs.
Growing garlic in pots is a simple, satisfying way to produce your own flavorful bulbs at home. With a bit of planning and patience, you can enjoy a harvest that enhances every meal—and all from a small container space.


