Going on vacation or simply forgetting to water your plants can lead to wilted leaves and stressed greenery. Fortunately, with a simple and adjustable DIY drip irrigation system, you can ensure your plants stay hydrated for weeks without daily attention. This method is cost-effective, easy to set up, and ideal for both indoor and outdoor plants.
Understanding Drip Irrigation
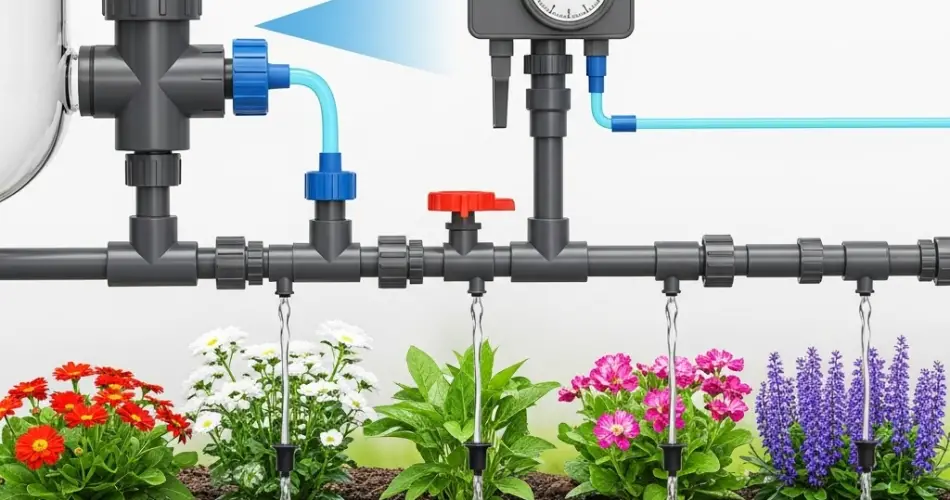
Drip irrigation is a method that delivers water directly to the plant’s root zone, minimizing evaporation and water waste. By providing a slow, consistent moisture supply, plants receive the hydration they need without the risk of overwatering. This system is especially beneficial during hot weather or extended absences.
Materials Needed
To create your own adjustable drip irrigation system, gather the following materials:
-
Plastic Bottles: 1-liter or 2-liter bottles work well.
-
Fabric Strips: Cotton or other absorbent materials.
-
Sticks or Stakes: To support the bottles.
-
Tape: Waterproof tape is preferable.
-
Scissors or Knife: For cutting bottles and fabric.
Step-by-Step Guide
1. Prepare the Bottle
-
Clean the plastic bottle thoroughly.
-
Cut off the bottom of the bottle to create an opening for refilling water.
2. Create the Wick
-
Cut a strip of fabric approximately 1 inch wide and long enough to reach from the bottle cap into the soil.
-
Insert the fabric through the bottle cap, leaving a few inches protruding from the top.
-
Screw the cap back onto the bottle, ensuring the fabric is secured.
3. Assemble the System
-
Attach the bottle to a stick or stake using tape, positioning it so the cap faces downward.
-
Insert the protruding fabric into the soil near the plant’s base.
-
Fill the bottle with water through the open bottom.
4. Adjust the Flow
-
The tightness of the fabric in the cap determines the water flow rate.
-
A tighter fit slows the drip, while a looser fit increases it.
-
Monitor the system and adjust as necessary to match your plant’s needs.
Alternative Methods
Olla Irrigation
An ancient technique involves using unglazed terracotta pots, known as ollas, buried near plants. These pots slowly release water through their porous walls, providing consistent moisture directly to the roots. Ollas are effective for various garden settings and can be a stylish addition to your garden design.
String Wick System
Another simple method uses absorbent strings or shoelaces. Place one end in a water reservoir and the other end into the plant’s soil. The string will gradually draw water from the reservoir to the plant, maintaining soil moisture over time.
Tips for Success
-
Test Before Leaving: Set up the system a few days before your absence to ensure it’s working correctly.
-
Use Mulch: Applying mulch around plants helps retain soil moisture.
-
Group Plants: Placing plants together creates a microclimate that reduces evaporation.
-
Shade Sensitive Plants: Move delicate plants out of direct sunlight to minimize water loss.
Advantages of DIY Drip Irrigation
-
Cost-Effective: Utilizes readily available materials, reducing the need for expensive equipment.
-
Customizable: Easily adjusted to suit different plant sizes and water requirements.
-
Water Efficient: Delivers water directly to roots, minimizing waste.
-
Low Maintenance: Once set up, requires minimal oversight.
Conclusion
Maintaining plant health during vacations or busy periods doesn’t have to be challenging. With a simple DIY drip irrigation system, you can provide consistent moisture to your plants, ensuring they thrive even in your absence. Whether you choose the bottle and fabric method, ollas, or string wicks, these solutions offer peace of mind and healthier plants.


