If you’ve ever dreamed of having fresh herbs at your fingertips, rosemary is a perfect place to start. Fragrant, hardy, and incredibly versatile in the kitchen, rosemary grows surprisingly well even in limited spaces. For balcony dwellers or apartment residents, a recycled plastic bottle planter offers a smart, space-saving way to cultivate this resilient herb without the need for a yard or expensive pots.
This easy method not only provides fresh rosemary year-round, but it also helps repurpose plastic waste into a productive and decorative part of your balcony garden.
Why Rosemary is Ideal for Balcony Growing
Rosemary (Rosmarinus officinalis) is a Mediterranean herb that thrives in sunny conditions and doesn’t need constant attention. It’s well-suited to containers, particularly when drainage is good and the roots aren’t waterlogged.
For urban gardeners, growing rosemary in a DIY bottle planter offers several benefits:
-
Compact size: Great for small balconies or window ledges.
-
Low maintenance: Once established, rosemary is drought-resistant and easy to care for.
-
Long lifespan: With proper pruning, a single plant can produce for years.
-
Multi-use: From cooking to air freshening, rosemary is a valuable household plant.
What You’ll Need
To create your own bottle rosemary planter, gather the following items:
-
One clean, empty 1.5 to 2-liter plastic bottle
-
Scissors or a sharp knife
-
Cotton rope, shoelace, or fabric strip (for a wick)
-
Mesh screen or coffee filter
-
Potting mix suitable for herbs
-
A young rosemary plant or healthy cutting
-
Water
-
Optional: Decorative paper, twine, or paint to disguise the bottle
Step 1: Cut and Build the Planter
Start by cutting the bottle horizontally, about one-third of the way from the top. You’ll be using the top section (the neck and shoulders) as the planting chamber, and the bottom section as the water reservoir.
Poke a small hole in the cap and insert a wick made from cotton or fabric. Let 4–5 inches hang below the cap and a few inches above it. This wick will transport water upward from the reservoir to the plant’s roots.
Tightly screw the cap back on with the wick in place, and invert the top section into the bottom. You now have a self-watering planter.
Step 2: Prepare the Planting Area
Place a piece of mesh, paper towel, or coffee filter inside the neck area to keep the soil from falling into the reservoir while still allowing the wick to draw moisture.
Fill the top with a light, well-draining mix. Rosemary prefers soil that mimics its native, rocky Mediterranean environment. A good mix is:
-
2 parts potting soil
-
1 part coarse sand or perlite
-
1 part compost
This combination ensures excellent drainage and moderate nutrition.
Step 3: Planting Rosemary
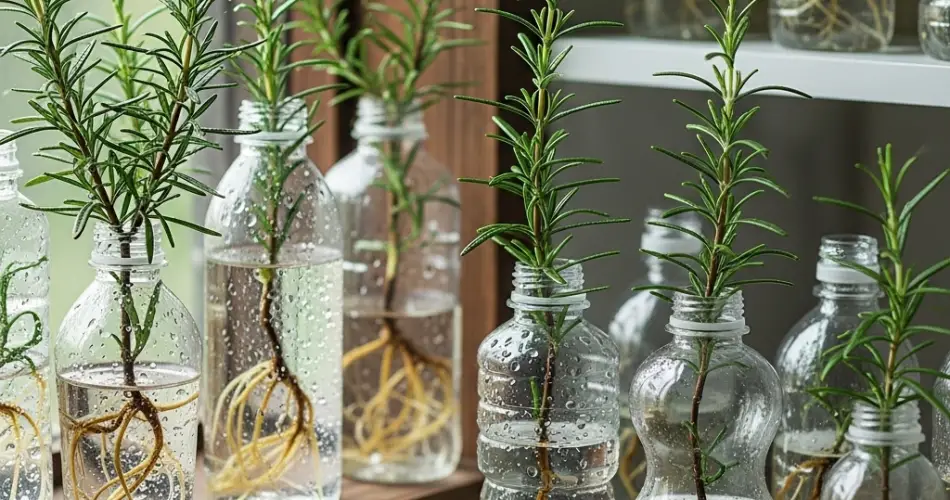
Rosemary can be grown from seed, but it’s much easier to start with a nursery seedling or a cutting. If planting a cutting, ensure it has healthy roots first. Place the rosemary into the soil and press gently to firm it in place.
Water the soil surface lightly to help the roots settle in. Fill the lower reservoir with clean water until the wick is submerged.
Step 4: Sunlight and Placement
Rosemary requires full sun—at least 6 to 8 hours per day. Place the bottle planter on a sunny balcony, windowsill, or shelf where it will receive consistent light.
If natural sunlight is limited, supplement with an LED grow light. Rotate the planter every few days to encourage even growth and prevent leaning.
Maintenance and Care
Watering:
Thanks to the wick system, the plant receives steady moisture from below. Refill the reservoir when it’s about half-empty. Avoid overfilling—rosemary does not like soggy roots.
Feeding:
Feed once a month using a mild, balanced organic fertilizer diluted to half strength. Too much nitrogen can result in leggy growth and poor flavor.
Pruning:
Regular trimming encourages bushier growth. Cut just above a leaf node and avoid removing more than one-third of the plant at a time. Use sharp scissors to snip sprigs for cooking.
Pest Watch:
Rosemary is naturally pest-resistant, but it’s good practice to inspect for aphids or spider mites. If needed, spray with a mild soap and water solution or neem oil.
Tips for Balcony Success
-
Use mulch, such as fine bark or dry leaves, to reduce moisture loss from the topsoil.
-
Repaint or decorate your bottle planter to blend with your balcony décor.
-
In heavy rain or extreme heat, move the planter to a sheltered spot if possible.
-
Clean the reservoir every few weeks to prevent algae or mold.
Enjoy Homegrown Rosemary Anytime
With a few simple tools and an empty plastic bottle, you can turn limited outdoor space into a productive herb corner. A bottle-grown rosemary plant will not only add beauty and greenery to your balcony but also provide you with a steady supply of fresh leaves for teas, seasoning, and household aromatherapy.
This easy project is a great entry point into sustainable urban gardening, combining creativity, recycling, and the joy of growing your own herbs—all from a simple plastic bottle.


