Maintaining consistent moisture for your plants can be a real challenge, especially during hot seasons or if you’re going away for a few weeks. Overwatering or underwatering can lead to stunted growth, yellowing leaves, or even plant death. A simple and cost-effective solution is DIY drip irrigation using a common household item: a plastic can or bottle. This method delivers water slowly and directly to the roots, ensuring that your plants stay hydrated without the need for daily care.
Here’s how to create your own drip irrigation system using a plastic can, how it works, and tips for getting the most out of it.
Why Use Drip Irrigation?
Drip irrigation is a method of watering plants that delivers moisture directly to the soil near the root zone. Instead of soaking the surface or relying on overhead sprinklers, this system keeps water loss to a minimum. It prevents evaporation, reduces the risk of fungal diseases caused by wet leaves, and ensures water penetrates deeper into the soil.
The great news? You can build a functional drip system with minimal tools and zero expensive equipment.
Materials You’ll Need
To get started, you only need a few basic supplies:
-
A large plastic can or bottle (3–5 liters capacity)
-
A nail or a small screwdriver
-
A candle or lighter
-
String or wire (optional, for hanging or anchoring)
-
A sharp knife or scissors
Step-by-Step Instructions
1. Prepare the Can
Clean the can thoroughly to remove any residue, especially if it previously contained anything other than water. Let it dry completely.
2. Create the Drip Outlet
Use a nail and a lighter or candle to heat the tip. Once hot, carefully pierce a small hole near the bottom of the can. This hole will serve as the slow-drip outlet.
Tip: Start with just one small hole. You can test the water flow and add another if needed. The goal is to allow water to drip slowly, not pour.
3. Make a Vent Hole
Make a second hole at the top of the can, on the opposite side from the drip hole. This acts as an air vent, allowing the water to flow smoothly.
4. Position the Can
Place the can next to your plant, with the drip hole facing the base of the stem. You can set it directly on the soil or anchor it using string or a wooden stake to keep it upright. If you’re working with larger garden beds, you may want to bury the can slightly for added stability.
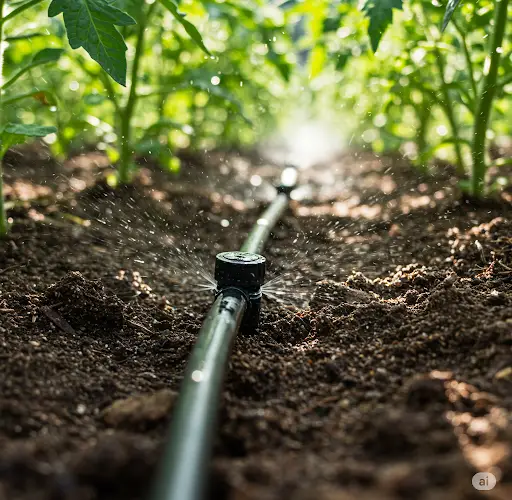
How It Works
Once filled with water, gravity and air pressure allow the water to drip slowly from the bottom hole. This slow release keeps the soil consistently moist around the root zone without flooding. Depending on the size of the hole and the can, this system can water a plant for up to 30 days.
For example, a 5-liter can with a single 1mm hole can drip continuously for about 2–3 weeks, depending on the climate and soil absorption. Adjust the hole size or add a second hole if more water is needed.
Best Practices and Tips
-
Test before relying fully: Try the setup for a day or two to ensure the flow rate is appropriate for your plant’s needs.
-
Use multiple cans for larger gardens: For beds with multiple plants, place one can per 2–3 plants to ensure even coverage.
-
Add fertilizer to the water: You can mix in liquid organic fertilizer to feed the plants as you water.
-
Prevent mosquito breeding: Seal the top hole with a piece of cloth or fine mesh to keep insects out.
-
Use rainwater: If available, rainwater collected in barrels can be a great eco-friendly source for your drip system.
Ideal Plants for This Method
This DIY drip irrigation system is ideal for:
-
Tomatoes
-
Peppers
-
Eggplants
-
Cucumbers
-
Ornamental plants and shrubs
-
Indoor and balcony plants
It’s particularly useful for plants that dislike overhead watering or require consistent moisture.
Low Cost, High Efficiency
This system is not only cheap and easy to build but also highly effective for maintaining consistent soil moisture. It reduces the amount of water wasted, encourages deeper root growth, and cuts down the time spent on manual watering. Best of all, it gives you peace of mind when you’re away from home.
Whether you’re an experienced gardener or just getting started, this homemade drip irrigation solution is a game-changer—especially during dry seasons or busy schedules.


