Plastic waste is one of the greatest environmental challenges of our time. Every day, we come into contact with an enormous amount of it, often without even realizing just how much passes through our hands. From water bottles to food packaging, plastic is everywhere. While recycling programs exist, reusing plastic creatively at home is one of the most effective ways we can reduce our environmental footprint.
One overlooked source of plastic waste is cooking oil containers. Whether large or small, they usually end up in the recycling bin—or worse, the trash—after use. But what if these bottles could have a second life? With a little creativity and just a few supplies, you can transform an empty plastic oil bottle into a practical and stylish bag dispenser. Perfect for storing plastic shopping bags or reusable totes, this DIY project is simple, sustainable, and surprisingly elegant.
Why Reuse Oil Bottles?
Cooking oil is commonly sold in large plastic containers that are sturdy and durable, but once empty, they often get discarded. Instead of throwing them away, reusing them reduces waste and saves money while giving you a custom household item. With just one bottle, some fabric, glue, and a few craft materials, you can create a dispenser that keeps plastic bags organized and easy to access.
This project is not only eco-friendly but also highly functional. Many households struggle with piles of shopping bags crammed into drawers or cupboards. A bag dispenser solves this problem by providing a neat, compact way to store and dispense them, all while giving an ordinary oil bottle a second life.
Materials You Will Need
To start, gather the following items:
-
An empty plastic oil bottle (the larger sizes work best).
-
A sharp cutter or craft knife.
-
Strong adhesive or a hot glue gun.
-
Decorative fabric of your choice.
-
Scotch tape to cover cut edges.
-
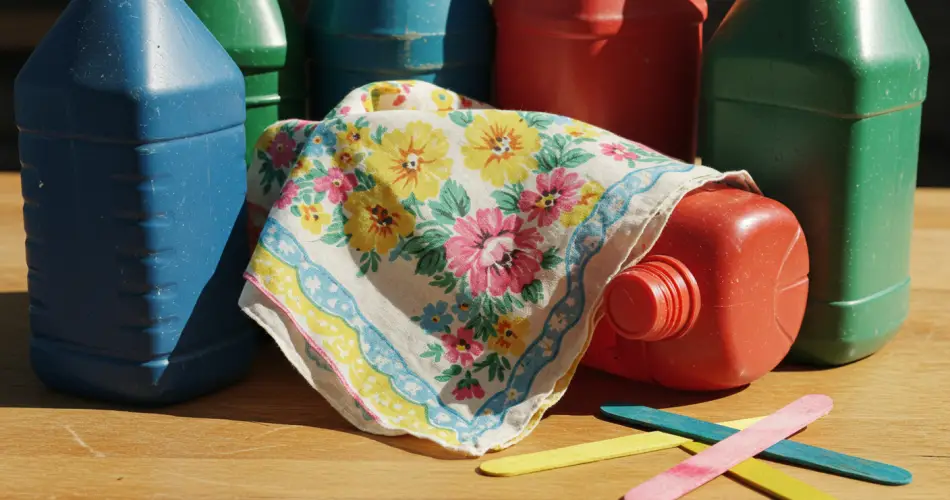
Two flat wooden sticks or craft sticks.
-
A piece of felt (for the opening flap).
-
Ribbon or small straps for handles.
-
Optional: cardboard for reinforcement, beads, or extra decorations.
Most of these materials are easy to find at home or in any basic craft kit.
Step 1: Clean and Prepare the Bottle
Before anything else, wash the oil bottle thoroughly. Oil residues can make it difficult for glue to stick and may cause odors over time. Use hot, soapy water to clean the container and let it dry completely.
Once clean, cut off both the top and bottom of the bottle using a sharp cutter. This will leave you with a hollow cylinder. To avoid sharp edges, cover the cut areas with Scotch tape. This not only makes the project safer but also ensures that the fabric will adhere smoothly in later steps.
Step 2: Line the Inside with Fabric
Choose a fabric pattern that suits your style—floral, geometric, neutral, or colorful. Cut a piece large enough to line the entire interior of the bottle. Insert the fabric inside and glue it securely using hot glue. Leave a small edge of fabric hanging over the outside; this overlap will later be glued down to secure the lining neatly in place.
This step gives your dispenser a polished look, hiding the plastic and creating a clean interior.
Step 3: Create the End Caps
Your dispenser needs two caps: one for the top and one for the bottom.
-
Bottom Cap (with hole): This will be the dispensing end. Cut a round piece of cardboard to fit the bottom opening. Cover one side with fabric and leave the other side plain, or reinforce it with a similar-colored piece of cardboard. Before attaching, cut a circular hole in the center. This hole will allow bags to be pulled out easily.
-
Top Cap (solid): For the upper end, create another round piece of cardboard. This one should be fully covered with fabric on one side, while the outer surface will be decorated with flat wooden sticks glued in place for a natural, rustic look.
Attach both caps securely with glue.
Step 4: Decorate the Exterior
To disguise the plastic exterior, glue flat wooden sticks along the outside of the bottle. These can be popsicle sticks, coffee stirrers, or any slim wooden craft pieces. Position them neatly, side by side, to cover the entire surface. The result will resemble a wooden container rather than a recycled plastic bottle.
Add extra decorative details if you wish—such as beads, lace, or painted designs. This step allows you to personalize the dispenser and match it to your home décor.
Step 5: Add an Opening Flap and Handles
The dispenser needs an accessible top so that you can insert new bags. To achieve this, attach a simple flap made of felt. Cut a small rectangle, glue it to the upper cap on one side, and let it fold over as a cover. Secure it with a piece of Velcro, a button, or even a small magnet if you prefer.
For convenience, add ribbon loops or fabric straps to the sides or top, creating handles for carrying or hanging. These can be glued securely and reinforced with stitches if necessary.
Step 6: Load and Use Your Dispenser
Once the dispenser is complete, fold plastic bags neatly and insert them from the top. Pull them out one by one through the bottom hole as needed. The dispenser can be placed in the kitchen, utility room, or even hung in a pantry or garage.
Not only does this DIY project keep bags organized, but it also reduces clutter and ensures that bags are always within reach when you need them.
The Benefits of Creative Recycling
Transforming an empty oil bottle into a bag dispenser might seem like a small gesture, but it represents a powerful shift in how we view everyday waste. Instead of discarding useful materials, we can extend their life, reduce plastic pollution, and create items that are practical and even beautiful.
Projects like this encourage a more sustainable lifestyle, inspire creativity, and remind us that recycling doesn’t always have to mean sending items off to a facility. Sometimes, with a bit of imagination, we can repurpose things ourselves and enjoy both the process and the result.
So next time you finish a bottle of cooking oil, don’t throw it away. Turn it into something useful, stylish, and eco-friendly—your very own handmade bag dispenser.


