
Halloween is just around the corner, and that means it’s time to fill your home with spooky yet charming decorations. While many people rush to buy ready-made items from stores, there’s something truly satisfying about creating your own festive décor from simple, recycled materials. Not only is it eco-friendly, but it also adds a unique and personal touch to your Halloween setup.
If you’re looking for a fun and inexpensive craft to do at home, here’s the perfect idea: Halloween pumpkin lanterns made from bread bags. Yes, those simple brown paper bags from your local bakery can be transformed into glowing pumpkin-shaped lanterns that will light up your home with an enchanting autumn vibe. Follow this step-by-step guide to bring this creative project to life.
Why Choose DIY Halloween Decorations?
Before diving into the craft, it’s worth appreciating the value of handmade Halloween decorations. Creating your own décor lets you express creativity, recycle everyday materials, and spend quality time with friends or family. Plus, it’s a great way to decorate your home without spending much.
These paper pumpkin lanterns are especially appealing because they combine the rustic charm of paper with the cozy glow of light. Whether you place them indoors or outdoors, they’ll immediately add warmth and character to any Halloween setup.
What You’ll Need
The best part of this project is that you probably already have most of the materials at home. Gather the following items before you begin:
-
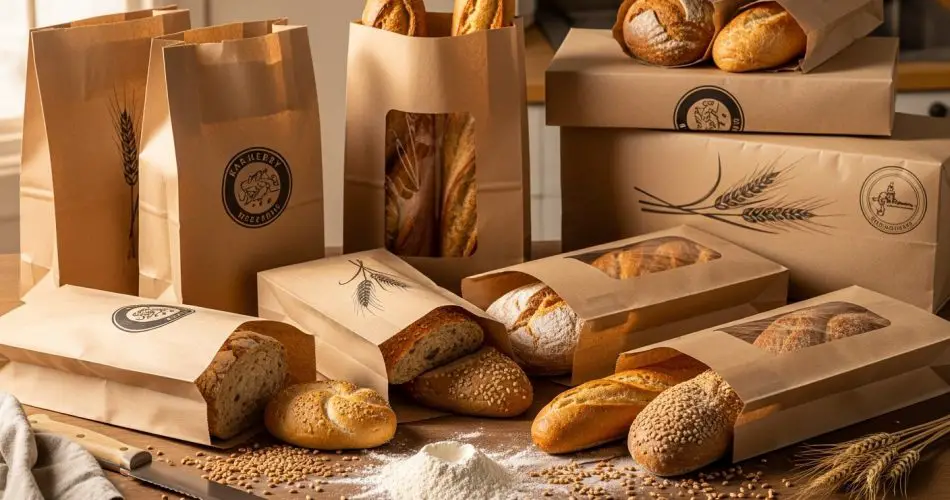
Brown paper bread bags (like the ones used by bakers)
-
White acrylic paint
-
A small paintbrush
-
A cutter or craft knife
-
Elastic bands
-
Electric tea lights or small LED lights (never use real candles for safety reasons)
-
Twine or string
-
Glue or hot glue gun
-
A block of Styrofoam (to use as a base while working)
-
A bowl of water (for mixing the paint)
-
Optional: black marker or paint for drawing pumpkin faces
Step-by-Step Instructions
1. Prepare Your Workspace
Start by setting up a clean, flat area to work on. Place the block of Styrofoam on the table — this will serve as a base when puncturing the bags later. Make sure your tools, paint, and other materials are within easy reach.
2. Lay Out the Bread Bags
Take one paper bag and spread it flat over the Styrofoam block. Using a pin or a sharp object, gently pierce small holes all over the surface of the bag. These tiny perforations will allow the light to shine through later, giving your lantern a magical glow.
3. Cut an Opening
With a craft knife, cut a small rectangular opening in the center of one side of the bag. This will act as the window for the light to pass through or a place where you can insert your LED candle. Be careful not to tear the paper while cutting.
4. Mix and Apply the Paint
In a small bowl, mix the white acrylic paint with a bit of water until you achieve a smooth, runny consistency. Using your brush, paint the entire surface of the bag, covering it completely. The diluted paint will not only give the bag a softer texture but will also help strengthen it as it dries.
5. Shape the Pumpkin
Once painted, allow the bag to become slightly damp but not too wet. Now comes the fun part — crumple and shape the bag to give it the appearance of a round pumpkin. Insert your hands inside the bag to puff it up and gently stretch the sides to create a plump, spherical form.
6. Secure the Top
Gather the open end of the bag at the top and tie it tightly with an elastic band. This will help the bag hold its pumpkin-like shape while drying. To speed up the process, you can use a hairdryer on a low setting, but be careful not to overheat or scorch the paper.
7. Add the Finishing Touches
Once the bag is completely dry and firm, it’s time to decorate. Insert your electric tea light through the opening you made earlier, securing it with a dab of hot glue if needed. Then, take a piece of twine or string and wrap it around the top of the bag where you placed the elastic. Tie a knot or a small bow — this will mimic the pumpkin’s stem and add a rustic finish.
You can stop here if you prefer a minimalist look, or continue to the next step for a classic Halloween twist.
Optional: Add Pumpkin Faces
To give your lanterns a playful or spooky expression, draw eyes, a nose, and a mouth on the front using a black marker or black paint. You can make them scary, goofy, or friendly — let your imagination run wild! Kids especially love this part, as it allows them to personalize their pumpkins however they like.
If you’re making multiple lanterns, vary the faces so each one has a unique character. Together, they’ll create a delightful Halloween display that’s sure to catch everyone’s attention.
Where to Display Your Paper Pumpkin Lanterns
These lanterns are incredibly versatile. Here are a few ideas for where to place them:
-
By the front door: Welcome trick-or-treaters with glowing pumpkin lights that set the mood.
-
On the porch or balcony: They create a soft, warm ambiance for outdoor gatherings.
-
In the living room or hallway: Add a cozy, festive feel to your indoor spaces.
-
Along the garden path: Line several lanterns along a walkway to guide guests to your home.
For outdoor use, make sure the weather is dry, or protect the lanterns under a covered area to prevent moisture damage.
Final Tips
-
Avoid real flames: Since these lanterns are made from paper, only use electric or battery-powered lights for safety.
-
Experiment with color: Instead of white paint, try orange or even gold tones for a more authentic pumpkin look.
-
Make a bunch: The more lanterns you create, the more striking your Halloween display will be. Group them in clusters for maximum visual effect.
In Conclusion
This easy and eco-friendly DIY project proves that you don’t need expensive materials to create stunning Halloween décor. With just a few paper bread bags, some paint, and a bit of imagination, you can craft charming pumpkin lanterns that bring magic to your home. Whether you display them inside or outside, these glowing creations will instantly add a festive spirit — and a touch of handmade charm — to your Halloween night.
So grab those bread bags, roll up your sleeves, and get ready to light up your Halloween with creativity!