Tomatoes are one of the most popular crops among home gardeners. They’re tasty, versatile, and relatively easy to grow—but they do need support as they grow taller and heavier with fruit. If you’re gardening in a small space or looking to reduce waste, a DIY bottle trellis offers a clever and eco-friendly way to train your tomato plants using recycled materials.
Whether you have a balcony, a rooftop garden, or a modest backyard, this method makes it possible to grow healthy, upright tomatoes using plastic bottles and minimal materials.
Why Use Bottles for a Trellis?
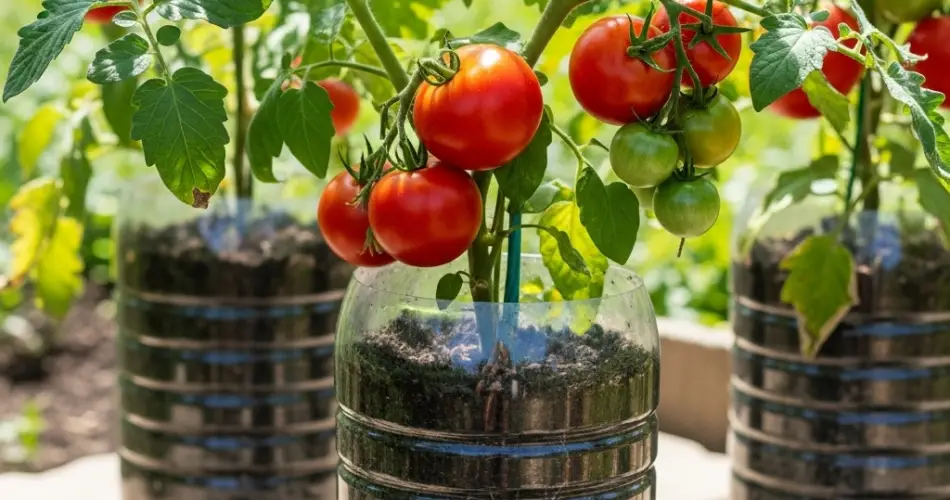
Plastic bottles are abundant and easy to repurpose. When used creatively, they can form a strong vertical support structure for tomato plants. A bottle-based trellis allows your tomatoes to grow upward instead of sprawling out, maximizing limited space and improving air circulation. This reduces the risk of diseases like blight or mildew and makes harvesting much easier.
Moreover, this DIY solution is cost-effective, environmentally conscious, and surprisingly sturdy when constructed correctly.
Materials You’ll Need
-
6 to 10 used plastic bottles (1–2-liter size is ideal)
-
Scissors or a cutter
-
Rope, twine, or garden wire
-
A stick, metal rod, or bamboo pole for central support
-
Pot or planter box for your tomato plant
-
Quality potting mix
-
Tomato seedling or established plant
Optional:
-
Zip ties or hot glue for reinforcement
Step 1: Choose a Sturdy Container
Begin by planting your tomato seedling in a large pot, crate, or grow bag. Tomatoes have deep root systems and need plenty of space to thrive. Choose a container at least 30 cm deep and wide, with drainage holes at the bottom. Fill it with nutrient-rich potting mix, ideally one with compost or slow-release fertilizer mixed in.
Place the container in a sunny location—tomatoes need at least 6–8 hours of sunlight per day.
Step 2: Prepare the Plastic Bottles
Clean the bottles thoroughly and remove any labels. Using scissors or a cutter, cut off the bottoms of the bottles, leaving the top portion with the neck intact. Then, poke two small holes on opposite sides near the cut edge. These will be used to thread twine or wire through.
Repeat this process with all your bottles. You’re essentially creating a stackable series of rings or cones that will help support the plant as it grows.
Step 3: Assemble the Trellis
Insert a bamboo pole or stick vertically into the center of your tomato pot, driving it down deep to stabilize the structure. This will serve as the spine of your trellis.
Now, slide the first plastic bottle (neck side up) down over the pole. It should rest on the surface of the soil. Thread garden twine or wire through the holes in the bottle to secure it in place. Continue stacking the other bottles in a similar way, threading each one to the pole and tying them to one another for extra stability.
The neck openings and bottle contours will help guide the tomato stem upward and keep it from flopping over. As the plant grows, it will weave through the bottles, using them as climbing rings.
Step 4: Support the Tomato Plant
Carefully guide the tomato stem through the center of the bottle structure. If needed, use additional twine or soft plant ties to loosely secure the stem to the pole and bottles as it grows. Avoid tying it too tightly—tomato stems can be fragile.
You can also prune the lower leaves to improve air circulation at the base and encourage upward growth.
Step 5: Water and Feed
Tomatoes need consistent watering, especially during flowering and fruiting. Water deeply when the top layer of soil feels dry. Be cautious not to overwater, especially in containers.
Feed your tomato plants every two weeks with a balanced liquid fertilizer or compost tea. Once flowering begins, switch to a tomato-specific fertilizer high in potassium for better fruit development.
Step 6: Monitor Growth and Adjust as Needed
As your tomato plant continues to grow, check the trellis regularly. Adjust the twine, guide stems through bottle rings, and prune off suckers (side shoots between main stem and leaf branches) if you’re aiming for a single main vine.
The trellis should continue to support the plant through flowering and fruiting stages, keeping the stems and fruit off the ground.
Benefits of the Bottle Trellis Method
-
Space-saving: Vertical growth makes it ideal for balconies or patios.
-
Cost-effective: Uses recycled bottles and basic materials.
-
Promotes healthy growth: Better air flow and sun exposure.
-
Sustainable: Repurposes plastic waste into something useful.
Final Thoughts
A bottle trellis is a practical and eco-friendly way to grow tomatoes in limited spaces. It’s proof that gardening doesn’t need to be expensive or complicated. With a few recycled materials and a little creativity, you can support healthy, productive tomato plants and enjoy a delicious harvest—straight from your DIY garden setup.
Give this method a try, and you might find your balcony or backyard full of thriving tomato vines, thanks to a few simple bottles.


