Elephant ear succulents are some of the most sought-after plants in the world of gardening. Their large, stunning leaves and vibrant appearance make them a favorite choice for many plant lovers. However, if you’re thinking about purchasing one from the garden store or florists, stop right there! There’s a way you can grow your own elephant ear succulent at home without spending a single penny. In this article, I’ll show you a simple technique that allows you to propagate and grow your own elephant ear plant using just a few cuttings.
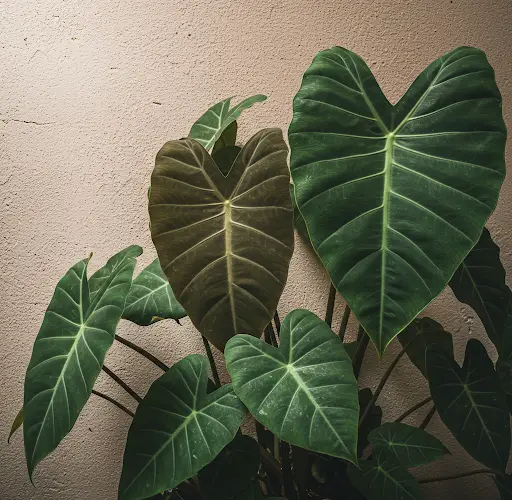
Before we dive into the details, take a look at my own elephant ear succulent. Isn’t it just beautiful? It’s thriving, and I want to help you achieve the same success in your own garden.
How to Propagate Elephant Ear Succulents
First things first, if you don’t already have an elephant ear plant, don’t worry! You can easily get a few cuttings from a neighbor, a friend, or even someone nearby who has one. Just ask for a few healthy branches, and you’ll be ready to go. Once you have the cuttings, follow these steps:
-
Prepare the Cuttings: Gather the cuttings of your elephant ear succulent. Make sure they’re healthy and free from damage or disease. If the plant is well-established, you can even cut a few branches to propagate.
-
Water and Submerge: Once you have the cuttings, place them in a container with clean water. Preferably, use water without chlorine to ensure the roots can grow properly. Submerge the cut ends of the cuttings in the water, making sure the branches are fully covered.
-
Wait for Roots to Grow: Leave the container in a bright area, but not in direct sunlight. It’s important to avoid placing the cuttings under harsh sun, as this can harm the plant. Keep the container on top of your refrigerator or in another well-lit, indirect-light area. Let the cuttings sit in the water for anywhere between 7 to 25 days. During this time, you’ll notice roots beginning to form on the cuttings.
-
Prepare the Soil: While waiting for the roots to grow, prepare a pot for planting. Choose a small-sized pot, and at the bottom, add a layer of stones or gravel to prevent water from pooling at the roots, which could cause them to rot. Next, mix the soil. Use a light, well-draining soil mix. You can use a combination of peat moss, sand, and some worm castings to create an ideal medium for the succulent. A mixture of garden soil with added sand will also work.
-
Plant the Cuttings: Once the cuttings have developed strong roots, it’s time to plant them. Take the rooted cuttings and gently place them into the prepared pot with the soil mix. Be careful not to damage the newly formed roots during this process. After planting, lightly water the soil, ensuring that it’s moist but not waterlogged.
-
Initial Care: During the first 7 to 14 days after planting, keep the young succulent in indirect sunlight or bright shade. This gives the plant time to adapt to its new environment without the stress of direct sun exposure. Over the next couple of weeks, you should start seeing the plant grow and thrive.
Aftercare and Tips for Thriving Elephant Ear Succulents
Once your elephant ear succulent is established, it’s time to start caring for it properly to ensure it continues to thrive:
-
Sunlight: Elephant ear plants love sunlight. If you want to encourage healthy growth and vibrant colors, place your plant in a location where it will receive plenty of light. Ideally, the plant should be exposed to direct sunlight for several hours a day. If grown in shade, the leaves may turn a dull, dark green, lacking the vibrant hues that make this succulent so popular.
-
Watering: As with many succulents, elephant ear plants don’t need to be watered excessively. Let the soil dry out between watering. Over-watering can lead to root rot, which can kill the plant. It’s better to water deeply but less frequently than to water lightly and too often.
-
Fertilizing: To encourage strong growth and healthy leaves, fertilize your elephant ear plant every 15 days with a natural fertilizer. You can use worm castings, chicken manure, cow manure, bone meal, or even eggshells and coffee grounds. These will provide the necessary nutrients for your plant without harming it.
-
Troubleshooting: If you notice the leaves of your elephant ear turning yellow, this is typically a sign of nitrogen deficiency. In this case, add some nitrogen-rich fertilizer, such as chicken manure or compost, to help your plant recover.
Conclusion
Now that you know how to propagate and care for your own elephant ear succulents, you can avoid spending money at the store and enjoy these stunning plants in your own home. The propagation process is simple and cost-effective, and with proper care, you’ll have a thriving plant in no time. By following these easy steps, you can enjoy the beauty of elephant ear succulents without breaking the bank!