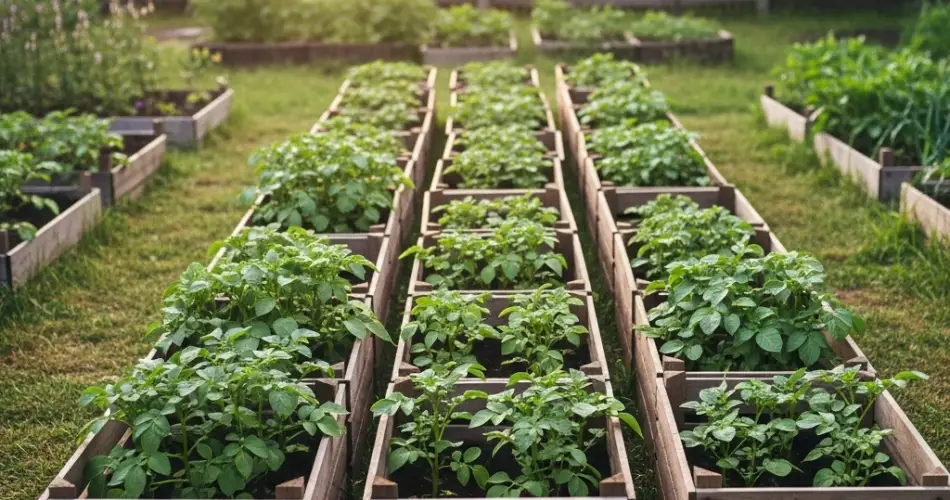
Potatoes are a staple in many kitchens and surprisingly easy to grow—even if you don’t have a garden. If you’re dealing with limited space on a balcony, patio, or small backyard, building a potato tower using wooden crates is a smart and compact solution. With vertical crate planting, you can enjoy a generous harvest in a small footprint while reusing materials you might already have.
This method relies on stacking crates and gradually adding soil as the potato plants grow upward. Not only does this save space, but it also encourages more tuber production along the buried stems, making it an efficient way to grow your own potatoes at home.
Why Grow Potatoes in Crate Towers?
Traditional potato farming requires wide plots of land and frequent hilling of soil to cover growing stems. In contrast, crate towers replicate that hilling process vertically. Each layer of the crate is added as the potato plants grow taller, and the added soil encourages new tuber development. This vertical method:
-
Conserves ground space
-
Recycles old wooden crates or boxes
-
Makes harvesting easier
-
Reduces pest problems common in open soil
-
Keeps plants off soggy or poor-quality ground
It’s a great option for renters, balcony gardeners, or those with compact outdoor spaces.
Materials You’ll Need
To set up a successful potato crate tower, gather the following:
-
3 to 4 stackable wooden crates (each around 12–16 inches tall)
-
High-quality, well-draining potting mix
-
Compost or aged manure
-
Seed potatoes (choose early or mid-season varieties)
-
Landscape fabric or burlap sacks (optional for lining)
-
Watering can or hose with gentle spray
You can either build your own crates using untreated wood or repurpose existing ones, such as fruit crates. Just ensure they’re sturdy enough to support the weight when stacked.
Preparing Your Crates
-
Line the Inside (Optional)
If your crates have wide gaps, line the inside with landscape fabric or burlap to prevent soil from spilling out while still allowing for drainage. -
Ensure Good Drainage
Make sure each crate has gaps at the bottom or drilled holes to allow excess water to escape and prevent root rot.
Planting Your Potatoes
-
Start with the Base Crate
Place the first crate in a sunny spot—potatoes need at least 6 hours of full sun each day. Add 4–6 inches of soil mixed with compost to the bottom. -
Plant the Seed Potatoes
Cut your seed potatoes into chunks, each with at least one or two “eyes.” Allow them to sit for a day to dry before planting. Space 3 to 4 seed pieces evenly in the crate and cover them with another 3–4 inches of soil. -
Water Thoroughly
Keep the soil evenly moist but not soggy. Consistent moisture is important for healthy growth and good tuber development.
Building the Tower as Plants Grow
-
Add the Next Crate Layer
When the potato shoots grow 6–8 inches tall, gently add another crate on top and backfill with soil until only the top couple of inches of the shoots are visible. This process mimics “hilling,” where soil is gradually added to support the growing stem. -
Repeat the Process
As plants continue to grow, keep adding crates and soil. You can typically stack up to 3 or 4 crates depending on plant vigor and height. -
Maintain Moisture and Light
Always water thoroughly after adding new soil and make sure the tower remains in a well-lit location. Avoid letting the tower dry out, especially during hot weather.
Maintenance and Pest Control
-
Mulching: Use straw or dry leaves to help retain soil moisture in the upper layers.
-
Fertilizing: If your initial soil mix was rich, additional feeding might not be necessary. Otherwise, feed with an organic fertilizer midway through the growing cycle.
-
Pest Watch: Growing in crates reduces ground pests, but keep an eye out for aphids or leaf-eating insects.
Harvesting Your Potatoes
After 90 to 120 days—depending on the potato variety and conditions—the plants will start to yellow and wilt, signaling the end of the growth cycle.
-
Stop Watering
Cease watering about a week before harvest to allow the skins to mature and make storage easier. -
Disassemble the Crate Tower
Carefully remove the top crate and sift through the soil to collect mature potatoes. Continue this process crate by crate until you reach the base. -
Cure Before Storing
Let your harvested potatoes sit in a cool, dry place for 7–10 days to toughen the skin before long-term storage.
Benefits of Crate Potato Gardening
-
Space-saving and ideal for balconies or patios
-
Uses vertical space effectively
-
Cleaner and easier harvest than digging
-
Fun for kids and beginner gardeners
-
Reduces back strain from bending or digging
Final Thoughts
Crate towers offer a practical and rewarding way to grow potatoes at home without needing a traditional garden bed. With just a few stacked crates, good soil, and regular care, you can enjoy fresh, homegrown potatoes even in the smallest of spaces.
Whether you’re looking to grow your own food, reduce waste by reusing materials, or experiment with vertical gardening, crate tower potatoes are a satisfying solution for the modern urban grower.


