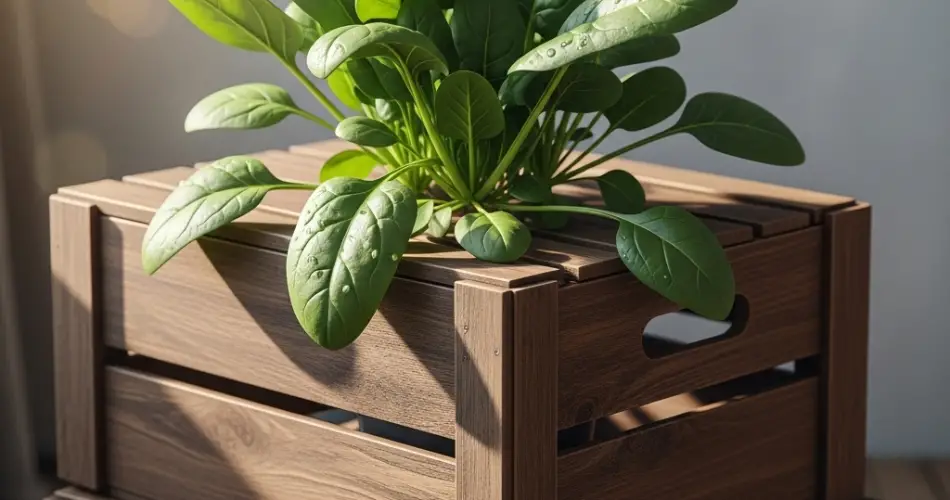
Spinach is one of the healthiest and most versatile leafy greens you can grow at home. It’s rich in iron, calcium, vitamins A and C, and perfect for salads, stir-fries, and smoothies. If you’re living in a small space like an apartment or condo, don’t worry—you can still grow a thriving spinach crop using wooden crates right on your balcony.
This simple and sustainable method of container gardening is not only space-efficient but also cost-effective. By repurposing wooden crates, you can grow a lush bed of spinach in a small area while adding a touch of greenery to your outdoor space.
Here’s a step-by-step guide to growing spinach in crates on your balcony.
Benefits of Crate Gardening for Spinach
-
Space-saving: Ideal for balconies, rooftops, or narrow walkways.
-
Portable: Move the crate to catch sunlight or shelter the plants from rain.
-
Eco-friendly: Reuses wood materials, reducing plastic waste.
-
Well-draining: Prevents waterlogging, which spinach doesn’t tolerate well.
What You’ll Need
-
A wooden crate (minimum 8 inches deep)
-
Garden fabric or old sack (for lining the crate)
-
Potting soil
-
Organic compost or fertilizer
-
Spinach seeds or seedlings
-
Watering can or spray bottle
-
Gardening trowel or hand shovel
-
Optional: mulch, shade netting
Step 1: Prepare Your Crate
Choose a sturdy wooden crate, such as an old fruit or vegetable box. If the wood is untreated, it’s better for growing edibles. Line the inside of the crate with breathable material like garden fabric, an old rice sack, or burlap. This keeps the soil from spilling while still allowing drainage.
Ensure there are a few holes in the bottom or gaps between slats to drain excess water. You can elevate the crate slightly using bricks or small blocks to improve airflow and drainage beneath the box.
Step 2: Mix the Soil
Spinach grows best in rich, loose, and well-draining soil. Prepare a mix using two parts potting soil, one part compost or aged manure, and a little sand or coco peat for aeration.
Fill the crate with the prepared soil mix, leaving about 1–2 inches of space from the top rim. Water the soil lightly to moisten it before planting.
Step 3: Plant the Spinach
You can grow spinach either from seeds or transplants. Seeds are cost-effective and easy to sow.
From seed: Sow the seeds directly into the soil, spacing them about 2–3 inches apart. Make shallow furrows or small holes about ½ inch deep, cover them lightly with soil, and gently pat it down.
From seedlings: If using transplants, space them 4–6 inches apart. Gently press them into the soil and firm around the roots.
Water immediately after planting to help seeds germinate or seedlings settle in.
Step 4: Choose the Right Spot
Place your crate in a location that gets at least 4–6 hours of sunlight per day. Spinach prefers cooler temperatures, so morning sunlight with afternoon shade is ideal, especially in warmer climates.
During hot months, consider using a shade cloth to protect plants from heat stress and prevent premature bolting (flowering).
Step 5: Watering and Feeding
Keep the soil consistently moist but never soggy. Overwatering can lead to root rot. Use a watering can with a gentle spout or a spray bottle to moisten the soil evenly.
Spinach is a leafy crop that benefits from nitrogen-rich feed. Apply a diluted organic liquid fertilizer (like compost tea or fish emulsion) every 10–14 days to promote lush growth.
You can also top-dress with compost once or twice during the growing season.
Step 6: Maintenance and Care
-
Thinning: If seedlings are overcrowded, thin them when they reach about 2 inches tall. This ensures proper airflow and allows remaining plants to grow bigger.
-
Weeding: Remove any weeds that may compete with spinach for nutrients and space.
-
Pest control: Watch out for aphids, leaf miners, and snails. Hand-pick pests or use organic insecticidal soap or neem oil as needed.
-
Mulching: A light layer of dry leaves or straw helps retain soil moisture and suppress weeds.
Step 7: Harvesting
Spinach can be harvested in 4–6 weeks after sowing. For a continuous harvest, use the “cut-and-come-again” method:
-
Snip the outer leaves when they are 4–6 inches long, leaving the center intact so it continues growing.
-
Alternatively, harvest the entire plant if you need a larger batch, then replant in the same crate after enriching the soil.
By staggering your planting every two weeks, you can enjoy fresh spinach over an extended season.
Final Tips
-
Avoid letting spinach plants bolt (produce flowers), as this makes the leaves bitter. Harvest regularly to encourage more leaf production.
-
During heavy rains, move the crate to a sheltered area to prevent soil erosion or waterlogging.
-
Once the growing season ends, empty the soil, compost the roots, and refresh the crate for the next planting cycle.
Growing spinach in a crate on your balcony is an easy and rewarding way to bring fresh, nutritious greens into your home. With basic supplies and a bit of care, even small spaces can yield a satisfying and healthy harvest.


