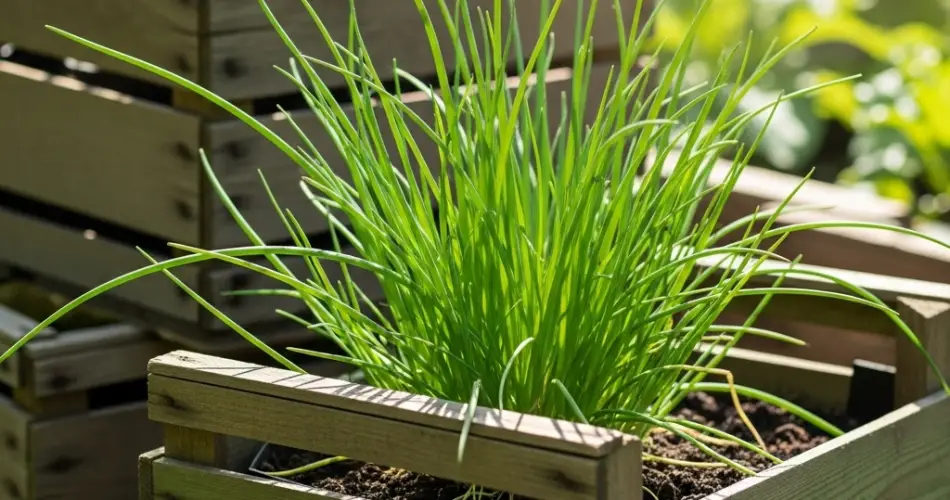
Chives are a versatile and easy-to-grow herb, prized for their delicate onion-like flavor and vibrant green, tubular leaves. They are a staple in salads, soups, omelets, dips, and garnishes, offering fresh flavor and color to any dish. For gardeners with limited outdoor space, cultivating chives in wooden or plastic crates is an ideal solution. Crate gardening maximizes space, promotes good drainage, and simplifies maintenance, making it perfect for balconies, terraces, patios, and small gardens. This guide provides practical tips for establishing a thriving chive garden in crates.
Choosing the Right Crates
Wooden crates are excellent for container gardening because they are sturdy, lightweight, and often available as repurposed or upcycled materials. Ensure the crates are clean, structurally sound, and free from harmful chemicals. Plastic crates can also be used if they provide sufficient drainage. For crates without holes, drill small openings in the bottom to allow excess water to escape and prevent root rot. Uniform crates create a tidy, organized appearance, while mixing sizes can add visual interest and charm to your garden space.
Selecting a Location
Chives thrive in full to partial sunlight, requiring at least four to six hours of light daily. Place your crates in a spot that receives morning sun and some afternoon shade if possible, especially in hot climates. Proper sunlight promotes strong, healthy growth and enhances the flavor of the leaves. Ensure the location allows easy access for watering, harvesting, and general care, and offers some protection from strong winds or extreme weather.
Preparing Crates for Planting
Proper drainage is essential for chives, which prefer well-draining soil to prevent root rot. Begin by lining the bottom of each crate with a thin layer of gravel, small stones, or broken terracotta. This ensures that excess water drains efficiently. Fill the crates with a light, well-draining potting mix enriched with organic matter. Chives grow best in moderately fertile soil, so adding compost or well-rotted manure supports healthy, vigorous growth. Leave about two centimeters of space at the top of the crate for watering and to prevent soil spillage.
Planting Chives
Chives can be grown from seeds, divisions, or nursery plants. Seeds should be sprinkled evenly over the soil surface and lightly covered with a thin layer of soil. Keep the soil consistently moist until germination, typically within 10–14 days. For divisions or nursery plants, gently separate the roots before planting and space them approximately 15 centimeters apart. Adequate spacing promotes airflow, reduces overcrowding, and encourages bushier, healthier growth.
Watering and General Care
Chives prefer consistent moisture but should not sit in waterlogged soil. Water thoroughly when the top layer of soil begins to dry, allowing water to reach the roots. Mulching with straw or shredded leaves helps retain moisture, regulates temperature, and minimizes weeds. Regular trimming or harvesting encourages bushier growth and prevents plants from becoming too tall or spindly. By keeping chives compact and healthy, you ensure a steady supply of flavorful leaves.
Fertilization and Growth Tips
Chives are low-maintenance but benefit from occasional light fertilization. Apply a balanced, water-soluble fertilizer every four to six weeks to promote strong growth. Frequent trimming not only provides fresh leaves but also encourages new shoots and prolongs the productive life of the plant. Chives can flower, producing attractive purple blooms. Harvesting the flowers before seeds form helps maintain leaf production and prevents the plants from self-seeding excessively.
Pest and Disease Management
Chives are generally hardy and resistant to many pests and diseases, but occasional problems can occur. Aphids, thrips, or fungal diseases such as powdery mildew may appear under certain conditions. Inspect plants regularly and treat infestations with organic insecticidal soap or gentle water sprays. Maintaining proper spacing, good airflow, and well-draining soil reduces the risk of most common problems.
Harvesting Chives
Begin harvesting chive leaves once the plants are well-established and at least 15 centimeters tall. Cut outer leaves first, leaving inner shoots intact to encourage continuous growth. Regular harvesting keeps plants compact and productive, providing a steady supply of fresh leaves for culinary use. Chives can be used fresh, frozen, or dried for later use, offering versatility in the kitchen.
Decorative and Practical Benefits
Crate-grown chive gardens are both practical and visually appealing. The lush green foliage adds beauty to balconies, terraces, and small outdoor spaces while offering culinary benefits. Using repurposed crates promotes sustainability and reduces waste, demonstrating eco-friendly gardening practices. Chives also attract pollinators with their flowers, enhancing biodiversity in your garden.
Expanding Your Crate Herb Garden
Once your chive crates are thriving, consider planting complementary herbs such as parsley, oregano, or thyme. These herbs grow well under similar conditions and create a diverse, aromatic container garden. Staggering or stacking crates vertically maximizes limited space while producing a lush, visually engaging display.
Growing chives in crates is a simple, sustainable, and space-efficient way to enjoy fresh herbs year-round. With proper sunlight, soil, watering, and care, your crate chive garden will flourish, providing aromatic leaves, decorative blooms, and practical culinary benefits, transforming small outdoor spaces into a functional and beautiful herb oasis.


