Cabbage is a hardy, cool-season crop that can provide abundant yields with proper care. Its crisp, leafy heads are a staple in many cuisines and ideal for fresh eating, cooking, or preserving. For new farmers and beginner gardeners alike, cabbage offers a great opportunity to learn the essentials of vegetable production. This step-by-step guide covers everything from selecting seeds to harvesting full heads.
Step 1: Choosing the Right Variety
Start by selecting the right cabbage variety for your climate and intended harvest time. Cabbage comes in several types:
-
Green cabbage: The most common variety with smooth, round heads.
-
Red cabbage: Slightly peppery in flavor, excellent for salads and pickling.
-
Savoy cabbage: Wrinkled, tender leaves with a milder taste.
When choosing seeds, consider maturity time. Early varieties mature in about 60–70 days and are suitable for spring or summer harvests. Late-season types take 90–120 days and are ideal for fall harvests and long-term storage.
Step 2: Starting Seeds or Transplanting
You can start cabbage from seeds indoors or purchase seedlings from a nursery.
-
Indoor seeding: Sow seeds indoors 6–8 weeks before your last frost date. Use a quality seed-starting mix and keep soil consistently moist.
-
Transplanting: Once seedlings have 3–4 true leaves and are hardened off, transplant them into the garden about 2–3 weeks before the last expected frost.
If you live in a region with mild summers, you can also direct sow seeds outdoors in early spring or midsummer for a fall harvest.
Step 3: Preparing the Soil
Cabbage grows best in rich, well-drained soil with a pH of 6.0–6.8. Prepare the bed by:
-
Adding plenty of compost or aged manure to improve soil fertility.
-
Tilling the soil to loosen it and remove any large clumps.
-
Applying a balanced fertilizer (like 10-10-10) before planting.
Cabbage prefers consistent moisture and a nutrient-rich environment to form solid, healthy heads.
Step 4: Planting and Spacing
Transplant cabbage seedlings into the garden on a cool, cloudy day or in the late afternoon to minimize transplant shock.
-
Spacing: Place plants 12–24 inches apart in rows spaced 18–30 inches apart, depending on the variety and desired head size.
-
Plant depth: Set seedlings at the same depth they were growing in their pots.
Add mulch around the base of each plant to retain moisture and suppress weeds.
Step 5: Watering and Feeding
Cabbage needs steady watering to thrive. Aim for about 1–1.5 inches of water per week, more during hot or dry periods. Avoid overhead watering to reduce the risk of fungal disease.
Feed your cabbage plants with a balanced fertilizer every 3–4 weeks or apply compost tea regularly. Too much nitrogen can delay head formation, so reduce feedings as heads start to form.
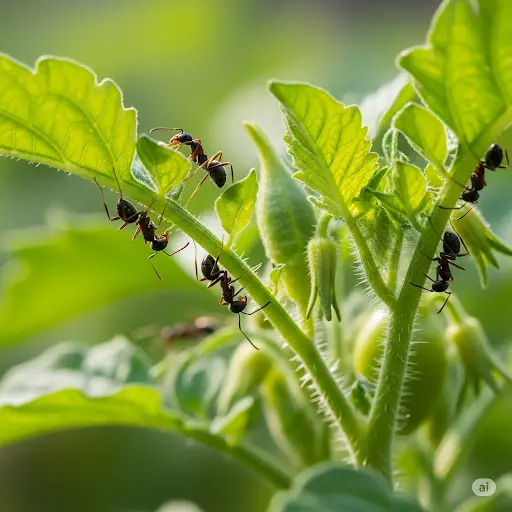
Step 6: Managing Pests and Diseases
Cabbage is a member of the brassica family and can attract a range of pests:
-
Cabbage loopers and worms: Check leaves for eggs and larvae, and remove by hand or spray with organic insecticidal soap or neem oil.
-
Aphids and flea beetles: Use row covers early in the season to keep these pests at bay.
-
Clubroot and black rot: Rotate crops each year and avoid planting cabbage in the same soil more than once every 2–3 years.
Healthy soil and proper spacing help reduce the likelihood of disease.
Step 7: Watching for Head Formation
Cabbage grows best in cooler weather. As the plant matures, it will begin forming a head in the center. Keep soil evenly moist and weed-free to support this development. Avoid disturbing the roots during this stage.
If a cabbage plant bolts (sends up a flower stalk), the head will stop forming. Bolting often happens due to heat stress or poor growing conditions.
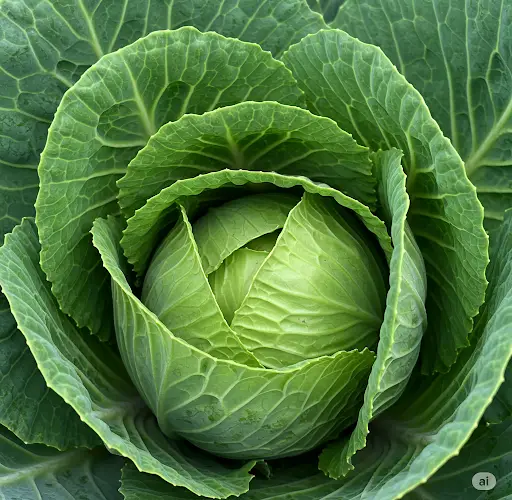
Step 8: Harvesting Cabbage
Cabbage is ready to harvest when the heads feel firm and dense to the touch. The size of the head will vary by variety, but most are ready when they reach about 4–8 inches in diameter.
-
Use a sharp knife to cut the head at the base.
-
Leave the outer leaves and root system in place—some plants will form smaller secondary heads you can harvest later.
Don’t wait too long to harvest, or heads may split and become unusable.
Step 9: Storage and Use
Fresh cabbage stores well in a cool, dark, and humid place. Keep the outer leaves intact to protect the inner layers during storage.
-
Cabbage can last several weeks in the refrigerator.
-
For longer-term storage, try fermenting cabbage into sauerkraut or pickling.
Final Tips for Success
-
Succession planting: Sow cabbage seeds every 2–3 weeks to stagger your harvests.
-
Crop rotation: Avoid planting cabbage or other brassicas in the same spot each year to prevent soil-borne diseases.
-
Companion planting: Growing herbs like dill and thyme nearby may deter pests naturally.
By following these simple steps, even beginner farmers can enjoy a plentiful cabbage harvest. With its nutritional value, versatility in the kitchen, and storage potential, cabbage is a smart addition to any home or market garden.