Thyme is a timeless herb that adds depth and aroma to countless dishes. Its subtle earthy flavor enhances soups, meats, vegetables, and bread, making it a kitchen staple. Beyond its culinary value, thyme also has medicinal properties, often used in teas for soothing coughs or supporting digestion. Growing thyme at home ensures you have a fresh supply year-round, but instead of always starting from seeds, you can multiply your plants through cuttings.
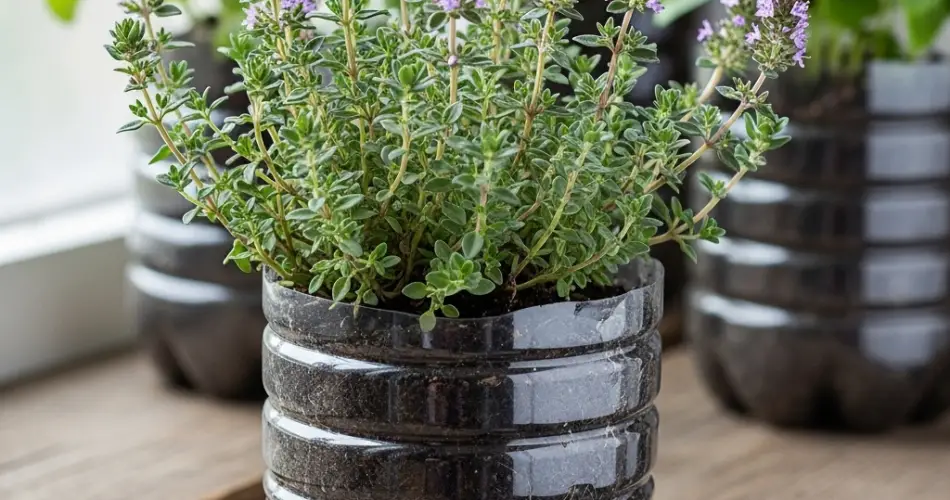
One of the simplest, most affordable methods to propagate thyme cuttings is with plastic bottles. This method creates the perfect environment for root growth, turning something you’d normally recycle into a functional gardening tool. With a little preparation, you can take a single stem and grow it into a thriving new thyme plant.
Why Use Bottles for Thyme Propagation?
Plastic bottles are lightweight, transparent, and easy to cut, making them excellent mini-greenhouses. When used for thyme propagation, bottles trap humidity, prevent the cutting from drying out, and provide protection from sudden temperature changes. They also allow you to monitor root development without disturbing the plant.
This technique is especially useful if you live in an apartment or small space. A sunny windowsill and a few recycled bottles are enough to build your own little propagation station.
Preparing Thyme Cuttings
Before you set up your bottle garden, start by selecting healthy stems from a mature thyme plant. The process is straightforward:
-
Choose the stem: Look for a stem that is 4–6 inches long, green, and not too woody. Younger growth tends to root faster.
-
Make a clean cut: Use sterilized scissors or pruning shears to snip just below a leaf node.
-
Remove lower leaves: Strip the leaves from the bottom half of the stem, leaving a cluster at the top. This reduces moisture loss while rooting.
-
Optional rooting boost: Dip the cut end in natural rooting aids such as cinnamon, honey, or aloe vera gel to prevent rot and encourage faster root development.
With your cuttings ready, it’s time to set up the bottle environment.
Creating a Bottle Propagation Setup
Follow these simple steps to create a rooting system for thyme cuttings using recycled bottles:
-
Select a bottle: A 1–2 liter transparent plastic bottle works best. The clear walls let in light while keeping the cutting moist.
-
Cut the bottle: Slice it horizontally about one-third from the bottom. The base will serve as a planting container, and the top can act as a dome.
-
Prepare the soil: Fill the bottom portion with well-draining soil. A mix of potting soil, sand, and perlite is ideal for thyme cuttings.
-
Insert the cutting: Place the stem in the soil, making sure at least one leaf node is buried. Gently firm the soil around it.
-
Add the dome: Place the top portion of the bottle back over the base, creating a humid enclosure. Keep the bottle cap off for light air exchange.
This setup acts as a self-sustaining greenhouse, keeping moisture locked in while providing the thyme cutting with a stable environment.
Caring for Thyme Cuttings in Bottles
Once your cutting is tucked into its bottle dome, a little attention goes a long way toward successful rooting:
-
Light: Place the bottle in a spot with bright, indirect light. Direct sunlight may overheat the dome and damage the cutting.
-
Water: Keep the soil evenly moist, but not waterlogged. Too much water can cause the stem to rot.
-
Ventilation: Open the dome daily for a few minutes to refresh the air and prevent mold buildup.
-
Temperature: Maintain a warm environment between 65–75°F (18–24°C).
With proper care, you should see signs of new growth in 2–4 weeks.
Signs of Root Development
As thyme begins forming roots, the cutting will look more vibrant and may start producing new leaves. Another way to check is to give the stem a very gentle tug. If you feel resistance, roots are anchoring into the soil.
Once the roots are established, gradually remove the dome for longer periods each day. This hardens off the young plant, helping it adjust to regular indoor air conditions. After a week of acclimation, the dome can be removed entirely.
Transplanting and Growing Strong Plants
When your thyme cutting has a healthy root system, it’s ready to be transplanted. Move it into a larger pot filled with well-draining soil. Place it in full sun, either outdoors or on a bright windowsill.
Continue to care for the plant by watering sparingly—thyme prefers slightly dry conditions. Prune regularly to encourage bushy growth and harvest sprigs as needed for cooking. A well-maintained thyme plant can thrive for years and provide a continuous supply of fresh herbs.
Final Thoughts
Propagating thyme in bottles is a simple, sustainable way to multiply your herb collection. With minimal effort and no need for specialized equipment, you can grow new plants from just a few cuttings. This method is not only eco-friendly but also rewarding, as you turn everyday materials into a tool for creating life.
By bottling your thyme cuttings, you create the perfect rooting environment, and before long, you’ll have thriving plants ready to flavor your meals. It’s a cost-effective, practical, and enjoyable project for anyone looking to bring more fresh herbs into their kitchen.


