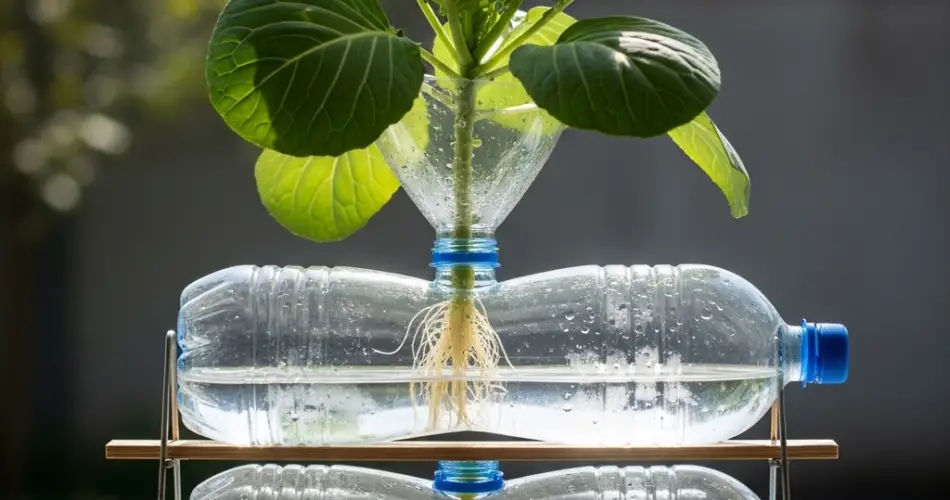
Growing cabbage from seed indoors allows gardeners to get a head start on the season and produce strong, compact seedlings ready for transplanting. One innovative, eco-friendly, and space-saving method to start cabbage seeds is using recycled plastic bottles as germination chambers. This approach creates a controlled environment that retains moisture and warmth, key factors for rapid germination and healthy seedling growth. This article walks you through setting up a bottle germination system for producing robust, compact cabbage starts.
Why Use Plastic Bottles for Germinating Cabbage Seeds?
Cabbage seeds need consistent moisture, warmth, and protection during germination and early growth stages. Plastic bottles offer several advantages:
-
Microclimate Control: Bottles trap humidity and heat, accelerating seed germination.
-
Seedling Protection: Shields delicate sprouts from drafts, pests, and temperature fluctuations.
-
Sustainability: Repurposes plastic waste, promoting environmentally friendly gardening.
-
Space Efficiency: Bottles are compact, perfect for small indoor spaces or limited gardening areas.
-
Easy Monitoring: Clear plastic allows observation of soil moisture and seedling progress without disturbance.
Materials Needed
-
Clear plastic bottles (1 to 2 liters)
-
Sharp scissors or utility knife
-
Seed-starting mix or light potting soil
-
Cabbage seeds
-
Spray bottle for gentle watering
Preparing the Bottle Germination Setup
-
Clean the Bottles: Thoroughly wash the bottles to remove any residue and ensure a safe environment for seeds.
-
Cut the Bottles: Cut the bottle horizontally about two-thirds from the bottom to create a planter base and a lid. The bottom will hold the soil and seeds, and the top serves as a humidity dome.
-
Add Drainage: Poke small holes in the bottom section to allow excess water to drain and prevent soggy soil conditions.
-
Ventilation: Either remove the bottle cap or punch a few small holes in it to allow air circulation while retaining humidity.
Preparing Soil and Sowing Seeds
Cabbage thrives in well-draining, nutrient-rich seed-starting mix:
-
Moisten the soil before filling the bottle planter to be damp but not waterlogged.
-
Fill the planter to about two inches below the rim, leaving space for watering and airflow.
-
Sow cabbage seeds about ¼ inch deep, spacing them adequately to prevent overcrowding.
-
Mist the soil gently with a spray bottle to settle the seeds.
-
Cover the planter with the bottle lid to create a mini-greenhouse that traps warmth and moisture.
Creating Optimal Germination Conditions
Cabbage seeds usually sprout in 5 to 10 days with the right care. To maximize germination:
-
Temperature: Keep the setup between 65°F and 75°F (18°C to 24°C). Use a heat mat if needed to maintain consistent warmth.
-
Light: Seeds don’t require light to germinate, but once seedlings emerge, provide 12 to 16 hours of bright, indirect light daily to prevent legginess.
-
Humidity: The bottle dome keeps moisture consistent; open it briefly each day to allow fresh air and reduce mold risk.
-
Moisture: Maintain moist, not soggy, soil; mist as necessary.
Caring for Seedlings After Germination
Once seedlings appear:
-
Gradually increase ventilation by propping the bottle lid open or removing it for extended periods to acclimate seedlings to ambient humidity.
-
Water carefully to keep soil moist without overwatering.
-
Thin seedlings if multiple seeds sprout, leaving the strongest plants spaced properly.
Transplanting Cabbage Seedlings
When seedlings develop two to three sets of true leaves and are sturdy (typically after 6 to 8 weeks), they are ready to be transplanted outdoors or into larger containers.
-
Hardening Off: Acclimate seedlings to outdoor conditions over 5 to 7 days by placing them outside for increasing periods daily.
-
Planting Location: Choose a sunny site with fertile, well-draining soil enriched with organic matter.
-
Planting Depth: Transplant at the same soil depth as they grew in the bottles.
-
Watering: Water well after transplanting and maintain consistent moisture as seedlings establish.
Common Challenges and Solutions
-
Damping-Off Disease: A fungal issue causing seedlings to wilt and die. Prevent by ensuring good airflow, using sterilized soil, and avoiding overwatering.
-
Leggy Seedlings: Caused by insufficient light. Provide bright, indirect light or supplemental grow lights.
-
Slow or Poor Germination: Often due to cold temperatures or old seeds. Use fresh seeds and keep consistent warmth.
Advantages of Bottle Germination for Cabbage
-
Repurposes plastic bottles, reducing environmental waste.
-
Creates an ideal microenvironment to speed up germination and strengthen seedlings.
-
Protects seedlings in a small, manageable space.
-
Allows easy monitoring of moisture and growth progress without disturbing plants.
Final Thoughts
Setting up a bottle germination system for cabbage seedlings is an easy, sustainable way to jumpstart your cabbage crop. The warm, humid environment inside the bottle dome encourages quick germination and produces compact, healthy seedlings ready for transplanting. This method suits gardeners with limited space and those who want to reduce plastic waste by repurposing bottles. With attentive care and patience, you’ll grow crisp, firm cabbage heads starting from these bottle-germinated seedlings, leading to a rewarding and productive harvest.


