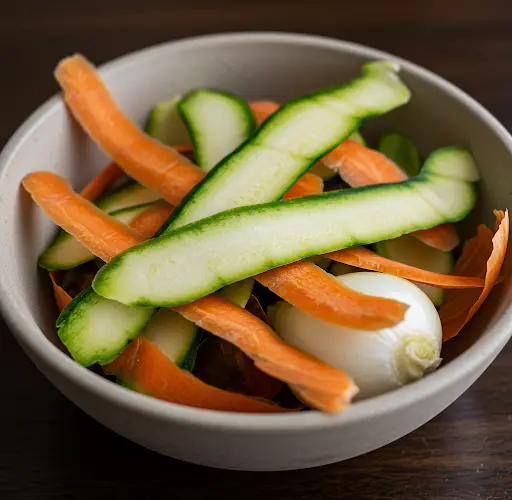
Turn Vegetable Leaves into Liquid Gold for Your Garden
Every time we harvest vegetables from our garden, we often discard the leaves and peels without a second thought. These scraps are typically seen as waste, but in reality, they’re rich in nutrients that can benefit your plants. Instead of throwing them away, these vegetable leaves and peels can be transformed into a powerful, natural liquid fertilizer that helps your garden thrive.
This method is simple, cost-effective, and environmentally friendly—and best of all, it uses items you already have at home.
Step 1: Collect and Prepare the Scraps
Start by gathering all the vegetable scraps you would normally discard after harvesting. These might include leafy tops, outer cabbage leaves, radish and carrot greens, or peels from various vegetables. Avoid anything moldy or rotten, as that can introduce harmful bacteria into your fertilizer.
Once collected, chop the scraps into small pieces. This step is important because smaller bits decompose more quickly, releasing their nutrients into the mixture faster.
Step 2: Blend the Nutrient Base
Take a portion of the chopped leaves and place them in a blender. Add just enough water to allow the blender to function smoothly. Blend until the mixture turns into a thick, green juice. This liquid is filled with the nutrients from the vegetable scraps—essentially concentrated plant food.
Pour the blended mixture into a large container, such as a 5-gallon bucket. Repeat the blending process in batches until all the scraps have been turned into liquid and added to the bucket.
Step 3: Enrich with Compost and Water
To further enhance the fertilizer, add a handful of compost or well-rotted manure into the bucket. This step introduces additional nutrients and beneficial microbes that help break down organic matter. If you don’t have compost or manure on hand, you can skip this step—the mixture will still work, though it may be slightly less potent.
Next, pour in non-chlorinated water until the bucket is nearly full. Rainwater is ideal, as it’s free from chemicals. If using tap water, let it sit uncovered for 24 hours so the chlorine can evaporate. Chlorinated water can harm the beneficial microorganisms you’re trying to cultivate.
Step 4: Feed the Microbes
Add a handful of brown sugar or jaggery to the bucket. Though it may seem like an unusual ingredient, sugar acts as a food source for the microbes in your mixture. These microbes are essential to the fermentation process, as they break down the vegetable matter and release the nutrients into a form your plants can easily absorb.
Stir the bucket thoroughly to mix all ingredients evenly.
Step 5: Ferment the Mixture
Cover the bucket loosely with a lid. It’s important that the lid isn’t airtight—gases will build up during fermentation, and the mixture needs some airflow. Place the bucket in a shaded, undisturbed spot where it can sit safely for at least 7 days.
During this time, fermentation will occur. Microbes will multiply and work to break down the vegetable scraps, resulting in a nutrient-rich liquid fertilizer. Be prepared for a strong smell when you open the bucket after a week—that pungent odor is a sign of active microbial life and successful fermentation.
Step 6: Dilute and Apply
Before using the fertilizer, you must dilute it. The mixture is too strong to use directly and could harm your plants if not properly diluted. Use a ratio of 1 part fertilizer to 10 parts water.
Once diluted, apply the solution directly to the soil at the base of your plants. Avoid pouring it on the leaves to reduce the risk of burning or attracting pests. The nutrients—especially nitrogen, potassium, and phosphorus—will nourish your plants from the roots up, encouraging vigorous growth and resilience.
Why This Method Works
This homemade liquid fertilizer is rich in essential plant nutrients, plus it contains beneficial microbes that improve soil structure and nutrient availability. Over time, you’ll notice:
-
Stronger stems and foliage
-
Improved root development
-
Enhanced fruit and flower production
-
Healthier, more resilient plants
And perhaps best of all, you’re turning what would otherwise be waste into something useful and sustainable for your garden.
Final Thoughts
Turning vegetable scraps into liquid fertilizer is an easy, eco-friendly way to nourish your garden. It reduces kitchen waste, saves money on commercial fertilizers, and supports a more natural growing cycle. Whether you’re cultivating vegetables, herbs, or flowers, this homemade solution offers a valuable boost to plant health and productivity.
So next time you finish harvesting your vegetables, don’t throw those scraps away—transform them into liquid gold for your garden.


