Dill is a fragrant, versatile herb celebrated for its feathery green leaves and aromatic seeds. Widely used in cooking, pickling, salads, and seafood dishes, dill brings a fresh, distinctive flavor to many recipes. For gardeners with limited outdoor space, growing dill in reclaimed wooden crates provides a practical and eco-friendly solution. Crate gardening maximizes vertical and horizontal space, ensures proper drainage, and allows easy access for harvesting, watering, and care. This guide provides step-by-step advice for establishing a thriving dill garden on your balcony using reclaimed wooden crates.
Selecting the Right Crates
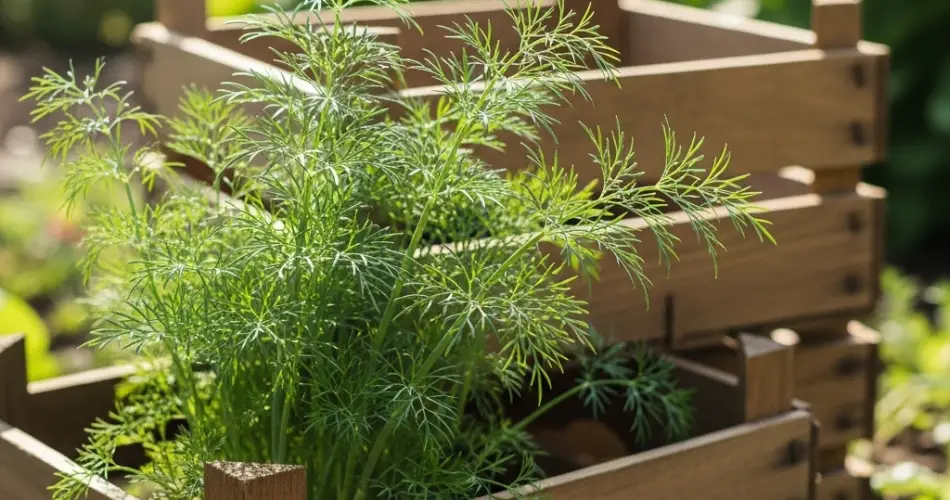
Wooden crates are ideal for container gardening due to their sturdy construction, lightweight nature, and rustic aesthetic. Using reclaimed or upcycled crates also supports sustainable gardening practices. Before planting, make sure the crates are clean, structurally sound, and free from chemical treatments or residues. Plastic crates can serve as an alternative if they allow proper drainage. If your crates lack holes, drill several small openings in the bottom to ensure excess water can escape, preventing root rot. Uniform crate sizes create an organized, neat appearance, while mixing crate sizes or stacking them can produce a visually appealing layered garden.
Choosing the Ideal Location
Dill thrives in full sunlight, requiring at least six hours of direct sunlight daily. Place your crates in the sunniest area of your balcony or terrace to promote strong, healthy growth and enhance the aromatic quality of the leaves and seeds. A well-lit location also encourages robust flowering and seed production. Consider accessibility when choosing a spot so that watering, pruning, and harvesting are convenient, while also offering protection from strong winds or heavy rainfall that could damage delicate plants.
Preparing Crates for Planting
Good drainage is essential for dill, which prefers light, well-draining soil. Start by adding a thin layer of gravel, small stones, or broken terracotta at the bottom of each crate. This layer ensures excess water can escape, preventing waterlogging and root rot. Fill the crate with a well-draining, nutrient-rich potting mix. Incorporate compost or well-rotted manure to support vigorous growth without encouraging excessive leafy growth at the expense of flavor. Leave a small gap at the top of the crate to allow room for watering and to prevent soil spillage.
Planting Dill
Dill can be grown from seeds, divisions, or small nursery plants. Seeds should be lightly sprinkled on the soil surface and covered with a thin layer of soil, keeping the soil consistently moist until germination, typically within 10–14 days. For nursery plants or divisions, gently loosen the roots before planting and space them about 20 centimeters apart. Proper spacing promotes airflow, reduces overcrowding, and encourages bushy, healthy growth that maximizes leaf and seed production.
Watering and Care
Dill prefers moderate, consistent watering. Water deeply when the top layer of soil begins to dry, ensuring moisture reaches the roots without causing soggy soil. Mulching with straw, shredded leaves, or small stones helps retain moisture, regulate soil temperature, and suppress weeds. Regular trimming encourages bushier growth, prevents plants from becoming tall and leggy, and promotes sustained leaf production. Remove any yellowing or damaged foliage to maintain plant health and reduce the risk of disease.
Fertilization and Growth Tips
Dill is relatively low-maintenance but responds well to occasional light fertilization. Apply a balanced, water-soluble fertilizer every four to six weeks to support steady growth and abundant leaves. Over-fertilization should be avoided, as it can lead to overly rapid leafy growth with reduced flavor. Healthy, well-maintained dill plants in crates produce flavorful leaves and seeds throughout the growing season, providing a continuous harvest.
Pest and Disease Management
Dill is generally hardy but may occasionally attract pests like aphids or caterpillars. Regularly inspect plants and treat infestations with organic insecticidal soap or gentle water sprays. Ensuring proper spacing, good airflow, and well-draining soil reduces the risk of fungal diseases such as powdery mildew. Healthy plants are more resilient and maintain steady growth with minimal intervention.
Harvesting Dill
Harvest leaves once plants are well-established and about 15–20 centimeters tall. Cut outer leaves first, leaving inner shoots intact to encourage continuous growth. Flower heads can be harvested when seeds mature and turn brown. Regular harvesting promotes bushier plants and ensures a steady supply of fresh leaves for culinary use. Leaves can be used fresh, dried, or frozen, while seeds provide long-term flavoring for pickles and cooking.
Decorative and Practical Benefits
Crate-grown dill adds both beauty and functionality to small outdoor spaces. The delicate, feathery foliage provides visual appeal, while the aromatic leaves enhance culinary creations. Using reclaimed wooden crates promotes sustainability, reduces waste, and demonstrates eco-friendly gardening practices. Dill also attracts beneficial pollinators such as bees, contributing to a healthy balcony ecosystem.
Expanding Your Balcony Herb Garden
Once your dill crates are thriving, consider adding complementary herbs such as parsley, cilantro, or chives. These herbs thrive under similar conditions and create a diverse, aromatic container garden. Staggering or stacking crates vertically maximizes space while producing a lush, productive, and visually engaging display.
Growing dill in reclaimed wooden crates is a practical, sustainable, and space-efficient way to enjoy fresh herbs. With proper sunlight, soil, watering, and care, your balcony dill garden will flourish, providing aromatic leaves, harvestable seeds, and an attractive, functional addition to your outdoor space.


