Garlic is one of the most rewarding crops to grow at home—low-maintenance, versatile in the kitchen, and beneficial for both health and garden. But if you’re aiming for large, healthy garlic bulbs with strong resistance to pests and disease, there’s a simple pantry item that can make all the difference: baking soda.
Baking soda, or sodium bicarbonate, is a humble household staple with powerful properties that extend beyond cleaning and cooking. When used during the garlic planting process, it can significantly improve your crop’s health and productivity. Here’s how and why baking soda is so effective, and the right way to use it when planting garlic in your garden.
Why Baking Soda Helps Garlic Grow Better
Garlic, like many garden vegetables, can be vulnerable to fungal infections, pests, and poor soil conditions. Baking soda offers a simple, natural solution to these problems due to its antifungal, antibacterial, and pH-regulating properties.
Here’s what baking soda can do for your garlic crop:
-
Reduces the risk of fungal diseases such as white rot and mildew.
-
Discourages pests like soil-dwelling insects and nematodes.
-
Promotes stronger root development by creating a healthier soil environment.
-
Improves the quality and size of garlic bulbs when used properly in the early stages.
Let’s walk through the steps for using baking soda effectively when planting garlic.
Step 1: Select Healthy Garlic Cloves
Start by choosing good-quality garlic for planting. You can use organic garlic from a store or, ideally, seed garlic from a gardening supplier. Avoid cloves that are soft, shriveled, or moldy.
Break the garlic bulb into individual cloves. Do not peel them—just separate them gently. Choose the largest cloves for planting, as these tend to produce the biggest bulbs.
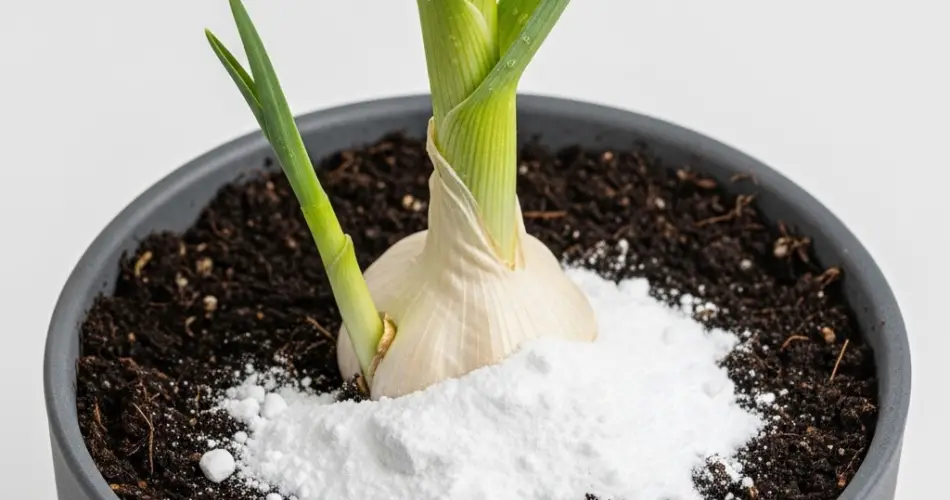
Step 2: Prepare the Baking Soda Soak
Before planting, soak your garlic cloves in a solution of baking soda and water. This pre-planting treatment helps disinfect the cloves and gives them a healthy head start.
Soak recipe:
-
1 liter (4 cups) of lukewarm water
-
1 tablespoon of baking soda
-
(Optional) 1 tablespoon of hydrogen peroxide or liquid seaweed extract for added protection and growth stimulation.
Stir the solution well until the baking soda dissolves completely. Add the garlic cloves and let them soak for at least 2–4 hours, or overnight if you have time.
This treatment helps kill off fungal spores and bacteria that might be hiding in the clove’s outer layers and primes the garlic for sprouting.
Step 3: Prepare the Soil
Garlic prefers loose, well-drained soil rich in organic matter. Aim for a neutral to slightly acidic pH (around 6.0–7.0). Work compost or well-rotted manure into the soil a few days before planting to boost fertility.
Choose a sunny location, as garlic needs at least 6 hours of sunlight daily to thrive. Avoid areas where other alliums (onions, leeks, shallots) have recently grown to reduce the risk of disease buildup in the soil.
Step 4: Plant the Garlic Cloves
After soaking, remove the cloves from the solution and let them air-dry for a few minutes.
Planting instructions:
-
Place each clove pointed side up, root side down.
-
Plant 2 inches deep and 4–6 inches apart.
-
Space rows about 8–10 inches apart.
Lightly water the area after planting. In colder climates, mulch the garlic bed with straw or leaves to protect it during winter and help retain moisture.
Step 5: Post-Planting Care and Optional Sprays
As the garlic begins to grow, you can continue using baking soda as a foliar spray to prevent fungal issues.
Foliar spray recipe:
-
1 liter of water
-
1 teaspoon of baking soda
-
A few drops of liquid soap (to help the solution stick to leaves)
Spray lightly every 10–14 days, especially in wet or humid conditions. Avoid overuse, as too much baking soda can affect soil pH and potentially harm plant leaves.
Final Thoughts
Baking soda may seem like an unlikely garden ally, but it’s remarkably effective when used correctly. By soaking garlic cloves in a baking soda solution before planting, you naturally reduce the risk of disease and give your plants a clean, healthy start. Combined with good soil preparation and consistent care, this simple step can lead to bigger, better garlic harvests.
So the next time you’re planting garlic, don’t overlook this easy kitchen trick. A pinch of baking soda could be the key to growing your most successful garlic crop yet—naturally, affordably, and effectively.


