In today’s world, where rising costs and economic challenges are forcing families to rethink daily habits, creativity at home has become more important than ever. Italian households, in particular, have faced sharp increases in electricity, gas, and food prices, prompting many to find ways to save money and repurpose everyday items.
Among the most commonly overlooked objects are kitchen sponges—simple tools designed for cleaning dishes, yet surprisingly versatile for a range of DIY crafts and creative projects. With just a few materials and some imagination, ordinary sponges can be transformed into unique, fun, and practical items that are perfect for home décor or children’s play.
Why Kitchen Sponges Make Perfect DIY Materials
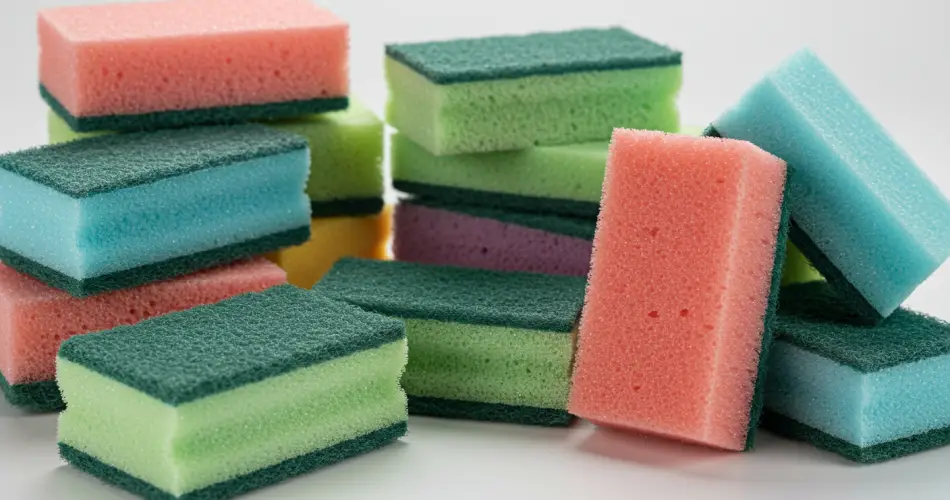
Kitchen sponges are lightweight, easy to cut, and incredibly adaptable. They come with two sides: a soft, absorbent side for cleaning delicate surfaces and a tougher, green scrubbing side for stubborn grime. This dual-texture construction makes them ideal for crafting miniature objects, as the two surfaces can be used creatively to mimic different textures and finishes.
Repurposing kitchen sponges also aligns with eco-friendly practices. Instead of discarding sponges after a few uses, giving them a second life helps reduce waste while providing a fun and educational activity for the whole family.
Step-by-Step Guide to Creating a Mini Sofa from Sponges
One of the most charming creations you can make with kitchen sponges is a mini sofa, perfect for dollhouses, toy rooms, or simply as a decorative item. Here’s how you can do it in a few simple steps:
-
Prepare the Sponge – Take a standard kitchen sponge and mark a small portion along one side, approximately 2 centimeters wide. Use a ruler and a marker to draw a clear cutting line.
-
Cut and Assemble – Carefully cut the marked section and apply glue to one side of the cut piece. Attach it perpendicularly to the original sponge to form a basic “L” shape, which will serve as the backrest and seat of the mini sofa.
-
Attach to a Base – For added stability, place some glue on the back of your L-shaped sponge and attach it to a piece of cardboard. Trim any excess cardboard with scissors to create a neat foundation.
-
Add Fabric Covering – Cut small pieces of fabric and glue them around the sponge structure. Begin with the smaller side panels and then cover the main body, ensuring that all surfaces are neatly wrapped. Fold and adjust the fabric edges to achieve a polished look.
Adding Realistic Details
To make your mini sofa more realistic and detailed:
-
Armrests – Use two smaller rectangular sponge pieces, cover them with cardboard and fabric, and attach them to the sides of your L-shaped sponge. These will serve as armrests, giving the sofa a finished, professional look.
-
Legs – Cut small squares from the green scrubbing side of a sponge and glue them to the bottom of the sofa to simulate legs. This not only adds stability but also enhances the visual appeal of the miniature furniture.
Once complete, your mini sofa is ready for use. It can serve as a seat for dolls, action figures, or other small toys. Children will enjoy arranging their toys around it, and adults can appreciate the ingenuity of a creative, handmade home accessory.
Expanding Your Sponge Craft Collection
The beauty of using kitchen sponges in DIY projects lies in their versatility. Once you’ve mastered the mini sofa, you can experiment with other small furniture pieces like chairs, ottomans, or even decorative cushions. Sponges can also be combined with other household materials, such as cardboard, fabric scraps, and glue, to create playful and functional items.
Additionally, this type of craft encourages children to develop fine motor skills and creativity. By cutting, gluing, and assembling sponges, kids learn about shapes, textures, and spatial awareness, all while having fun.
Benefits Beyond Creativity
Repurposing kitchen sponges is not only an entertaining activity but also provides several practical benefits:
-
Cost-Effective – Instead of buying craft materials, you can use items already available at home. A few sponges, scraps of cardboard, and fabric remnants are often all you need.
-
Eco-Friendly – Extending the life of household items reduces waste and encourages sustainable habits.
-
Educational – Children and adults alike can learn about recycling, resourcefulness, and problem-solving through DIY projects.
-
Family Bonding – Crafting together provides an opportunity for shared activity, fostering communication and creativity among family members.
Final Tips for Successful Sponge Crafts
-
Choose firm sponges for structures that need more stability and softer sponges for cushions or flexible parts.
-
Use fabric glue for better adhesion, especially when covering sponges with cloth.
-
Experiment with colors – Kitchen sponges come in bright shades that can add a playful and visually appealing element to your creations.
-
Safety first – When cutting sponges, especially with children involved, always supervise and use child-safe scissors if necessary.
Conclusion
With just a few kitchen sponges, glue, cardboard, and scraps of fabric, you can create amazing DIY projects that are both fun and functional. From miniature sofas to custom chairs and decorative objects, the possibilities are endless.
Not only does this craft provide a cost-effective way to entertain and decorate, but it also teaches valuable lessons about recycling, creativity, and resourcefulness. By transforming everyday items into imaginative creations, families can enjoy hours of fun while reducing waste and making the most of what they already have at home.
So the next time you see old kitchen sponges, think twice before throwing them away. With a little effort and creativity, they can become the foundation for extraordinary handmade creations that delight both children and adults alike.


