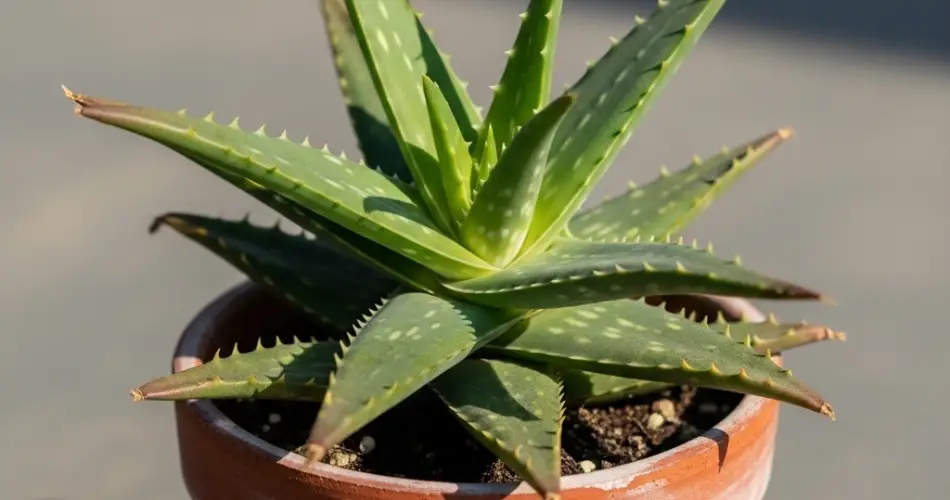
Aloe vera is one of the most rewarding plants to grow in containers. Known for its healing gel, attractive rosette of fleshy leaves, and hardy nature, it thrives indoors and outdoors with minimal fuss. While many people buy mature aloe plants, growing one from a small pup allows you to watch it develop and adapt to your home. With the right care, your aloe pup can grow into a large, striking plant that provides beauty and practical benefits for years.
This guide takes you step by step through the process of caring for aloe vera in containers, from planting a tiny pup to maintaining a mature, healthy specimen.
Starting with Aloe Vera Pups
Aloe pups, also known as offsets, are small offshoots that grow at the base of a mature aloe vera. These pups are genetically identical to the mother plant and can be separated to start new plants.
To begin:
-
Remove the pup carefully: Gently take the aloe out of its container and brush away the soil to expose the roots. Use a clean knife or your hands to separate the pup, making sure it has some roots attached.
-
Let it callus: Allow the pup to sit in a dry, shaded area for 24–48 hours. This helps the cut area heal and reduces the risk of rot once planted.
-
Choose the right container: Select a small pot with drainage holes. A terra-cotta container works best since it allows excess moisture to evaporate.
-
Plant in well-draining soil: Use a cactus or succulent mix, or make your own by blending potting soil with sand or perlite.
Caring for Young Aloe Vera
Once your pup is planted, it needs a little extra care to establish strong roots.
-
Water sparingly: For the first few weeks, lightly mist the soil rather than watering heavily. Once the roots are established, you can switch to the standard “soak and dry” method—water thoroughly, then wait until the soil is completely dry before watering again.
-
Provide indirect light: Young aloe plants are sensitive to direct sun, which can scorch their leaves. Place the pup in bright, indirect light until it strengthens. A sunny windowsill with filtered light is ideal.
-
Avoid fertilizer early on: Pups don’t need extra feeding while they are establishing themselves. After about six months, you can apply a diluted succulent fertilizer once or twice during the growing season.
With patience, the pup will slowly grow thicker leaves and begin to resemble its parent plant.
Transitioning to a Mature Plant
As aloe vera grows, it will eventually need a larger container. Repotting ensures healthy root development and prevents the plant from becoming overcrowded.
-
When to repot: If roots are poking through drainage holes or the plant seems top-heavy, it’s time to upgrade. Usually, repotting is needed every 2–3 years.
-
Pot size: Move the plant into a container just 1–2 inches larger in diameter than its current one. Aloe prefers being slightly snug rather than lost in too much soil.
-
Soil refresh: Replace old soil with fresh, well-draining mix. Over time, soil can compact, reducing airflow to the roots.
As your aloe grows, you’ll notice the leaves becoming thicker, longer, and more upright. Mature plants also begin producing new pups at their base, continuing the cycle.
Ongoing Care for Mature Aloe Vera
A full-grown aloe vera in a container is relatively low-maintenance, but consistency is key to keeping it thriving.
-
Light: Mature aloe loves bright, indirect sunlight. If kept indoors, place it near a south- or west-facing window. Outdoors, provide partial shade in very hot climates to prevent sunburn.
-
Watering: Stick to the soak-and-dry method. Water deeply, then allow the soil to dry completely before the next watering. Overwatering is the most common cause of aloe problems, especially in containers.
-
Fertilizing: Feed sparingly, once or twice in spring and summer with a succulent fertilizer diluted to half strength. Too much fertilizer can damage the roots and cause weak growth.
-
Temperature: Aloe thrives between 55°F and 80°F (13°C–27°C). Protect it from frost, as freezing temperatures can kill the plant.
Common Issues to Watch For
Even with the best care, aloe vera may show signs of stress. Knowing what to look for can help you correct problems early.
-
Soft or mushy leaves: Usually a result of overwatering. Allow the soil to dry out and adjust your watering routine.
-
Brown leaf tips: Can indicate too much direct sunlight or underwatering. Move the plant to a spot with filtered light and check the soil moisture.
-
Leggy growth: Often due to insufficient light. Rotate the plant regularly and place it closer to a light source.
The Benefits of Growing Aloe in Containers
Growing aloe vera in pots has several advantages. Containers give you control over soil type and moisture, making it easier to avoid root rot. You can also move the plant to different spots in your home or outdoors depending on the season. For those living in colder climates, containers make it possible to bring aloe indoors during winter.
Most importantly, container-grown aloe vera remains within reach for its practical uses. The gel inside its leaves can soothe minor burns, cuts, and skin irritations, making it a natural first-aid plant that’s both beautiful and functional.
Final Thoughts
From a small pup to a full-grown specimen, aloe vera adapts well to container life when given proper care. Start with healthy soil and the right pot, provide bright light, and water sparingly to mimic its natural desert conditions. With time and patience, your aloe pup will grow into a striking, mature plant that not only decorates your space but also offers soothing gel for everyday use.
Caring for aloe vera in containers is a rewarding experience that connects you to the natural cycle of growth. With each new leaf and each new pup, you’ll have the opportunity to expand your collection and share this remarkable plant with others.


