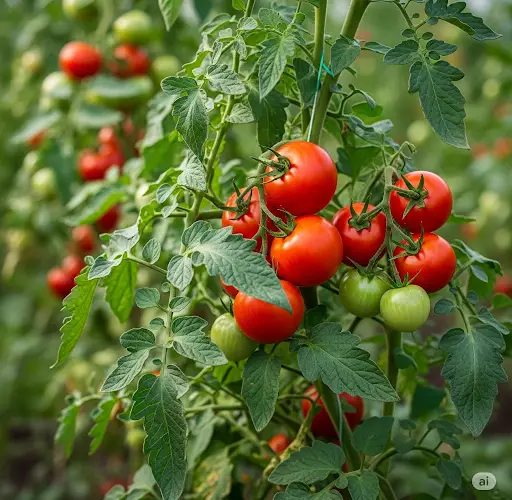
Tomatoes are one of the most rewarding crops to grow in a home garden. Whether you’re planting them in containers, raised beds, or directly in the ground, there’s a crucial period right after transplanting when your actions can significantly influence the plant’s health, yield, and flavor.
Many gardeners focus on watering and sunlight, which are undoubtedly important—but what you feed your tomatoes right after planting can make the biggest difference. This article will guide you through the key steps and ingredients to apply after transplanting tomatoes to ensure strong roots, healthy foliage, and abundant fruit production.
Why Post-Planting Care Is Critical
When a tomato seedling is transplanted from a nursery pot into the garden or container, it experiences a period of stress as it adjusts to its new environment. Proper nutrition and care during this stage are essential to:
-
Help roots establish quickly
-
Boost resistance to diseases and pests
-
Encourage flowering and early fruit set
-
Prevent common issues like blossom end rot and nutrient deficiency
Without the right post-planting care, tomato plants may become stunted, yellow, or vulnerable to pests like aphids, mites, or fungal infections.
Step 1: Add These Ingredients to the Planting Hole
Before or right after planting, it’s a good idea to enrich the soil directly around the root zone with a few natural ingredients that support robust growth. Here are the top choices:
1. Crushed Eggshells
Eggshells are rich in calcium, which helps prevent blossom end rot—a common tomato disorder where the fruit develops black, sunken spots. Simply crush 2–3 dry eggshells and sprinkle them into the planting hole or mix them with the top layer of soil after planting.
2. Banana Peel
Banana peels are a great source of potassium and phosphorus, essential for fruiting and root development. Chop a peel into small pieces and bury it near the root zone. It will slowly decompose and feed the plant over time.
3. Used Coffee Grounds
Coffee grounds add nitrogen, which supports leaf and stem growth in the early stages. They also help improve soil texture and attract earthworms. Mix a small handful into the surrounding soil, but avoid piling it directly on the stem to prevent mold.
4. A Spoonful of Epsom Salt
Epsom salt (magnesium sulfate) provides magnesium, which supports photosynthesis and helps the plant absorb nutrients more efficiently. Add one teaspoon per plant mixed into the soil, especially if your soil is magnesium-deficient.
5. Aged Compost or Worm Castings
Rich in organic matter and beneficial microbes, compost or worm castings improve overall soil health. These boost nutrient availability and promote strong root growth. Add a few handfuls around each plant after transplanting.
Step 2: Water Deeply and Strategically
After applying the ingredients and planting your tomatoes, give them a deep watering to help the soil settle around the roots and activate the nutrients you’ve just added.
-
Use room-temperature water. Cold water can shock the roots.
-
Water at the base, not over the leaves, to prevent fungal issues.
-
If available, use compost tea or diluted seaweed extract for extra nutrients.
Step 3: Mulch the Base of the Plant
Once the plant is in place and watered, apply a layer of organic mulch (like straw, dried leaves, or grass clippings) around the base. Mulch helps to:
-
Retain moisture
-
Regulate soil temperature
-
Prevent weed growth
-
Reduce soil splash, which can spread disease
Leave a small gap around the stem to avoid rotting.
Step 4: Stake or Support Early
Install a stake, tomato cage, or trellis at the time of planting so you don’t disturb the roots later. Proper support encourages good air circulation and keeps fruit off the ground, reducing the risk of rot or pest damage.
Step 5: Monitor and Adjust
In the weeks following transplanting:
-
Watch for signs of nutrient deficiency like yellowing leaves or purpling stems.
-
Side-dress with compost or diluted organic fertilizer every 2–3 weeks.
-
Prune the lower leaves as the plant grows to prevent fungal infections and improve airflow.
Final Thoughts
The time right after planting tomatoes is a critical window that can shape the rest of the growing season. By adding natural, nutrient-rich ingredients, watering correctly, and providing support, you’re giving your tomatoes the best possible start. Healthy, well-fed plants not only grow faster but also produce larger, tastier, and more plentiful fruit.
Whether you’re growing cherry tomatoes on a balcony or heirlooms in your backyard, a little care and planning in these early stages will reward you with a delicious and productive harvest.


