A home adorned with lush, thriving plants immediately feels more welcoming, vibrant, and serene. Whether indoors or in a garden, plants bring life and color to any space, creating a sense of tranquility and well-being. However, the key to enjoying the beauty and benefits of plants lies in proper care, and one of the most important aspects of plant care is watering. While it may seem straightforward, watering plants incorrectly can hinder growth or even damage them. Fortunately, there are simple, effective techniques that ensure your plants receive the right amount of water without harm.
The Importance of Proper Watering
Many people make the mistake of assuming that pouring water directly from a hose or watering can is always beneficial. While water is essential for plant survival, too much force or improper timing can negatively affect growth. High-pressure water can erode soil around the roots, disturb seedlings, and, in some cases, even uproot delicate plants. In contrast, gentle, controlled watering helps the soil absorb water gradually, encourages deep root growth, and prevents unnecessary stress to the plant.
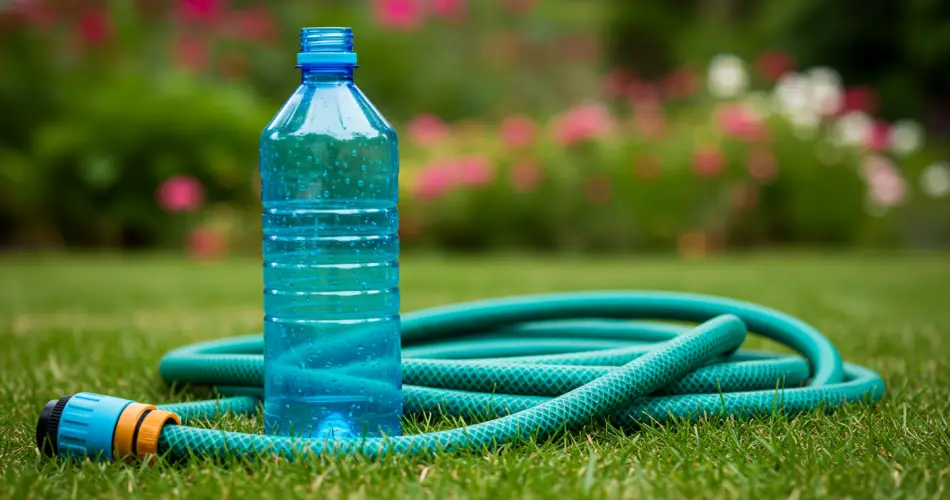
For those who want an easy and cost-effective solution, one clever trick involves using an everyday plastic bottle, such as an empty soda bottle. This simple tool can be transformed into a gentle, efficient watering device that delivers water directly to the soil without harming your plants.
Creating a DIY Watering Device
To create your watering system, you will need:
-
A plastic bottle (500 ml or 1-liter bottles work well)
-
A needle or any sharp object
-
Waterproof tape
-
A garden hose or tube
Start by taking the empty bottle and making small holes in the bottom using the needle or sharp object. If the plastic is particularly thick, you can carefully heat the needle to make puncturing easier. These holes will allow the water to trickle out slowly, ensuring a gentle flow that won’t disturb the soil or roots.
Next, insert the hose or tube into the neck of the bottle. Secure it firmly with waterproof tape to create a stable and leak-proof connection. Make sure the hose fits tightly, as this will prevent water from spilling and ensure that it flows only through the small holes at the bottom of the bottle.
Once your watering device is ready, fill the bottle with water and turn on the tap. Water will flow gently through the holes, providing a steady, controlled stream that penetrates the soil evenly. This method ensures that the plant roots receive the water they need without being exposed to sudden, high-pressure streams that can wash away nutrients and disturb the soil.
Best Practices for Watering
Using this simple DIY watering tool makes the process easy, but timing and frequency are also crucial. Watering should be done at regular intervals, rather than constantly or excessively. Experts recommend watering plants during the early morning, ideally between 7 and 10 a.m., particularly during the summer. Morning watering allows plants to absorb water efficiently before the heat of the day accelerates evaporation.
Avoid watering at midday, as the intense sun can cause rapid water loss and even burn some plant leaves. Similarly, nighttime watering is not ideal because plant roots reduce their metabolic activity after sunset, making them less effective at absorbing water. By choosing the right time of day, you maximize the benefit of each watering session and promote healthy growth.
Additional Tips for Healthy Plants
Beyond using the correct watering technique, there are several tips that can help your plants thrive:
-
Check Soil Moisture: Before watering, check the soil about an inch below the surface. If it still feels moist, wait another day before watering. Overwatering can lead to root rot and fungal growth.
-
Use Mulch: Applying a layer of mulch around plants helps retain moisture in the soil, reduces evaporation, and keeps the roots cool during hot days.
-
Water at the Base: Direct water to the base of the plant rather than the leaves. Wet leaves can encourage mold and disease, whereas watering the soil ensures the roots absorb the water effectively.
-
Adjust for Plant Type: Different plants have different water needs. Succulents and cacti require less frequent watering, while leafy vegetables and flowering plants often need more consistent moisture.
-
Regular Maintenance: Clean and inspect your DIY watering device periodically. Make sure the holes are not clogged and the tape connection remains secure to maintain optimal water flow.
Why This Method Works
The beauty of using a simple bottle and hose system is that it mimics a natural, gentle rainfall, allowing water to seep gradually into the soil. This encourages roots to grow deeper, strengthens the plant, and improves overall resilience. Additionally, this method is economical, environmentally friendly, and easy to implement with items you likely already have at home.
By following these steps, your plants can receive precise, gentle watering that supports healthy growth and vibrant foliage. Not only will your plants thrive, but you’ll also enjoy the satisfaction of knowing you are nurturing them in the most effective and gentle way possible.
In conclusion, proper watering is about more than just pouring water. It requires attention to the method, timing, and frequency to ensure your plants flourish. With a simple plastic bottle, a few holes, and a bit of care, you can create a gentle watering system that protects your plants, conserves water, and encourages healthy, strong growth. Over time, this small investment in technique will make a significant difference in the appearance, health, and longevity of your indoor or outdoor plants.