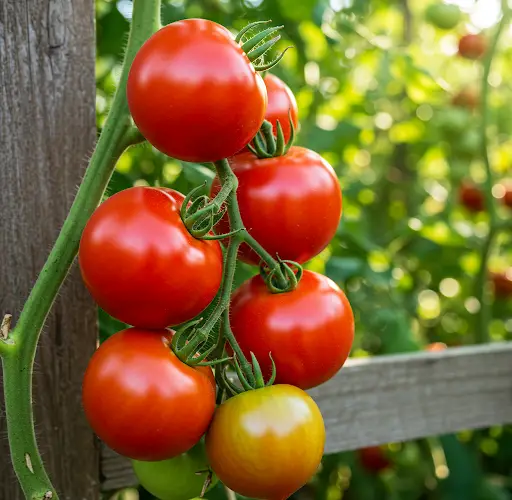
Tomatoes are a favorite among home gardeners for their versatility, vibrant flavor, and relatively fast growth. However, they often come with challenges such as insect infestations, soil-borne diseases, and space limitations. If you’ve struggled with traditional tomato growing methods or simply want a cleaner, more efficient way to produce tomatoes at home, a hanging tomato system might be the solution.
This special method of growing tomatoes upside down or in hanging containers is gaining popularity due to its high yield, resistance to pests, and suitability for small spaces. Whether you have a balcony, patio, or rooftop garden, you can enjoy healthy, thriving tomato plants without worrying about common garden nuisances.
What Makes Hanging Tomatoes Special?
Unlike conventional gardening where tomato plants grow upright in soil, hanging tomato plants grow downward from containers suspended in the air. This unique orientation offers several benefits:
-
Pest control: Hanging plants are less accessible to ground-dwelling insects like ants, slugs, and caterpillars.
-
Improved airflow: Reduced contact with the soil improves air circulation around the foliage, reducing the risk of fungal diseases.
-
Space-saving: Ideal for small gardens, apartments, and balconies.
-
Cleaner harvest: Fruit stays off the ground and is less likely to rot or get dirty.
With the right setup and care, hanging tomato plants can produce impressive yields and even outpace traditional in-ground gardens in productivity.
Materials You’ll Need
To get started with this hanging tomato method, you’ll need:
-
Large plastic buckets, hanging grow bags, or repurposed containers (at least 5 liters)
-
Healthy tomato seedlings (cherry and grape tomatoes are great options)
-
Good-quality potting mix (well-draining with compost or cocopeat)
-
Hooks or strong metal stands for hanging
-
Mulch (optional but recommended)
-
Organic fertilizer or compost
-
A sharp knife or drill for making holes
How to Set Up Your Hanging Tomato System
1. Prepare the Container
If using a bucket or plastic container:
-
Drill or cut a hole about 5–7 cm wide at the bottom center. This will be where the tomato seedling is inserted.
-
Create several small drainage holes around the base.
Turn the container upside down. If it has a lid, you can use it to support the soil by cutting a hole in the middle.
2. Plant the Seedling
-
Remove a healthy tomato seedling from its nursery pot.
-
Gently feed the leafy part of the seedling through the hole so that the roots remain inside the bucket.
-
Support the base of the seedling with soft cloth or sponge to prevent damage as the plant grows.
Carefully fill the container with soil around the roots, pressing it down lightly to eliminate air pockets.
3. Hang the Container
Secure the container by using heavy-duty hooks or placing it on a sturdy metal or wooden stand. Make sure it’s high enough for the plant to grow downward without obstruction.
Choose a sunny location where the plant will receive at least 6–8 hours of sunlight daily.
Caring for Hanging Tomato Plants
Proper care is essential for high yield and healthy growth.
-
Watering: Hanging plants tend to dry out faster, so check moisture levels frequently. Water slowly until it drains out of the bottom. Water in the early morning or late afternoon.
-
Feeding: Tomatoes are heavy feeders. Apply organic fertilizer (like compost tea or fermented banana peel solution) every two weeks.
-
Mulching: Add a layer of straw or dried leaves on top of the soil to retain moisture and reduce evaporation.
-
Pruning: Remove side shoots and yellowing leaves to encourage fruit production and airflow.
Pest and Disease Resistance
One of the greatest advantages of this system is the significant reduction in pest activity. Since the foliage and fruit never touch the ground, common soil-borne pests like cutworms and fungal spores have little opportunity to spread. Hanging systems also deter crawling insects and make it easier to spot and remove any problems early.
If pests do appear, a simple neem oil spray or diluted soap solution is often enough to control them without the use of harsh chemicals.
Harvesting and Yield
Tomato plants grown in this manner often begin to bear fruit within 60–75 days, depending on the variety. You’ll notice that the hanging fruits are:
-
Cleaner and more vibrant
-
Less prone to blemishes and rot
-
Easy to harvest by hand without bending or kneeling
By rotating a few containers and staggering your planting, you can enjoy fresh tomatoes all season long.
Final Thoughts
Growing tomatoes in hanging containers is not only a space-saving solution, but it’s also a highly effective way to boost yields and minimize pest issues. It allows you to repurpose old containers, reduce exposure to soil-borne diseases, and enjoy homegrown tomatoes with minimal hassle.
Whether you’re gardening on a balcony or just looking for a smarter way to grow tomatoes, this hanging method offers a clean, productive, and surprisingly simple approach that anyone can try.


