Cloves (Syzygium aromaticum) are one of the world’s most treasured spices, celebrated for their aromatic fragrance, rich flavor, and versatile uses in cooking, baking, and natural remedies. Growing your own cloves at home may seem challenging at first, but with a simple and systematic approach, even beginners can cultivate these exotic plants successfully. From planting seeds to harvesting fragrant buds, this guide will walk you through the simplest method to grow cloves at home, ensuring you enjoy their beauty, scent, and flavor for years to come.
Step 1: Selecting Quality Clove Seeds
The journey to a thriving clove plant begins with high-quality seeds. It is important to note that dried cloves from the spice rack are no longer viable for planting. Instead, purchase fresh, viable clove seeds from a reputable nursery, garden center, or online supplier. Choose seeds that are plump, slightly moist, and free from mold. Fresh seeds have a higher germination rate and will give you stronger, healthier plants.
Step 2: Preparing the Pot and Soil
Cloves prefer well-draining, fertile soil to thrive. Choose a pot with good drainage holes to prevent waterlogging, which can rot seeds. Fill the pot with a mix of quality potting soil, compost, and a small amount of sand or perlite for improved aeration and drainage. Lightly moisten the soil before planting, ensuring it is damp but not soggy. The soil should be soft enough for the seeds to germinate easily while retaining enough moisture to support initial growth.
Step 3: Planting the Seeds
Plant the clove seeds about 2 cm deep in the soil. If planting multiple seeds, space them 5–7 cm apart to avoid overcrowding and ensure each seedling has room to grow. Press the seeds gently into the soil, but do not bury them too deeply, as they need light to initiate germination. Cover the pot with clear plastic or a plastic bag to create a mini-greenhouse environment, maintaining warmth and humidity essential for successful sprouting.
Step 4: Provide Proper Light and Temperature
Clove seeds require bright, indirect sunlight for germination. Avoid exposing them to harsh direct sunlight, which can dry out the soil and harm delicate seedlings. Maintain a warm temperature of 25–30°C (77–86°F) and keep the environment consistently humid. Cloves are tropical plants and thrive in conditions that simulate their natural rainforest habitat.
Step 5: Watering and Seedling Care
Water management is crucial. Mist the soil lightly once daily, preferably in the morning, to maintain humidity. Avoid overwatering, as soggy soil can cause root rot. Patience is essential: you can expect the first green shoots to emerge within 3–4 weeks. Once seedlings appear, gradually remove the plastic cover to allow the young plants to adapt to normal humidity levels.
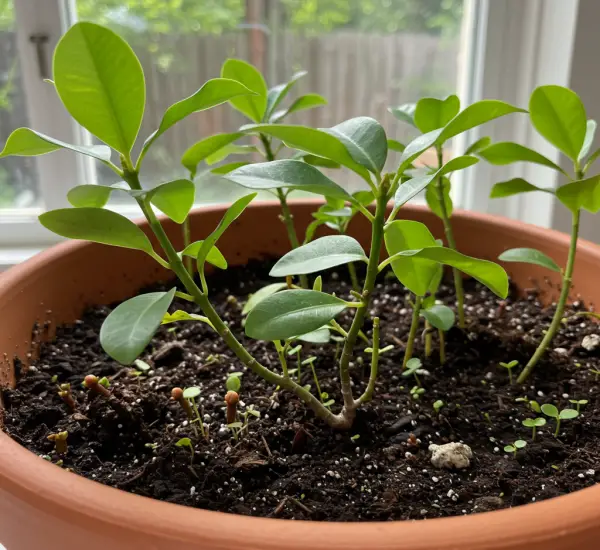
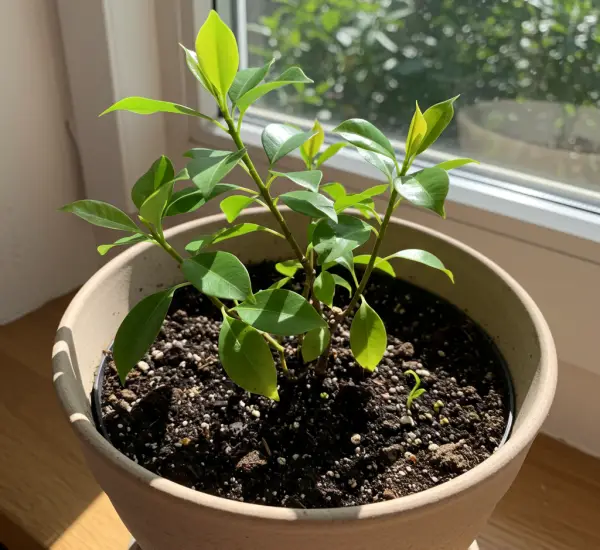
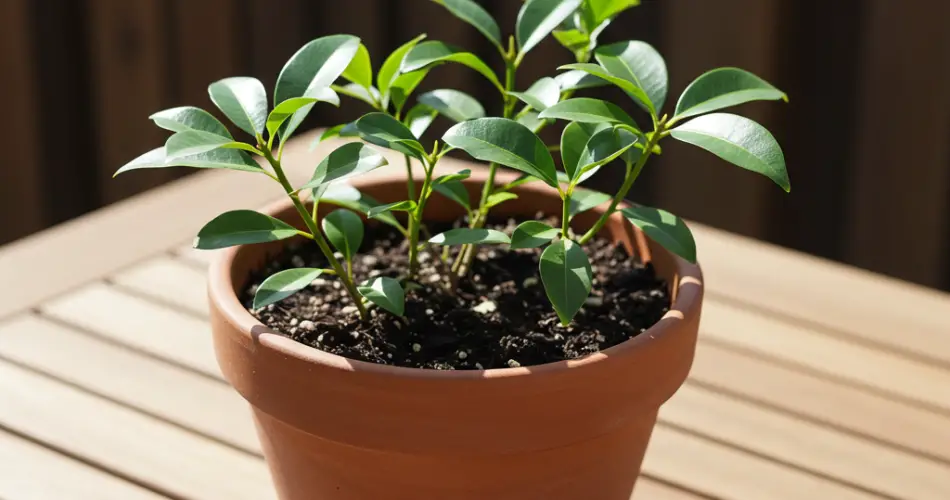
Step 6: Transplanting Seedlings
When seedlings reach 10–15 cm in height and have developed a few leaves, they can be transplanted into larger pots or directly into a garden if conditions allow. Choose a location with partial sunlight and well-draining, fertile soil. Continue to provide consistent moisture and light, while protecting the plants from sudden temperature changes and cold drafts.
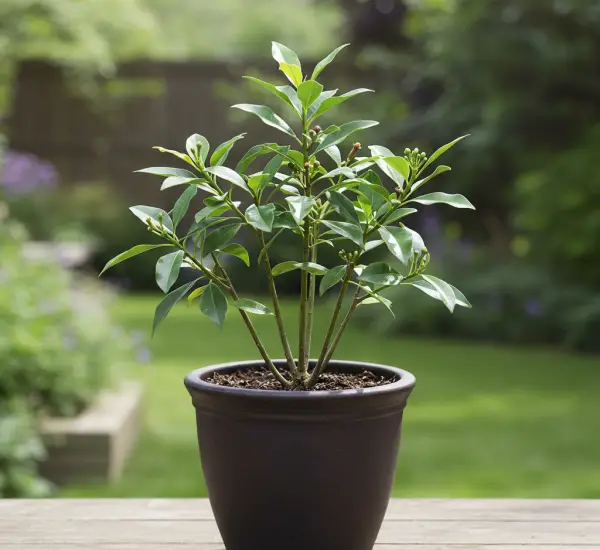
Step 7: Long-Term Care
Cloves are slow-growing plants, and their full potential may take several years to develop. Fertilize lightly every few weeks with an organic or balanced fertilizer to support growth. Maintain regular watering, keeping the soil moist but not saturated. Avoid overcrowding and ensure good airflow to prevent fungal infections and mold. With proper care, the plants will develop strong stems and lush green leaves, creating a visually appealing and aromatic addition to your home or garden.
Step 8: Encouraging Flowering and Harvesting
Clove plants produce small, reddish-brown flower buds before they bloom. These are the cloves you can harvest for use in cooking, tea, or natural remedies. Harvest the buds while they are tight and unopened, then dry them in a ventilated area away from direct sunlight. Mature clove plants will produce aromatic buds annually, providing a continuous supply of this valuable spice.
Tips for Success
-
Seedlings vs. seeds: Starting with seedlings can give faster results, but seeds are more affordable and widely available.
-
Drainage: Proper drainage prevents root rot, a common problem in clove cultivation.
-
Humidity: Cloves thrive in a warm, humid environment; misting and plastic covers help maintain the ideal conditions.
-
Patience: Cloves are slow to mature; it may take 3–6 years for the first harvestable buds.
Conclusion
Growing cloves at home is a rewarding process that combines patience, care, and a love of gardening. By following this simple method—from selecting quality seeds to nurturing seedlings into fragrant, productive plants—you can enjoy fresh, homegrown cloves for years. Not only will your home be filled with the spice’s natural fragrance, but you will also have a sustainable source of one of the world’s most cherished spices. With consistent care, your clove plants will flourish, offering beauty, aroma, and culinary delight year after year.